Connecting via WebDAV
WebDAV-compatible apps and clients such as PhotoSync, Microsoft's Windows Explorer, and Apple's Finder can connect directly to PhotoPrism.
This mounts the originals and/or import folder as a network drive, allowing you to open, edit, and delete files from a remote device as if they were local.
After files have been transferred, you can index or import them as usual. By default, indexing and importing start automatically after a safety delay when files have been uploaded using WebDAV.
It is also possible to sync files with external WebDAV servers such as ownCloud or other PhotoPrism instances.
You can disable WebDAV by navigating to Settings > Advanced and selecting the corresponding option. As WebDAV access always requires authentication, the integrated server is automatically disabled if your instance is running in public mode.
Do not use WebDAV without HTTPS outside your local, private network as your password would be transmitted, in clear text, over the Internet. Backup tools and file sync apps like FolderSync may refuse to connect as well.
Server URL
If your instance is connected to the public Internet, the WebDAV URL of the originals folder has the following format, where example.com must be replaced with the actual hostname and admin with the actual username:
https://admin@example.com/originals/
For users running a local instance on the default port 2342 without HTTPS, the URL of the originals folder is as follows (the default username for new instances is admin, unless you have changed it in the configuration):
http://admin@localhost:2342/originals/
Please note that the slash at the end of the path must not be omitted and that the WebDAV URL in your client apps needs to be updated if the hostname or port of the server changes.
You can view the originals folder URL by navigating to Settings > Account and then clicking Connect via WebDAV. It is possible to connect to the import folder instead by replacing /originals/ with /import/ in the URL.
Microsoft Windows
On Windows, you must instead enter a resource string in the following format to configure WebDAV access, where example.com must be replaced with the actual hostname of your instance:
\\example.com@SSL\originals\
If your server does not use the standard port 443 for HTTPS, Windows lets you specify a custom port such as 8443 directly after @SSL:
\\example.com@SSL@8443\originals\
For local installations running on the default port 2342 without HTTPS, enter the following resource in the connection dialog (you may need to update the registry settings for this):
\\localhost:2342\originals\
Please note that the slash at the end must not be omitted and that the WebDAV resource in Windows needs to be updated when the hostname or port of the server changes.
You can view the originals folder resource by navigating to Settings > Account and then clicking Connect via WebDAV. It is possible to connect to the import folder instead by replacing \originals\ with \import\.
Credentials
To access your instance via WebDAV, you can use your username in combination with your account password or an app password, e.g. if you have 2-Factor Authentication (2FA) enabled for your account or authenticate via OpenID Connect (OIDC) as using your account password is not possible in this case.
If access is denied even though the login credentials are correct, please check whether the account has a role with WebDAV access and WebDAV is enabled for the specific account.
Connect to a WebDAV Server
- In the Finder on your Mac, choose Go > Connect to Server
- Enter the URL as shown above in the Server Address field
- Click Connect
If you cannot connect to your instance via WebDAV using these instructions:
- You do not have sufficient user rights (try as admin)
- You are experiencing a general authentication problem
- Your instance or reverse proxy uses an invalid HTTPS certificate
- You are trying to connect to the wrong network or server
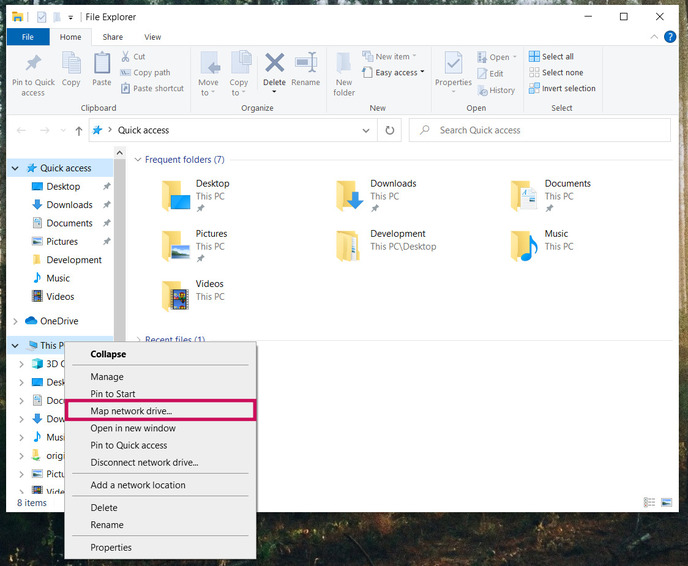
- Open Windows File Explorer
- Right click This PC
-
From the dropdown, select Map network drive...
-
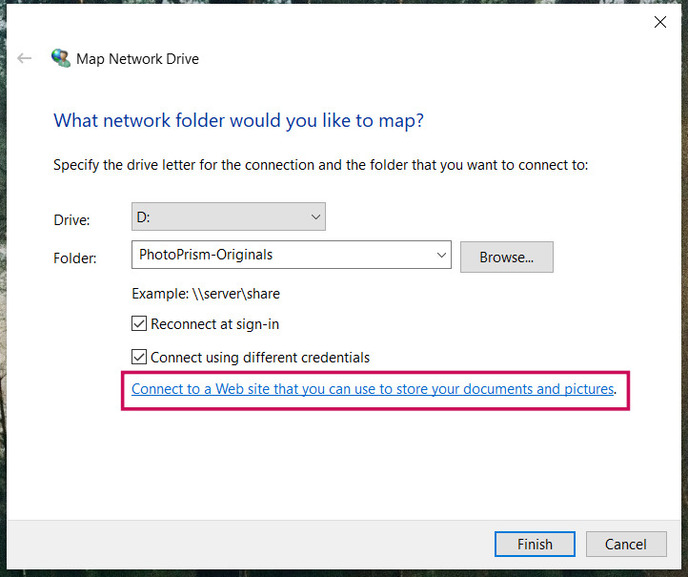
Enter the drive letter and folder you want to map your WebDAV connection to
- Check the boxes Reconnect at sign-in and Connect using different credentials
-
Click the Connect to a Web site that you can use to store your documents and pictures link
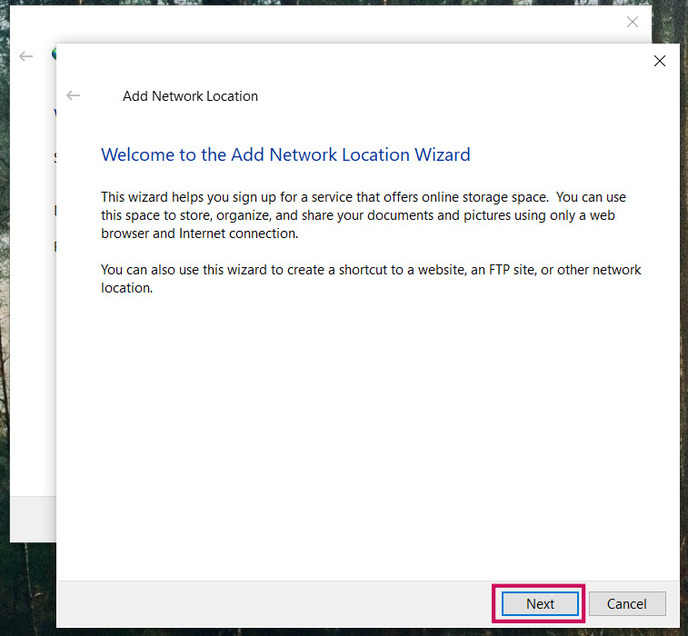
-
Click Next
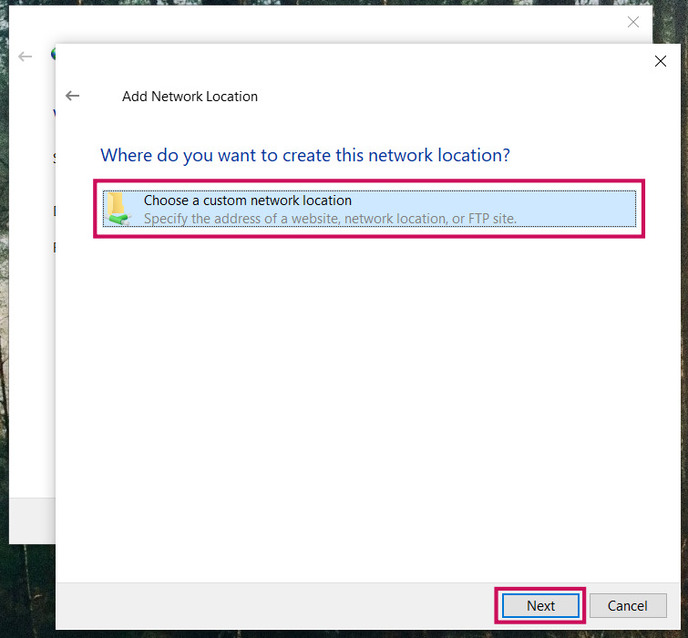
-
Click Choose a custom network location and then click Next
-
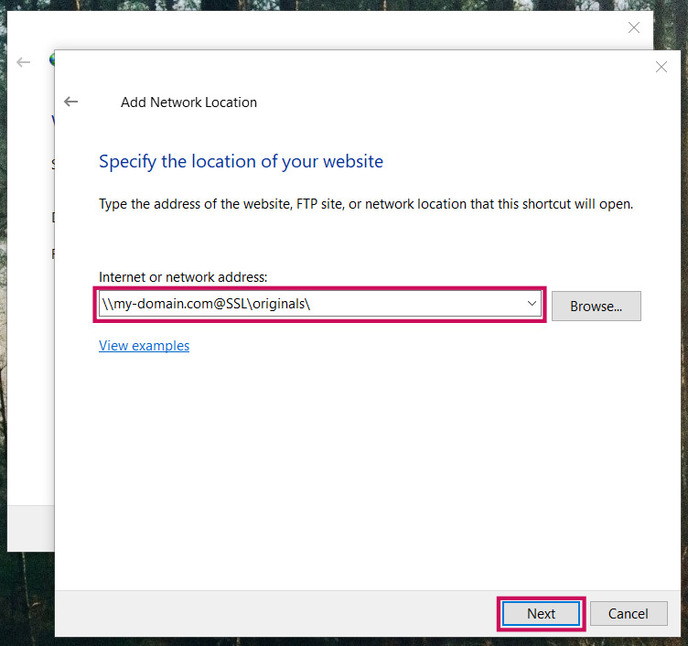
In the Internet or network address field, enter the URL as shown above and click Next
-
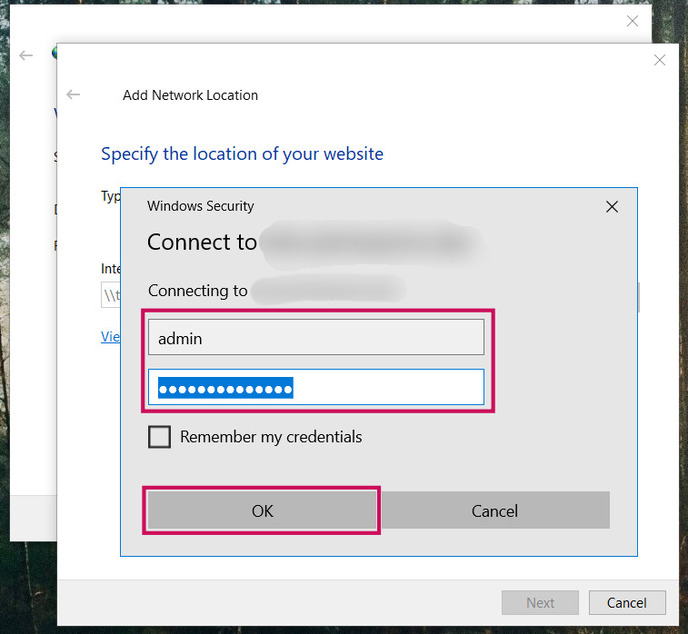
Enter your username and password and click Ok
-
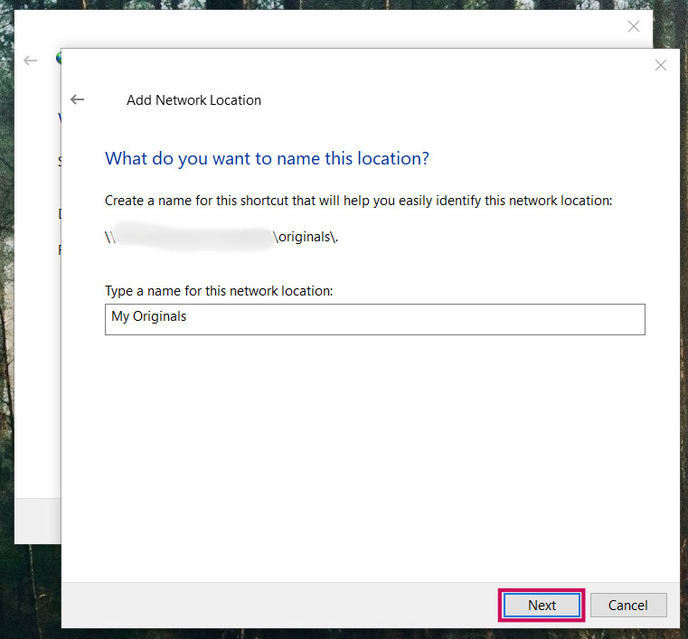
Enter a name for the network location and click Next
-
Click Finish
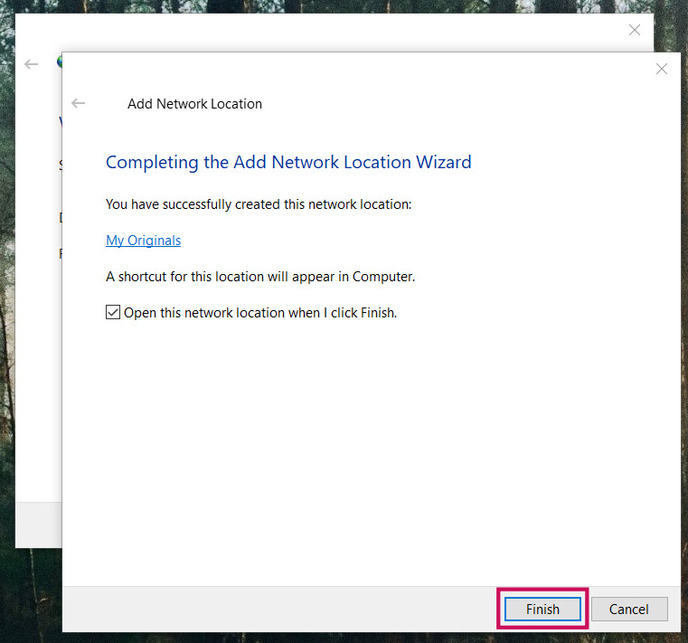
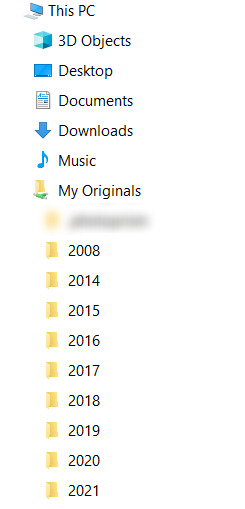
The originals folder appears as a mapped drive in Windows Explorer, and you can immediately add, edit, or delete files and directories using the Windows File Explorer.
If you cannot connect to your instance via WebDAV using these instructions:
- You may need to change the basic authentication level in the registry
- You do not have sufficient user rights (try as admin)
- You are experiencing a general authentication problem
- Your instance or reverse proxy uses an invalid HTTPS certificate
- You are trying to connect to the wrong network or server