MicroSD Image for the Raspberry Pi
 The easiest way to run PhotoPrism on a Raspberry Pi is with PhotoPrismPi.1
Simply flash the image to an SD card and boot your device with it.
The easiest way to run PhotoPrism on a Raspberry Pi is with PhotoPrismPi.1
Simply flash the image to an SD card and boot your device with it.
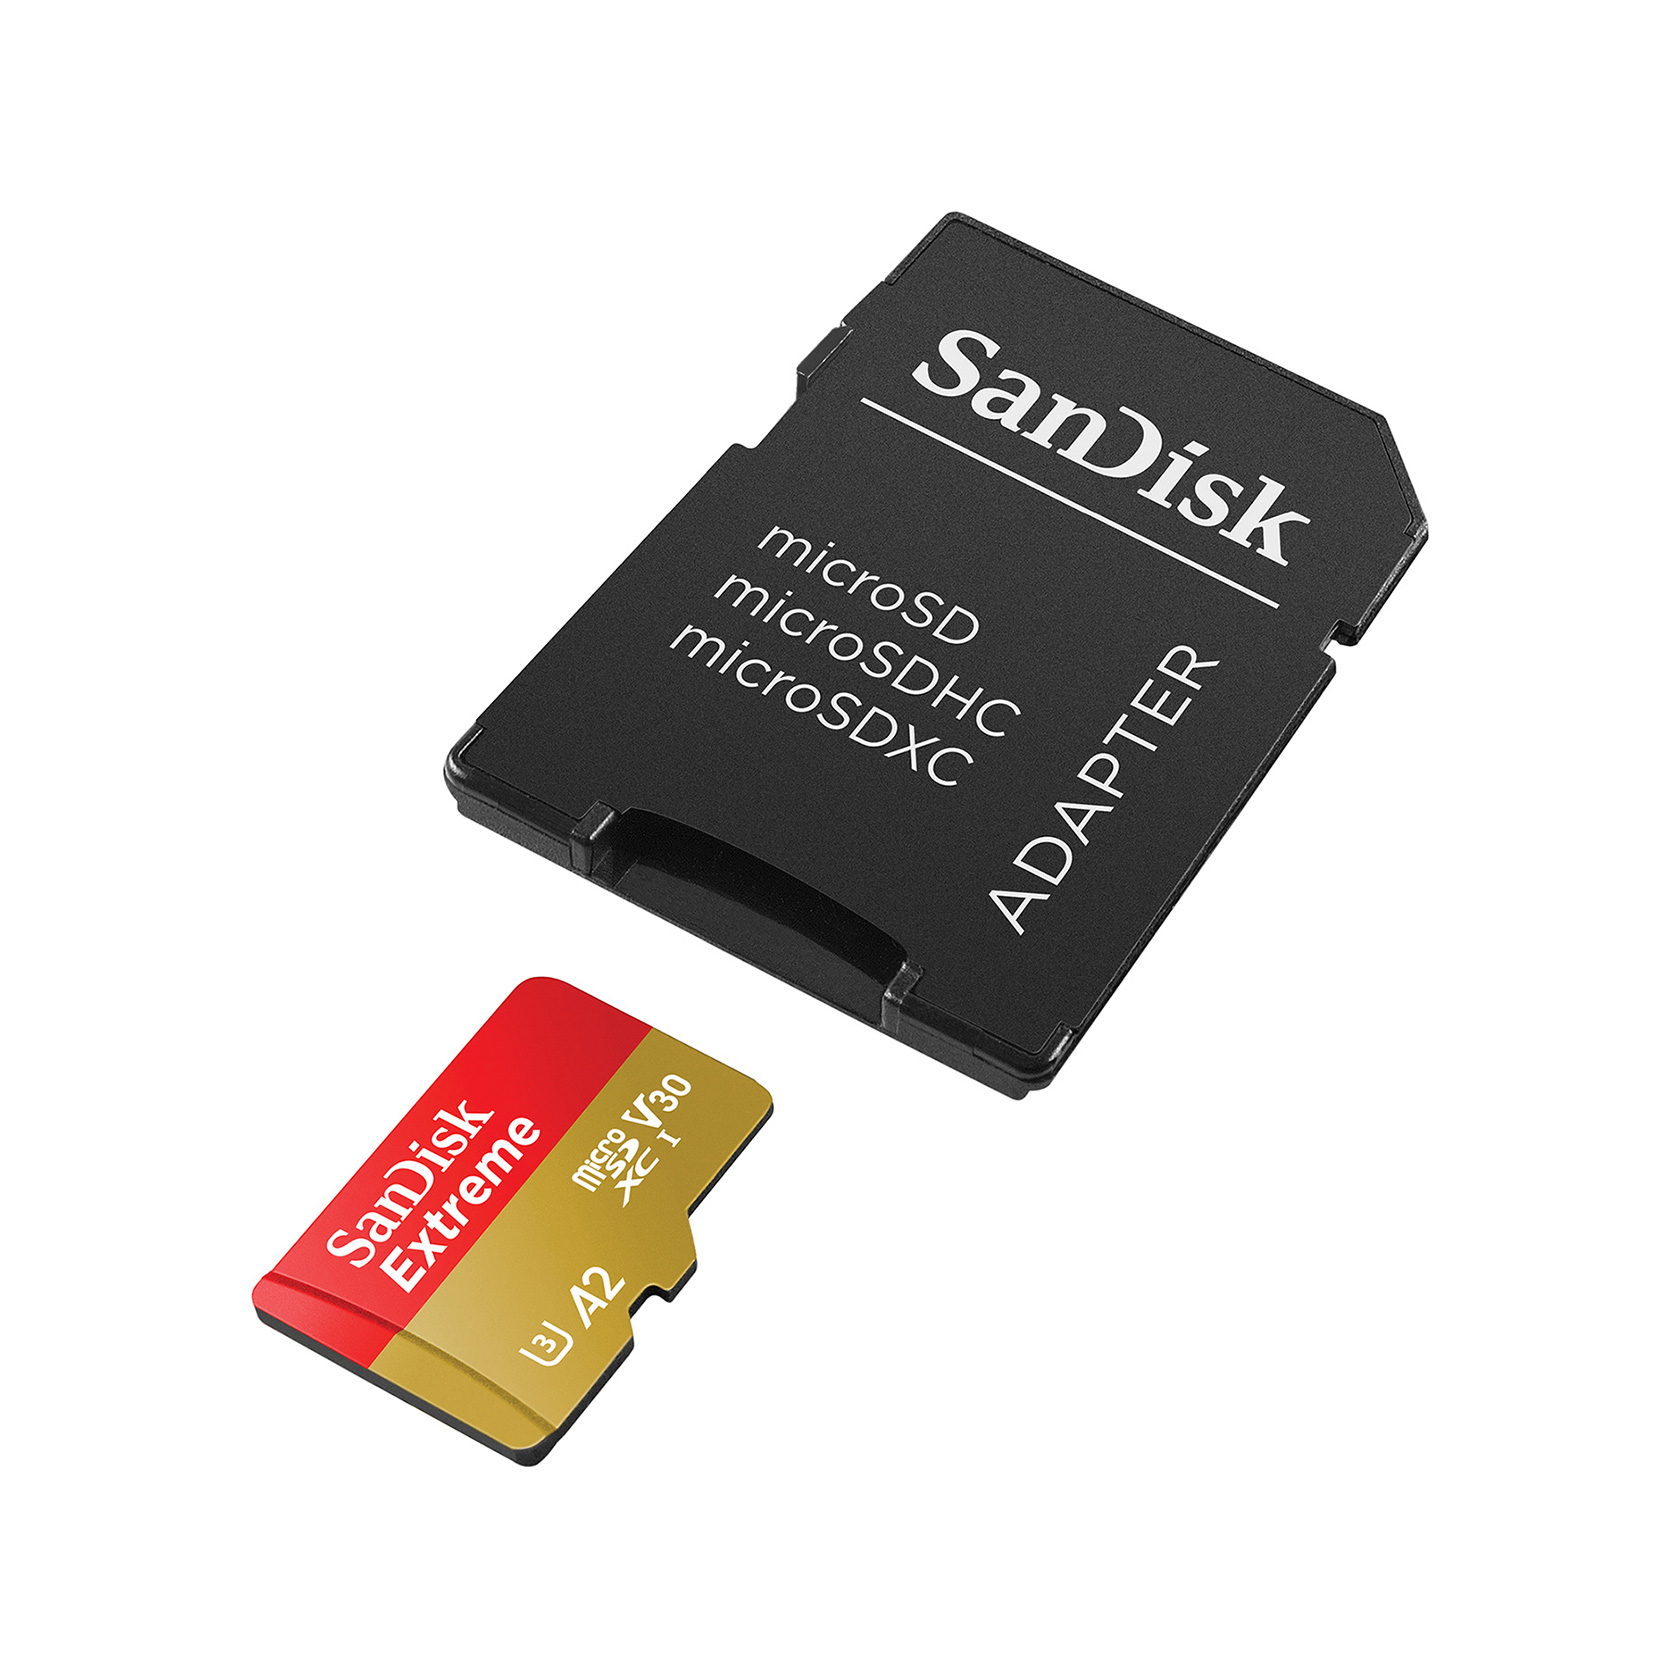
We recommend using a fast MicroSD card with at least 64 GB so that you don't run out of storage space later on. These are usually sold with an adapter that fits into normal SD card slots.
Step 1: Install Imager
With the Raspberry Pi Imager, installing the image we provide to a microSD card is quick and easy. The card is then ready to use with your Raspberry Pi.
It is available for Ubuntu, Windows, and macOS, and can be downloaded for free at raspberrypi.com/software/.
Step 2: Download and Flash
After installing Raspberry Pi Imager or another SD card flashing tool, you can download the latest version of PhotoPrismPi from dl.photoprism.app/nas/raspberry-pi/latest.img.xz.
Then, use the Imager to write the file to an inserted SD card:
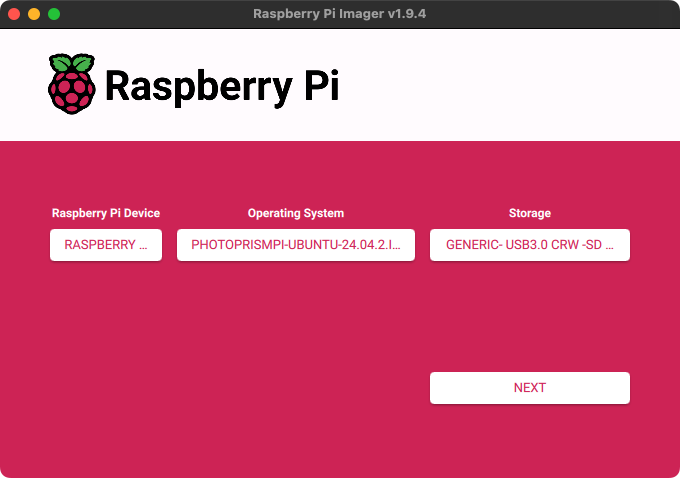
Once you have selected the downloaded image under "Operating System" and your SD card storage device, click "Next" to begin flashing the image. Depending on the speed of your SD card, this may take a few minutes.
Step 3: Boot Your Device
Insert the SD card into your Raspberry Pi and ensure that it is connected to a wired network. Then turn it on. After a few minutes, the operating system will finish its first-run setup and download the latest PhotoPrism release to your device.2
You should then be able to access the web interface by navigating to http://<IP address>:2342/ or https://photoprism-pi.local/!3
User Accounts
When you first log in to PhotoPrism, the username for the initial super admin account is admin and the password is photoprismpi.
You can also connect to the server via SSH on standard port 22 using the username pi and password raspberry.
Danger
Since they can be easily guessed, both passwords should be changed immediately. This is especially important if your device is connected to the Internet or any other shared network.
Storage Folders
Your pictures, uploads, sidecar files, and cache files are stored in subfolders of /opt/photoprism. You can also connect external drives via USB and access them as folders from /mnt/a to /mnt/d without further configuration.
Should you want to make changes to the default settings, you can find your compose.yaml file in /opt/photoprism.
After connecting via SSH with the credentials provided above, you can obtain root privileges by running sudo -i.
Running Commands
After connecting via SSH, navigate to /opt/photoprism to run commands or view logs:
cd /opt/photoprism
Run PhotoPrism commands:
sudo docker compose exec photoprism photoprism [command]
Viewing Logs
The following will watch the service logs for troubleshooting:
sudo docker compose logs -f photoprism
Traefik Reverse Proxy
Traefik is pre-installed as a reverse proxy and can be configured in your /opt/photoprism/compose.yaml file, as well as through the config files located in /opt/photoprism/traefik.
Getting Updates
Make sure to use the latest version tag for Traefik in your compose.yaml file, e.g.:
services:
  traefik:
    image: traefik:v3.6
Then run the following command to pull the latest image and restart the service:
sudo docker compose up -d --pull always
This ensures you receive the latest security updates and prevents errors when upgrading Docker to the latest version.
Certificate Warnings
Web browsers do not recognize the default TLS certificate as valid, so a warning will appear when connecting over HTTPS.
To avoid this issue, use a valid certificate e.g. obtained for free via Let's Encrypt.
If you install PhotoPrism on a public server outside your home network, always run it behind a secure HTTPS reverse proxy. Your files and passwords will otherwise be transmitted in clear text and can be intercepted by anyone, including your provider, hackers, and governments. Backup tools and file sync apps may refuse to connect as well.
-
PhotoPrismPi is based on Ubuntu Server. ↩
-
Download and installation time depends on the speed of your Internet connection. ↩
-
If you can't connect, try using the existing hostname or IP address instead. ↩