Running PhotoPrism on an Asustor NAS
Before setting up PhotoPrism on your NAS, we recommend that you check the Asustor product database for the CPU and memory configuration of your device.
For a good user experience, it should be a 64-bit system with at least 2 cores and 3 GB of RAM. Indexing large photo and video collections also benefits greatly from using SSD storage, especially for the database and cache files.
Third-party integrations may not provide direct access to config files or the command line, so you might not be able to use all features and config options. Also note that RAW image conversion and TensorFlow are disabled on devices with 1 GB or less memory, and that high-resolution panoramic images may require additional swap space and/or physical memory above the recommended minimum. We take no responsibility for instability or performance problems if your device does not meet the requirements.
Setup
This step-by-step guide explains how to set up a new PhotoPrism instance through App Central, the built-in app store.
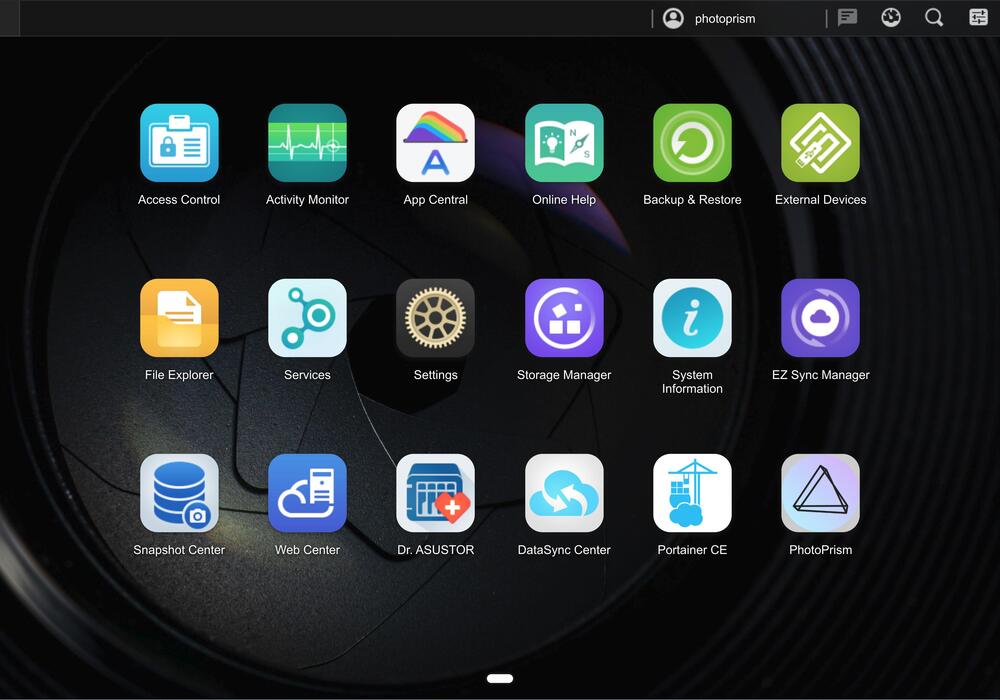
Step 1: Open App Central
Log in to the user interface of your NAS. You can do this by navigating to https://asustor:7001 if you replace asustor with the actual IP address or hostname of your device and change the port depending on your configuration.
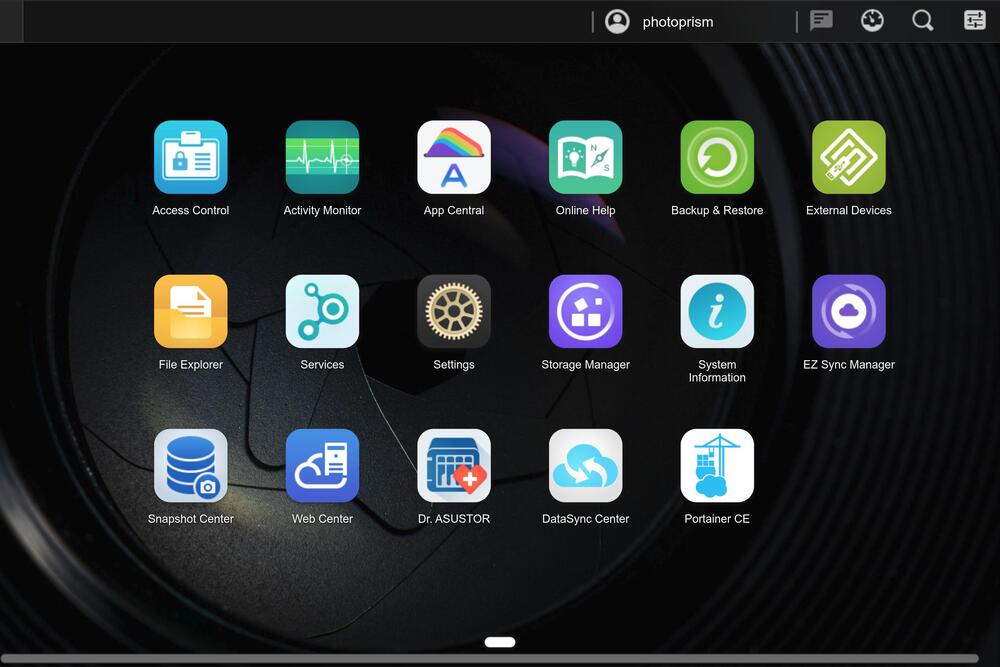
Now open "App Central" on the home screen:
Step 2: Install PhotoPrism
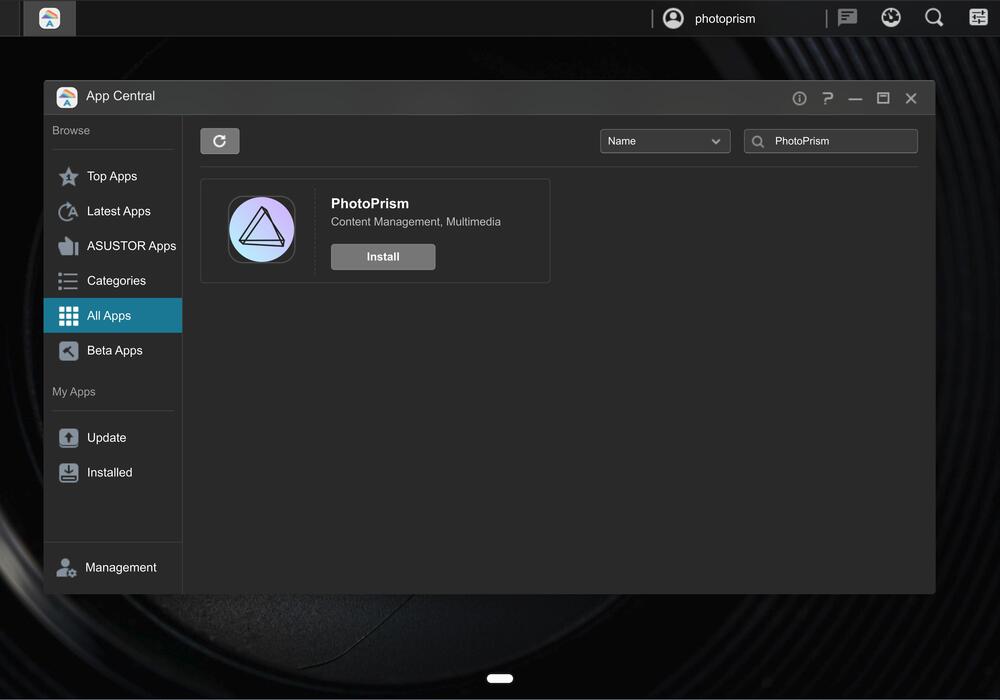
Type PhotoPrism in the search box in the upper right corner and press Enter to start the search. PhotoPrism should then be displayed so you can click "Install" to start the installation:
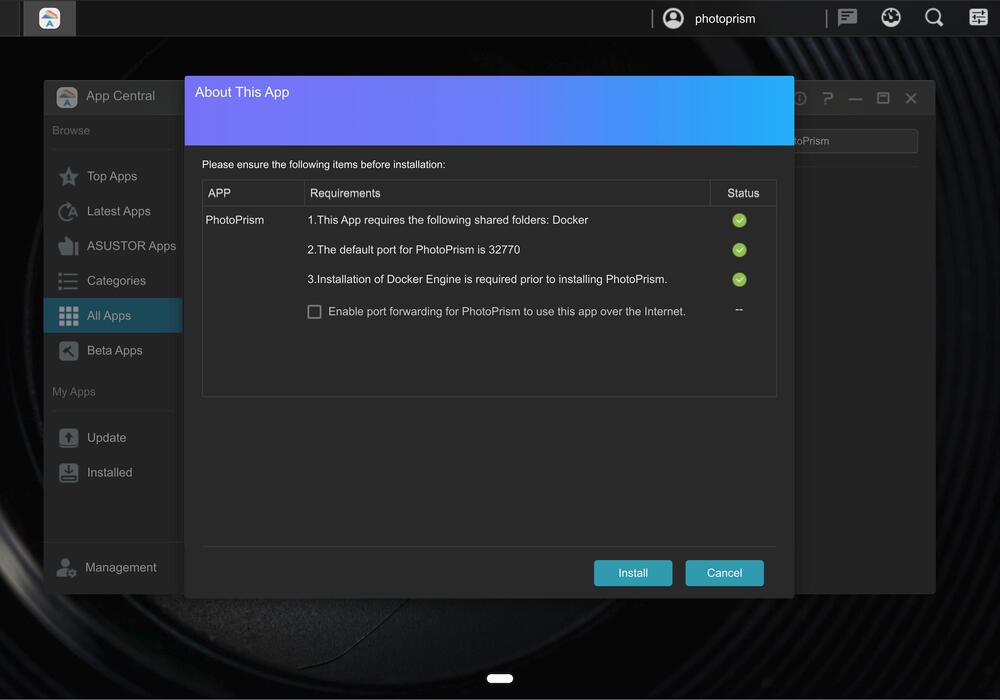
Next, you will be informed about dependencies like Docker that need to be installed, and you can decide whether you want your instance to be accessible from the Internet (if you have set this up for your NAS and your Internet router is compatible):
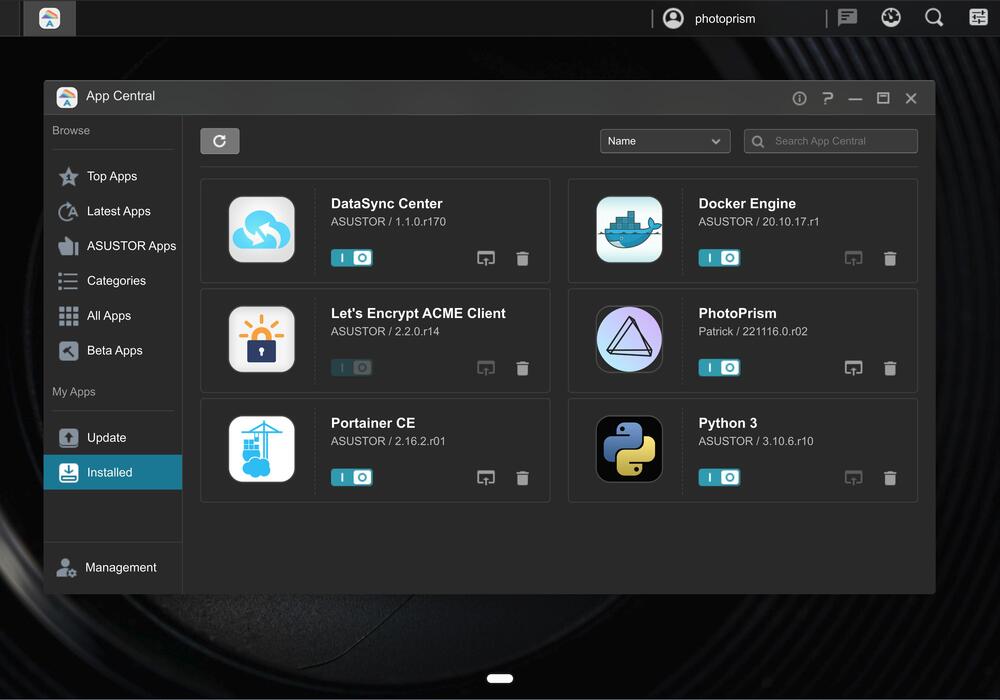
If you want to uninstall PhotoPrism later, you can also do that in App Central.
Step 3: Open PhotoPrism
Once the installation is complete, you will find PhotoPrism on your home screen, where you can open it in a new tab with one click:
You can also navigate directly to port 32770 on your device.
When you see the login screen, enter the username admin and password admin321 to sign in:
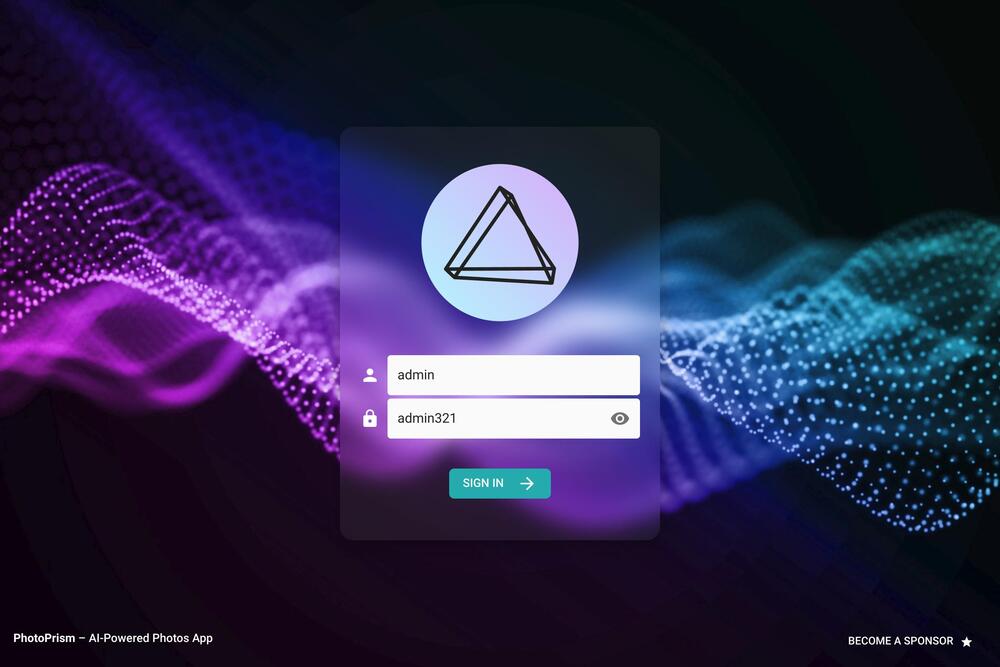
Remember to change your password after the first login. You can do this in Settings > Account.
Step 4: Add Your Files
Our First Steps 👣 tutorial guides you through the user interface and settings to ensure your library is indexed according to your individual preferences.
Depending on which strategy you choose, you can add your media files to the originals or import folder located in /volume1/Docker/PhotoPrism/data:
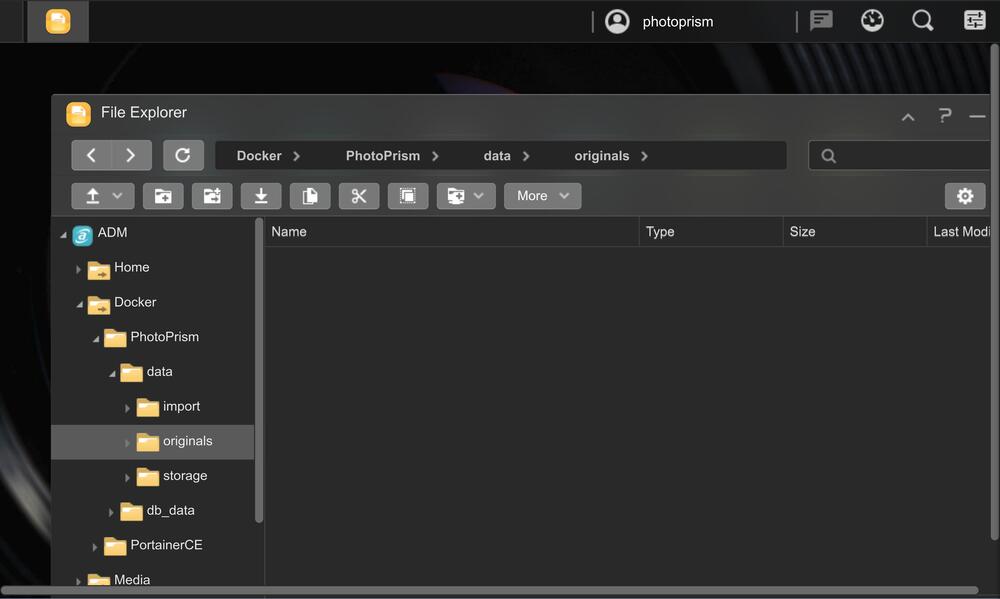
The storage folder, which contains configuration, cache and sidecar files, can also be found there.
Note that the folders that PhotoPrism uses cannot be dynamically configured at the moment when using this app store version. However, we are working to make this possible.