Face Recognition
PhotoPrism includes facial recognition that lets you find pictures of your family and friends. Be ready to discover long forgotten shots! New faces are detected as you scan your library. They are then grouped by similarity, so you can quickly match them to people.
Recognition does not start until your library has been fully scanned. Searching and updating faces temporarily causes a high CPU load and may take a while, depending on your hardware and the number of images you have.
Existing clusters are automatically optimized in the background, for example, when new faces are detected, you have reported a bad match, or new files are added to your library.
AI Models > Face Recognition explains how detection, embedding, and grouping work, and lists the config options you can adjust.
Recognized & New People
The people section shows you recognized people as well as new face clusters.
To star a person click . Starred persons appear first.
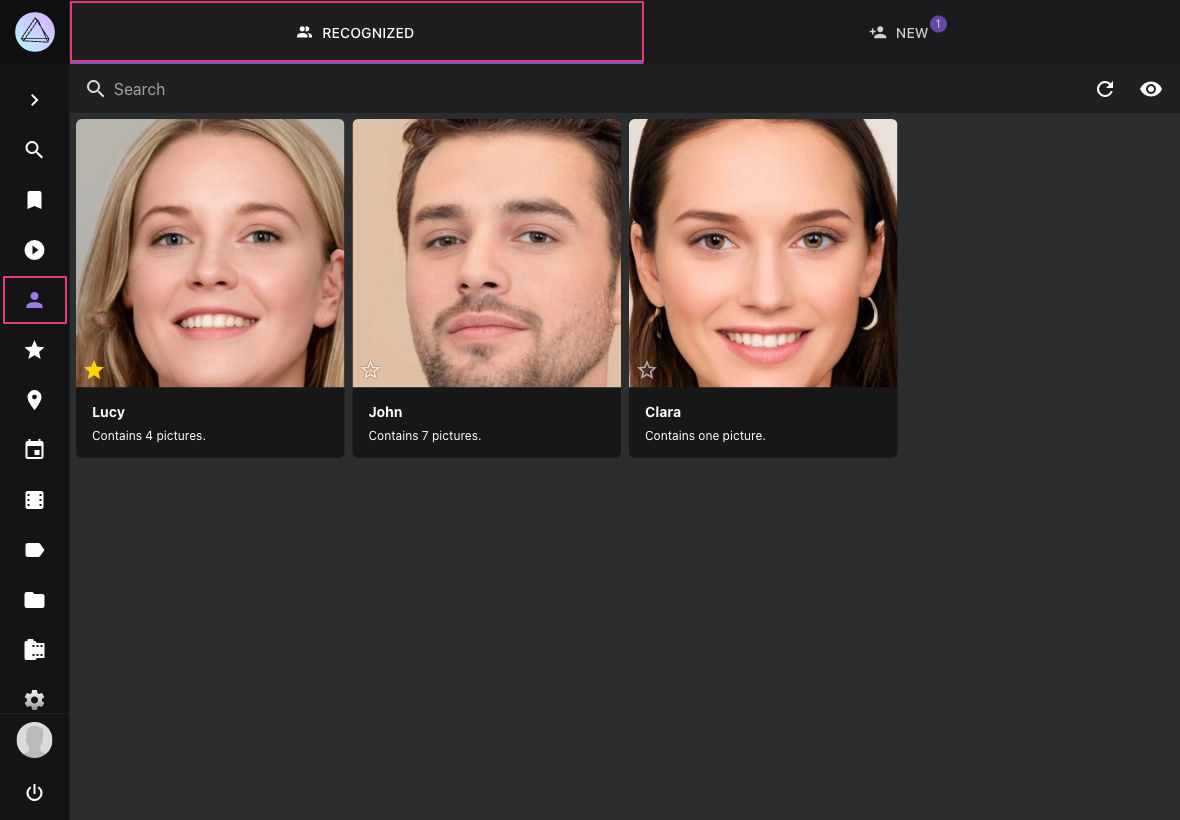
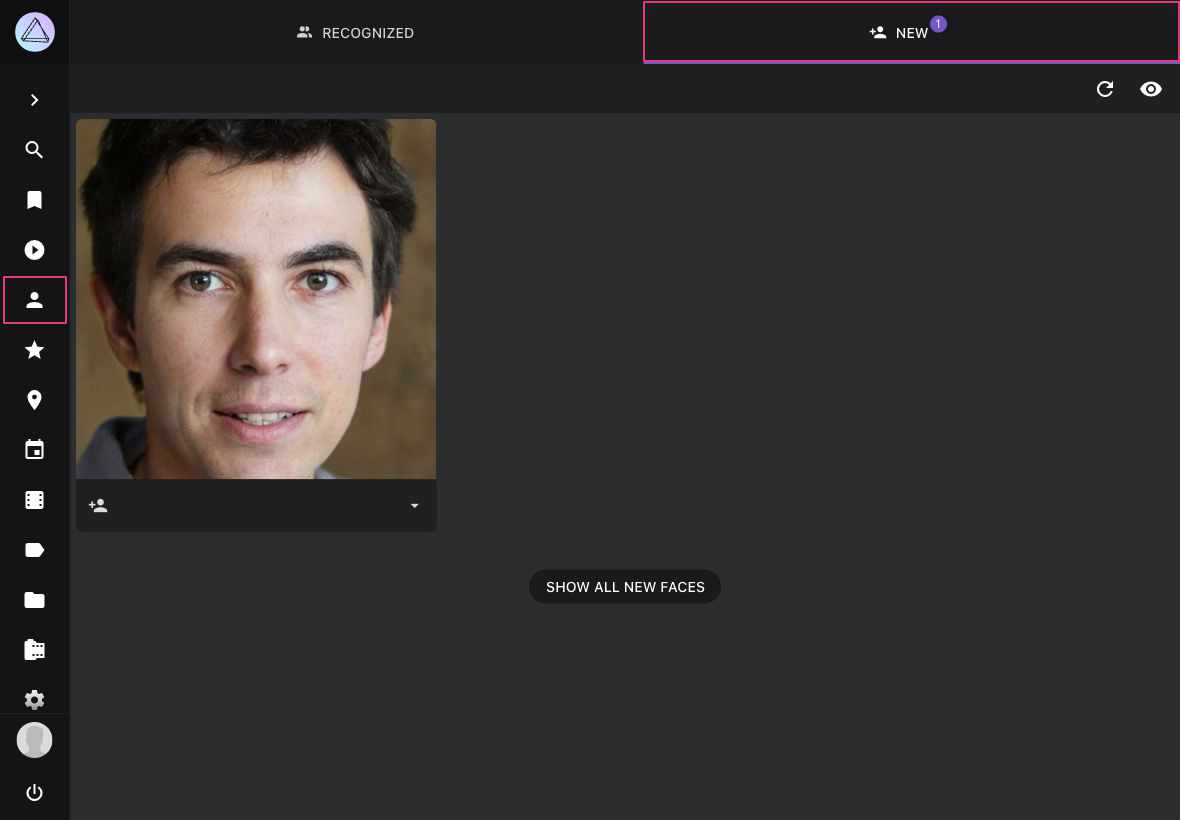
Why doesn't the New Faces page show all faces?
The 'New Faces' page only shows automatically recognized face clusters, as there may be thousands of unknown faces in your library, including random movie actors or faces on shampoo bottles.
You can use the face:new search filter to find images with unknown people.
We recommend combining this filter with other filters like year or location
when searching for specific people. The People tab in the photo edit dialog
shows all faces, so you can name them or report a bad match by pressing the button.
Why did a new face cluster disappear?
When enough faces in a new cluster have already been recognized and all of them belong to the same person, the cluster is named after that person automatically, and its other faces are assigned to them. This happens only if those faces make up at least half of the cluster and none of its faces was named manually. The cluster then no longer appears among the new faces, and the person's other photos in it are found as well. Clusters whose recognized faces belong to different people stay unnamed.
When a face was not detected...
There can be several reasons why a face was not detected:
- Our latest release includes better face detection. After updating, perform a complete rescan or run
photoprism faces indexin a terminal to detect more faces that were previously missed - You may need to wait until indexing is complete, as face recognition will not begin until your library has been scanned
- Only the primary file in stacks will be searched for faces
- Faces can be smaller than the minimum size configured
- Our face detection did not scan the image thoroughly enough
- Reducing the resolution or quality of generated thumbnails negatively impacts face detection and recognition results, just like when you cannot see properly
- Contrast plays a major role, so a bright face with gray hair on a gray background may be less obvious to our face detection than it is to you
- In very rare cases, an actual face may be considered a false positive and thus be ignored
Recognition compares the similarity of faces. The similarity threshold for a face is reduced when you report a bad match.
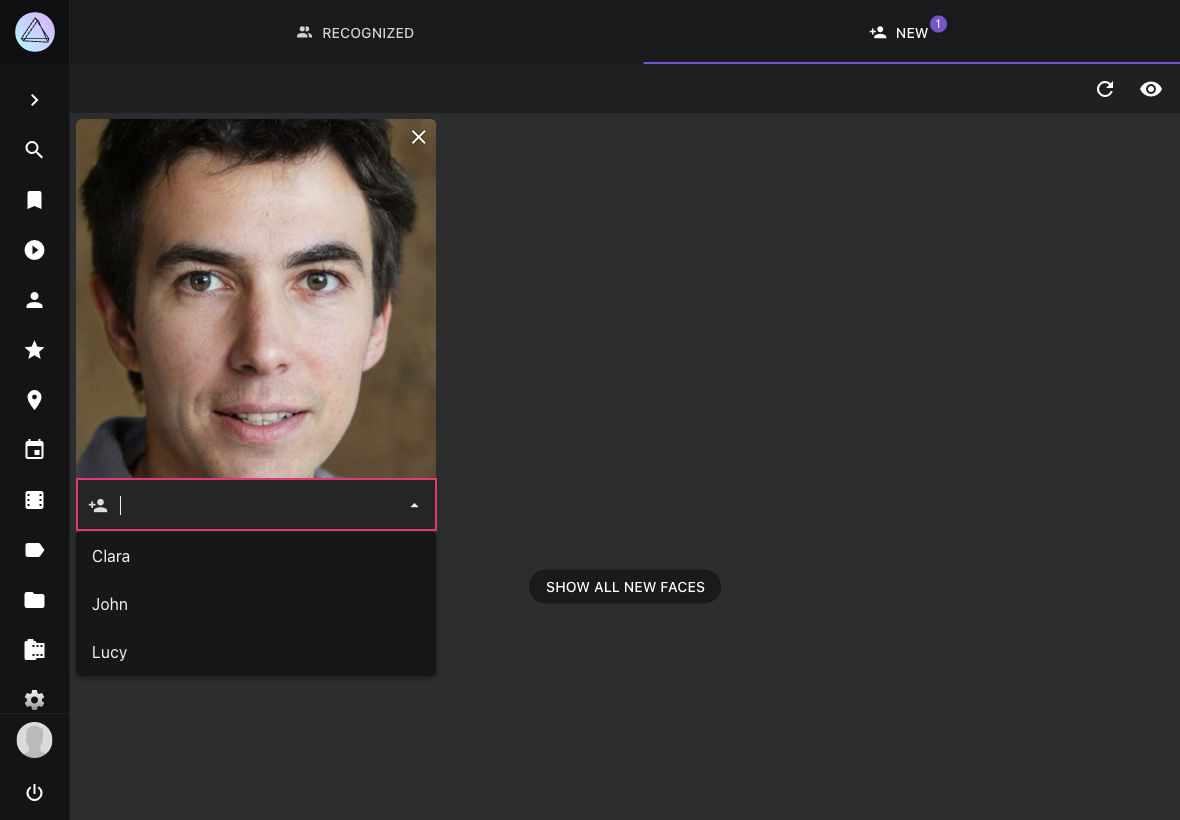
Assign Names to Faces
- Go to People
- Go to New
- Click on the input field
- Start typing a name
-
Press enter
- Open the photo edit dialog
- Go to the People tab
- Click on the input field
- Start typing a name
-
Press enter
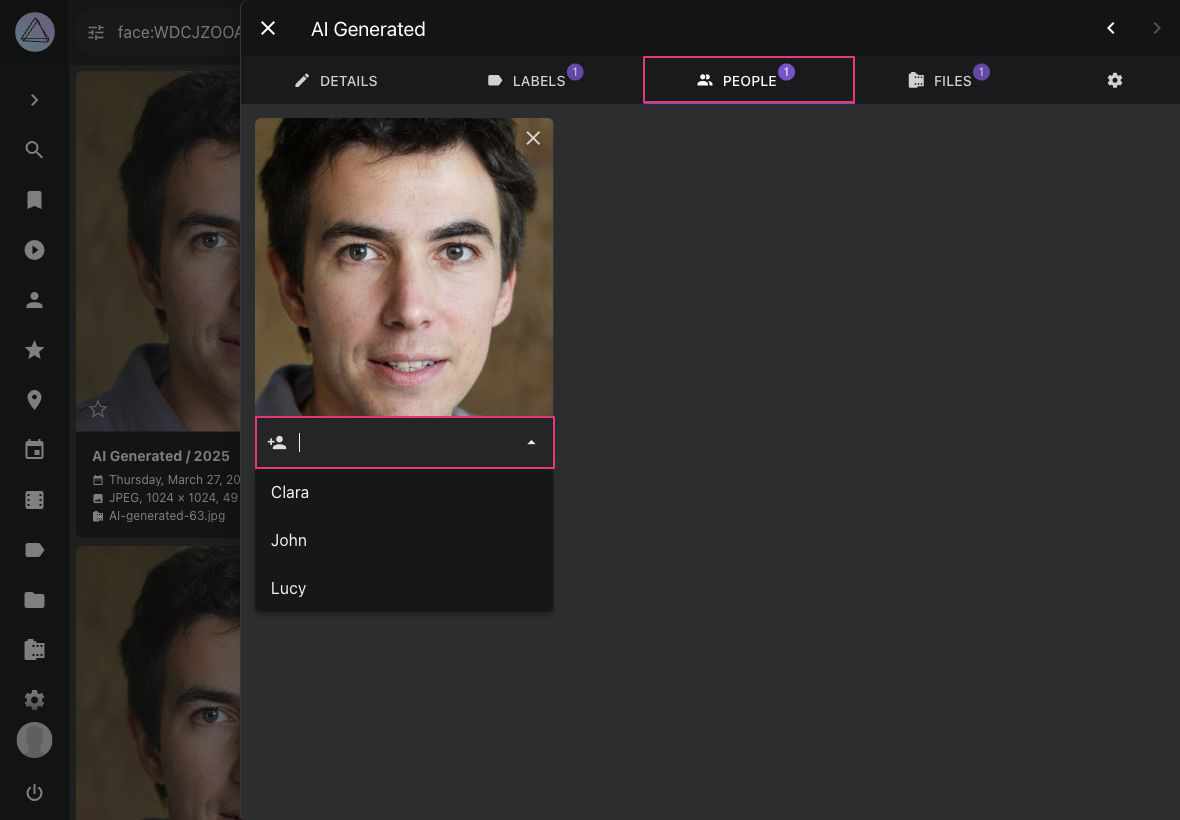
You can also assign names to faces directly from the Info Sidebar of the full-screen viewer, which is the only place where you can manually mark a face that PhotoPrism missed during automatic detection.
The person you just added will appear under Recognized
If you have already named faces in another application such as Adobe Bridge, Lightroom, digiKam, ACDSee, or Windows, PhotoPrism can import those names from XMP metadata while indexing instead of you entering them again. Enable Import Faces from XMP to use this. If you only want to use faces imported this way or marked manually, see Using Faces Without Automatic Detection.
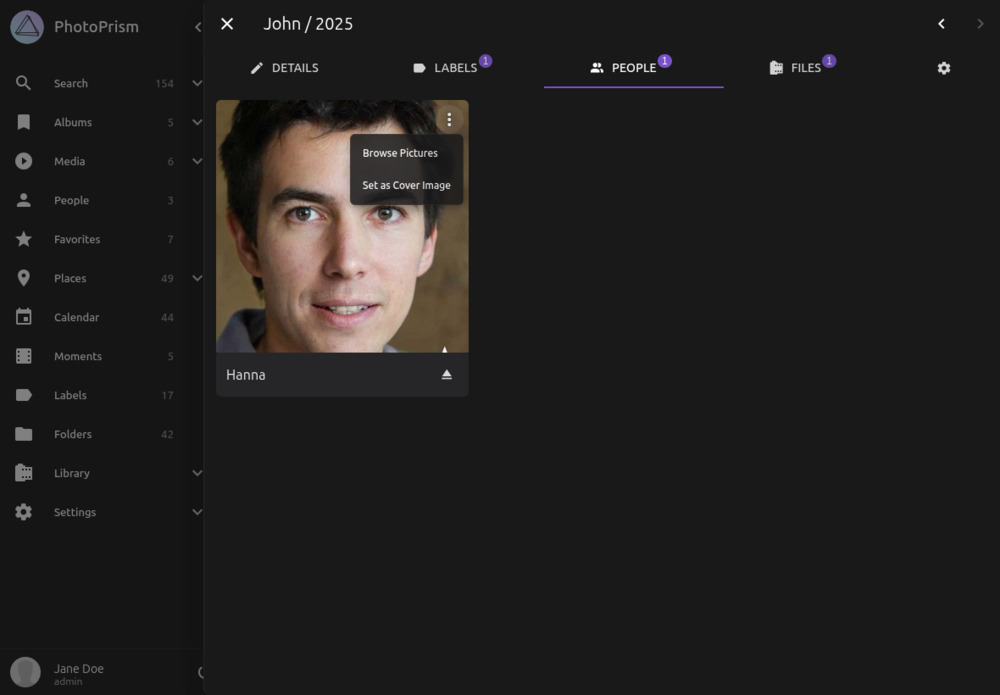
Change Cover for a Person
- Go to the people tab on the photo edit dialog of the photo that contains the face that should be used as the cover
- Hover over in the upper right corner of the face
- Click Set as Cover Image
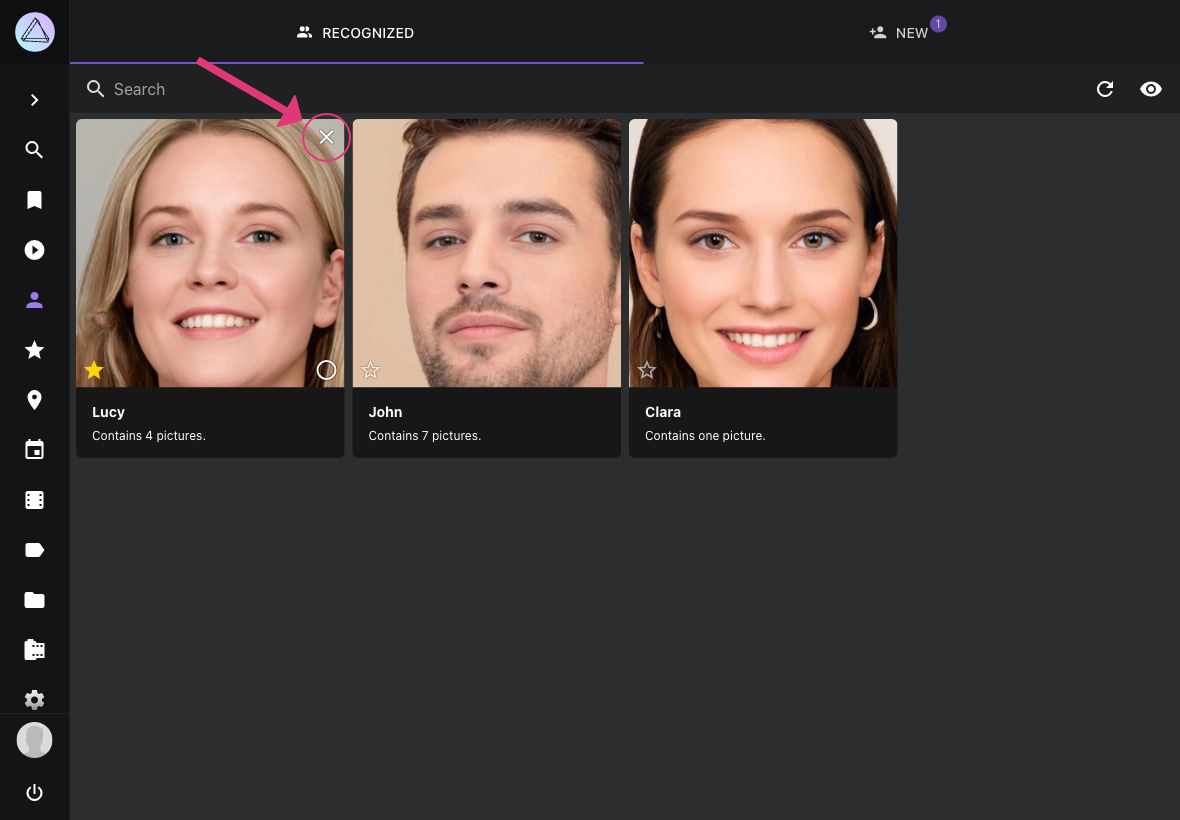
Hiding People
You can hide a person in the Recognized section by clicking in the upper right corner. Pictures of this person continue to be visible in search results and albums. Hiding a person also withholds their name from accounts that may not see private content, as described under Private & Hidden People.
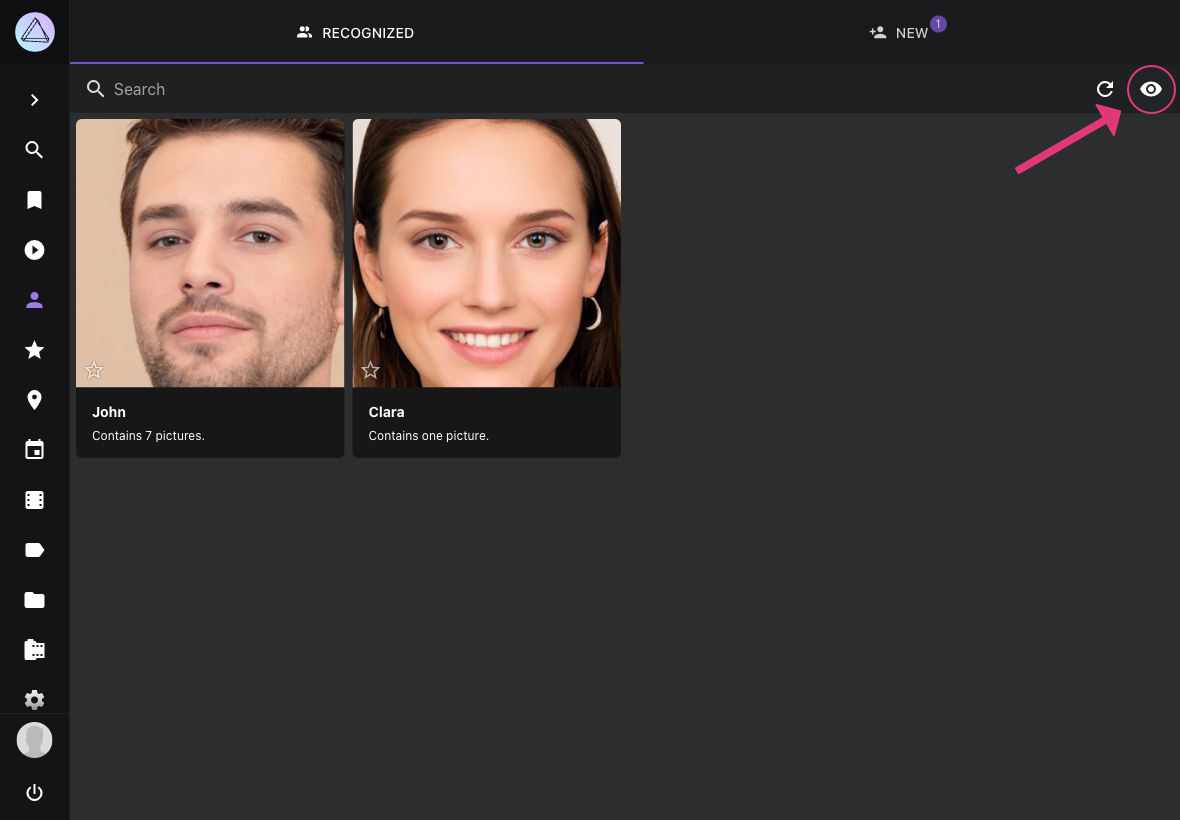
To see all people including hidden ones click .
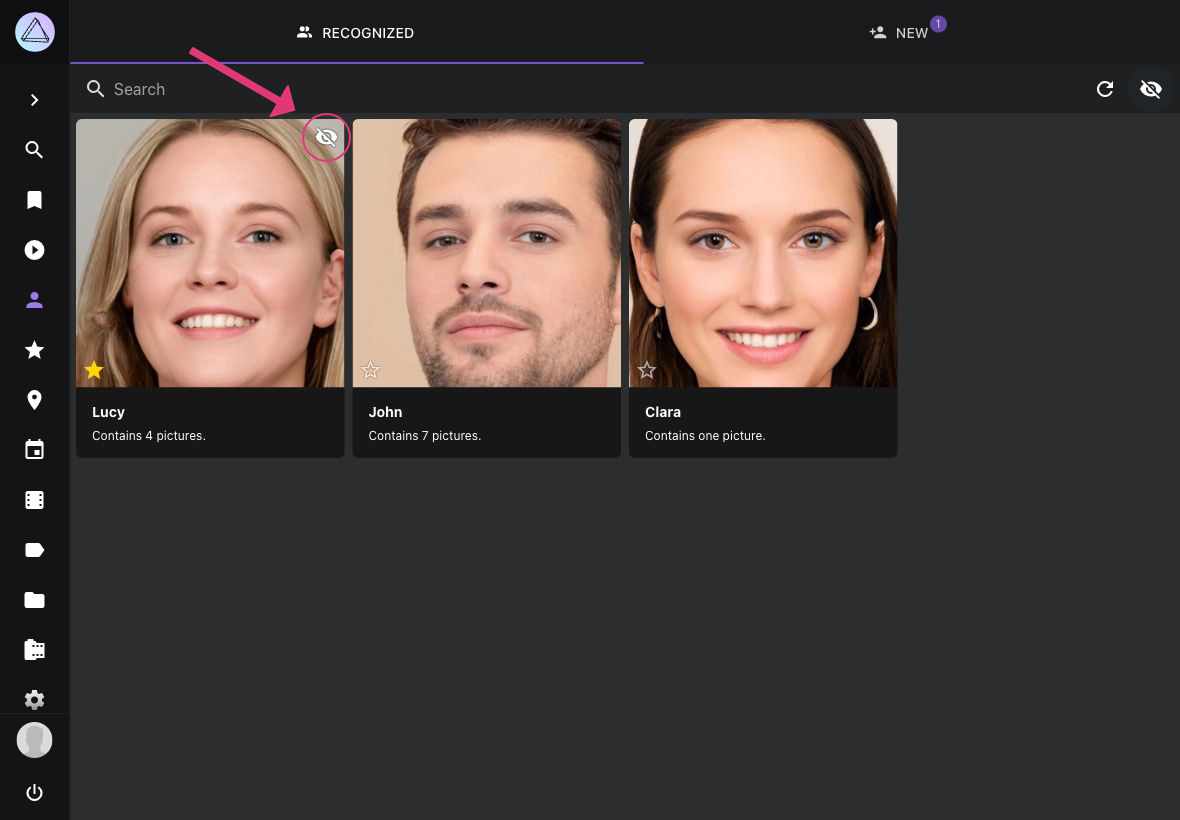
Hidden people can be recovered by clicking
Hiding Faces
You can hide face clusters from the New section, in the same way you hide people from the Recognized section.
Private & Hidden People
Some people in a shared library should not be named to every account. Open a person's Edit dialog to mark them Private or Hidden:
| Option | Effect |
|---|---|
| Private | Withholds the person from accounts that may not see private content. |
| Hidden | The same, and also leaves the person out of Recognized for everyone. |
Setting Hidden is the same as hiding a person with . Viewers, as well as Guests and Visitors opening a share link, do not see the names of people marked private or hidden; Admins and Users see them as usual and can change both options. Learn more ›
For an account that may not see them, a withheld person does not appear under People, is not named in a picture's People list, and their face region is not shown there. Their name is also kept out of automatically generated titles and captions; pictures that already carry it are updated by the next maintenance pass, so allow a few minutes for those.
Their pictures stay visible. Only the name and the face region are withheld, so anyone who may browse the library still sees the pictures. This is not encryption, and it is not a password prompt.
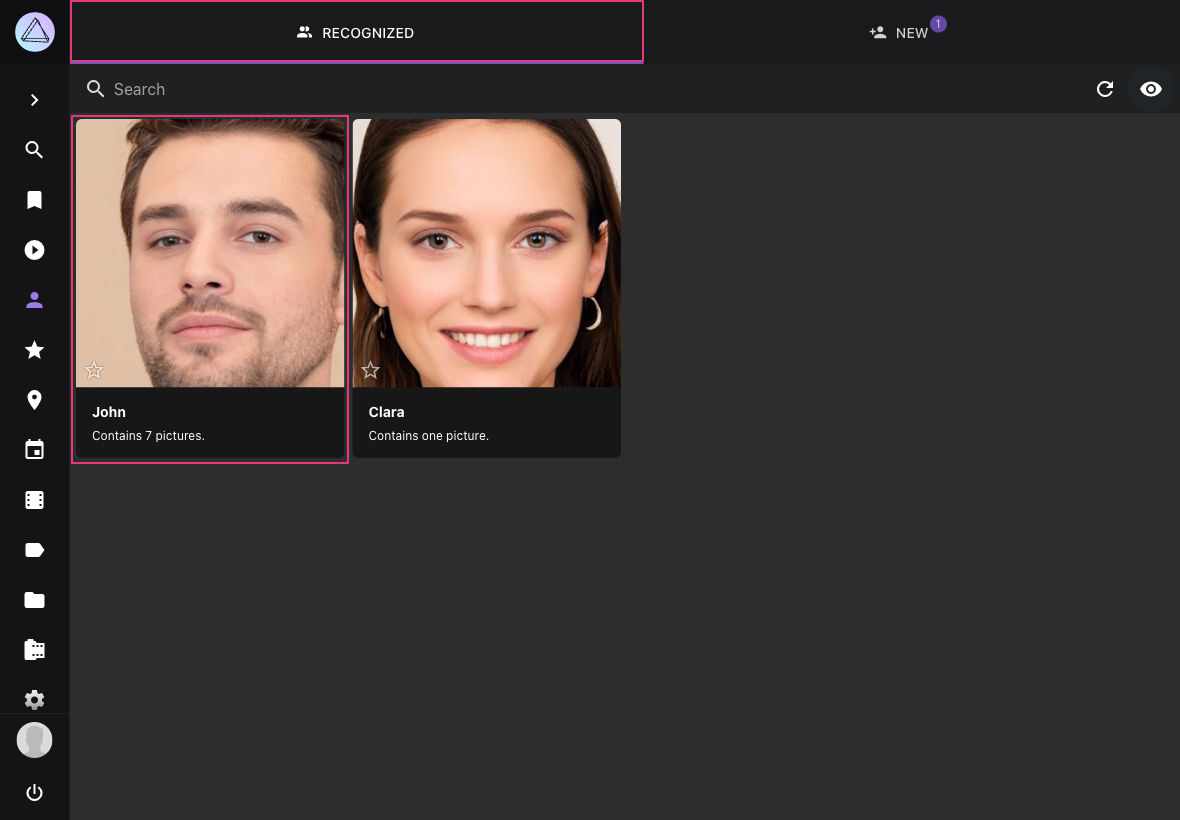
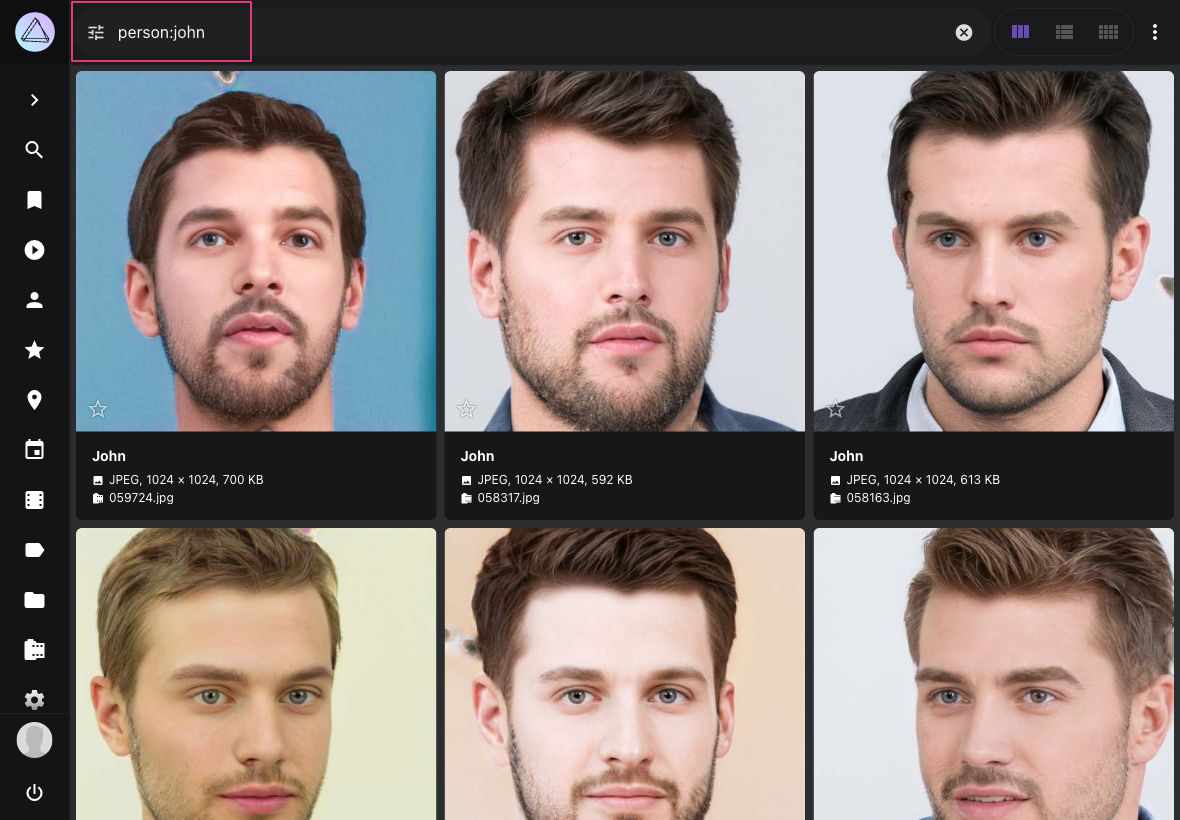
View all Photos of a Person
- Go to People
- Go to Recognized
-
Click on the person you want to view
- Go to Search
-
Search for person:"john"
Rename People
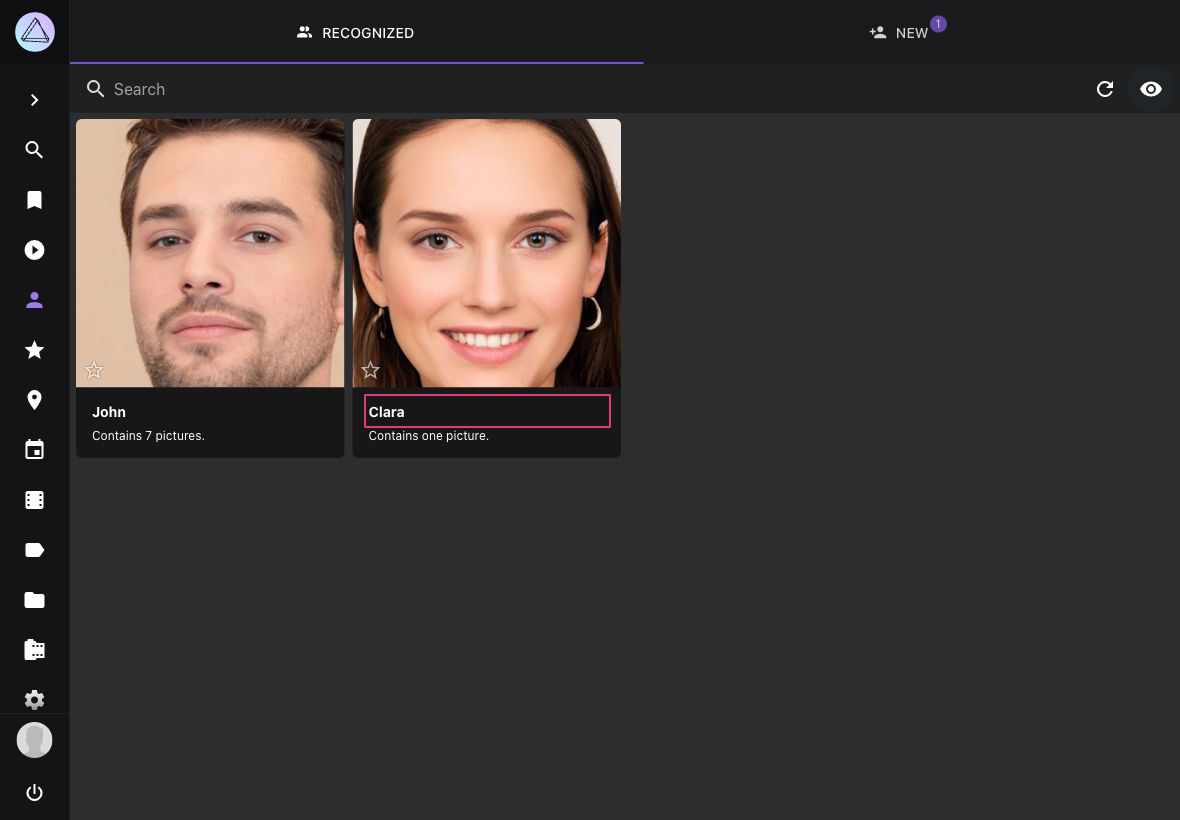
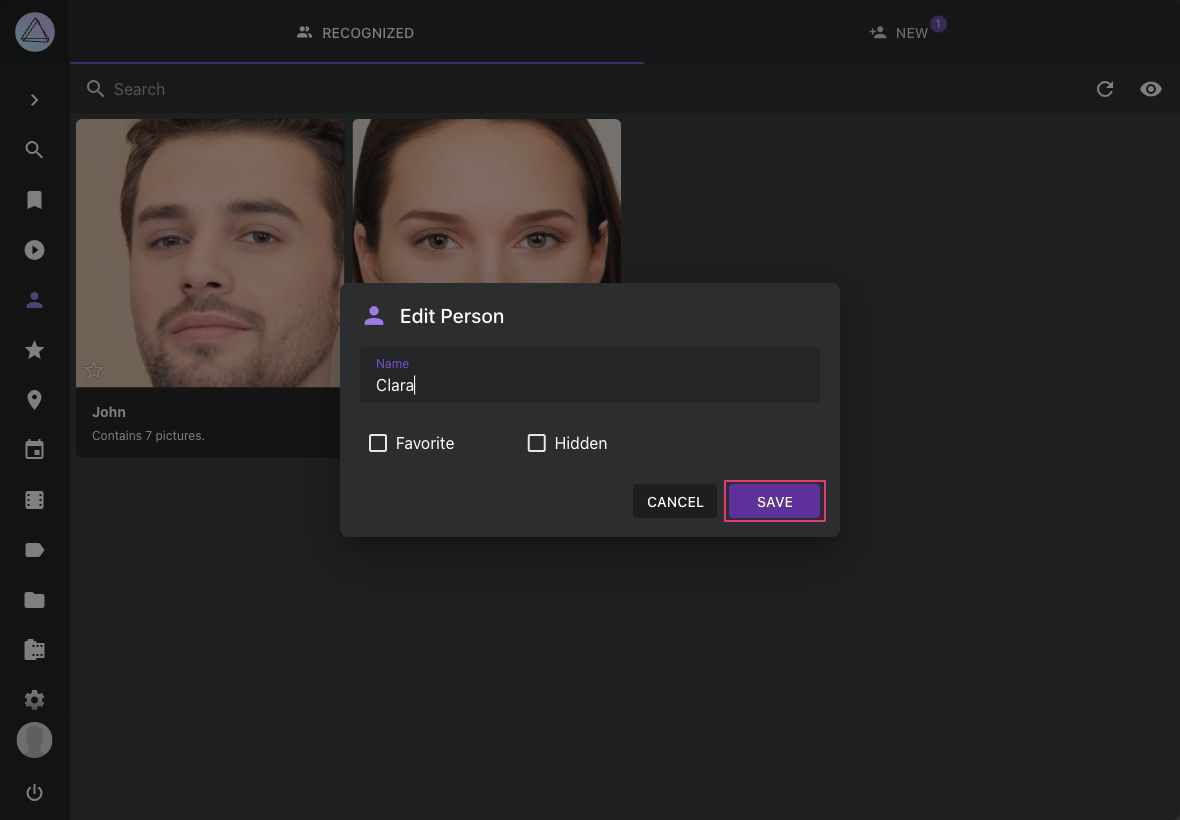
To rename all photos of a person:
- Go to People
- Go to Recognized
- Click on the persons name
- Type in a new name
- Click save
Change People Assignments
You may report bad matches by pressing the button underneath a face in the People tab. This will remove the name. You can either leave it blank or enter the name of a different person.
When you reject a match, the corresponding face cluster will be updated in the background so that similar issues can be resolved automatically.
- Open the photo edit dialog
- Go to the People tab
- Click
- Then enter a new name or leave it empty
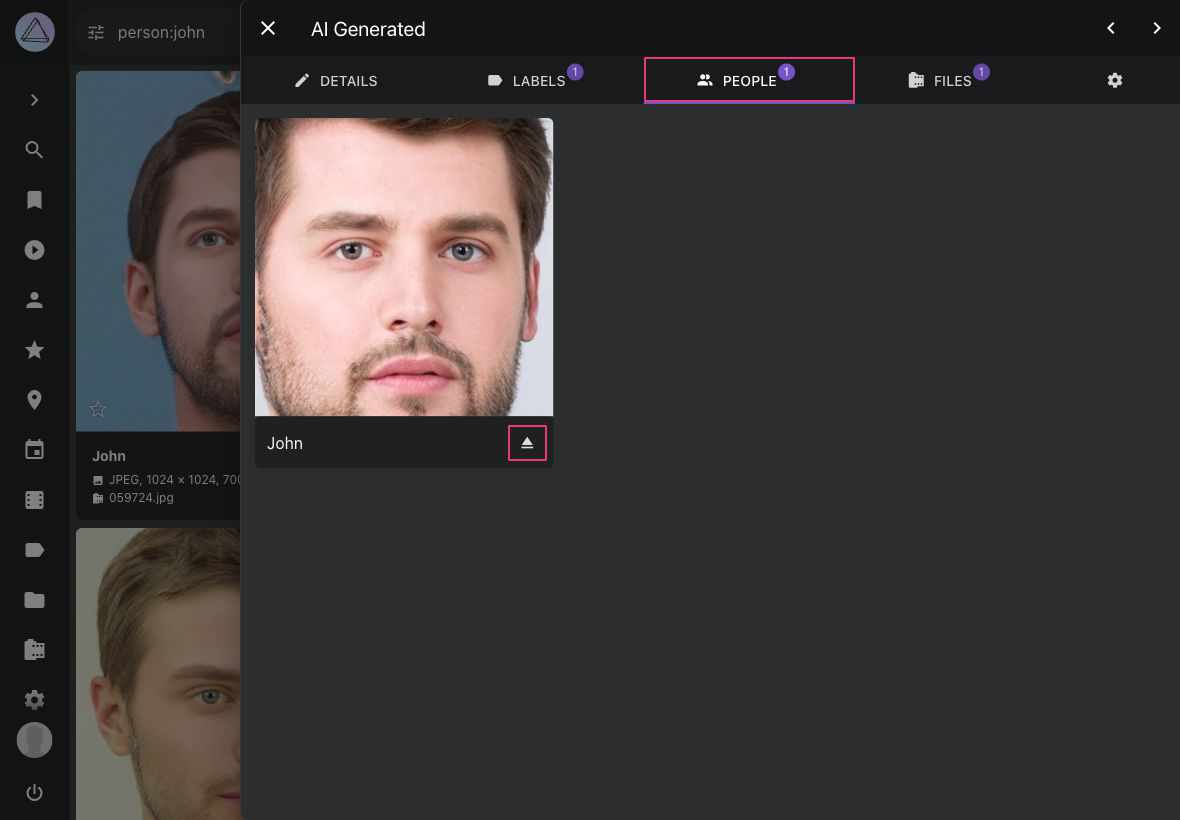
You can also change people assignments from the Info Sidebar of the full-screen viewer.
Remove Faces
In case PhotoPrism detected something wrong as face (false positives), or in case you just don't want to keep a face on the people tab you're not interested in, you can remove it.
- Open the photo edit dialogue
- Go to the People tab
- Click
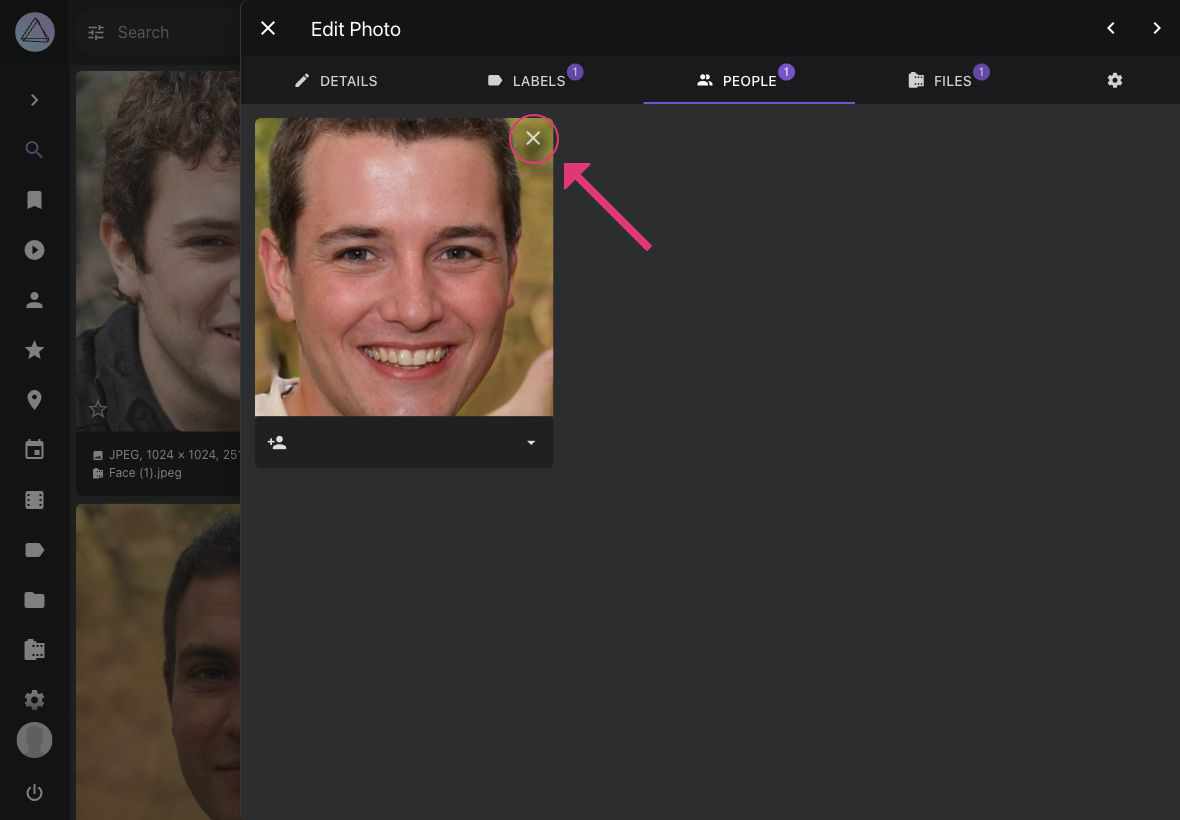
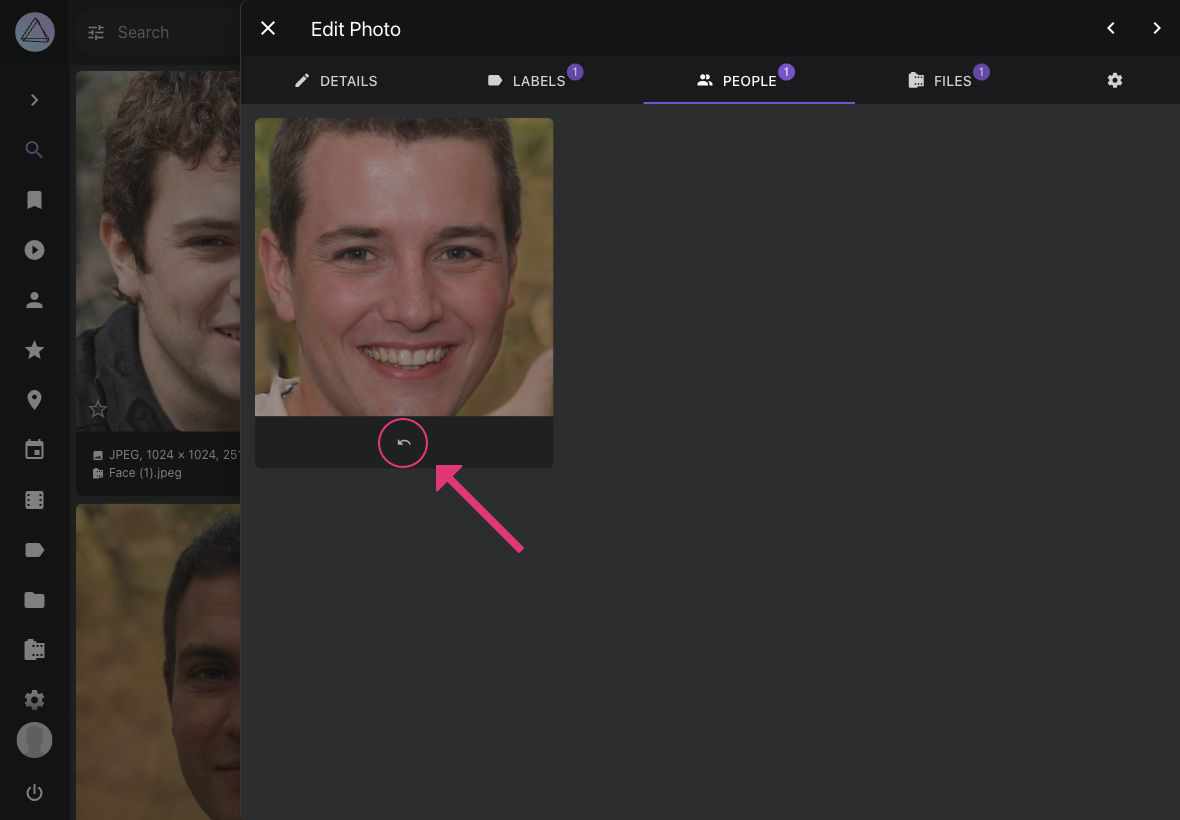
You might undo this action before a reload.
Faces can also be removed from the Info Sidebar of the full-screen viewer.
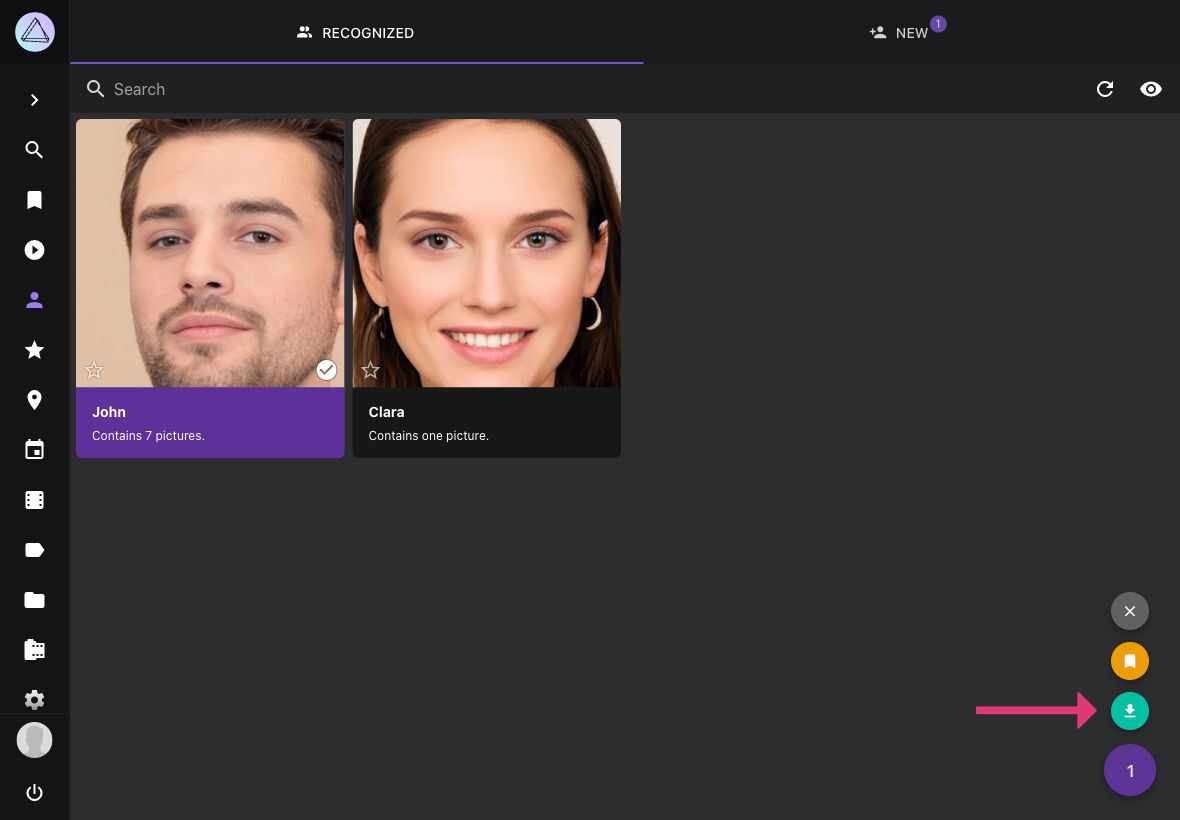
Download all Photos of a Person
- Go to People
- Select a person
- Open context menu
- Click
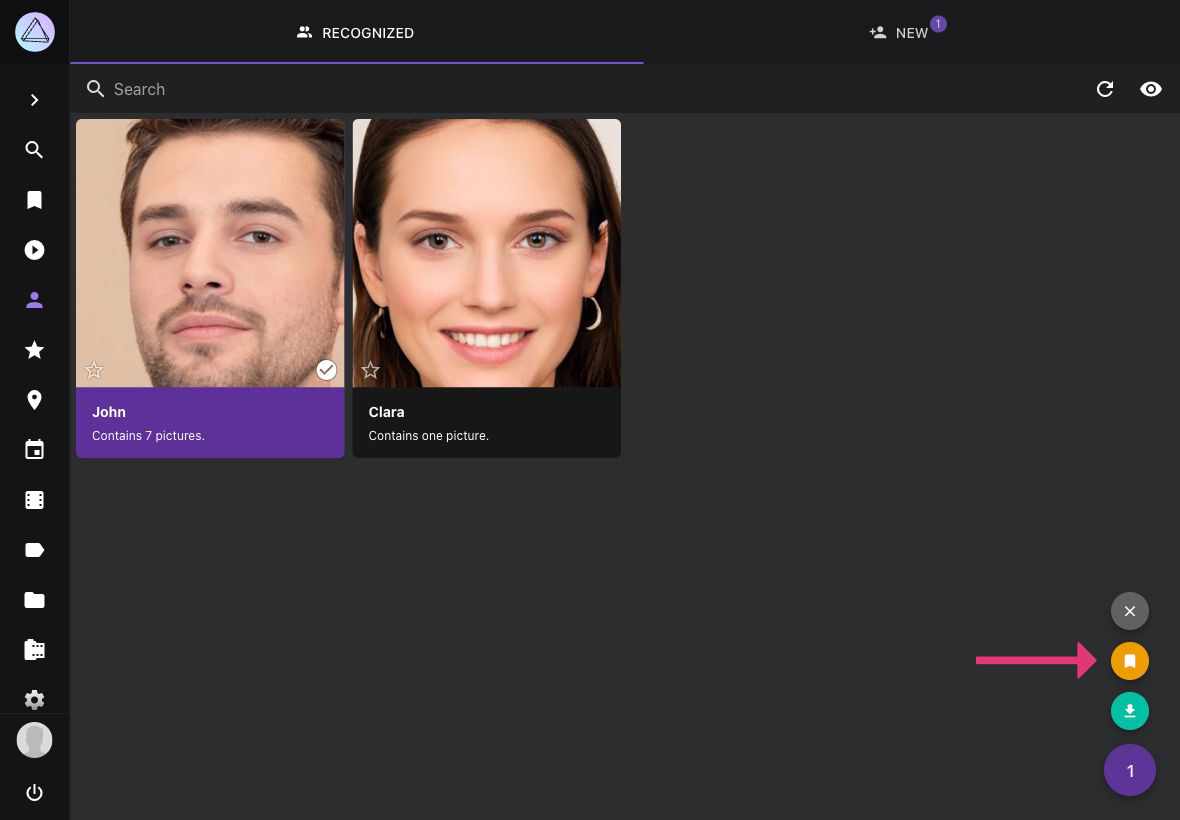
Create Albums from People
- Go to People
- Select a person
- Open context menu
- Click
- Select existing album or enter new album name
- Click add to album
Search
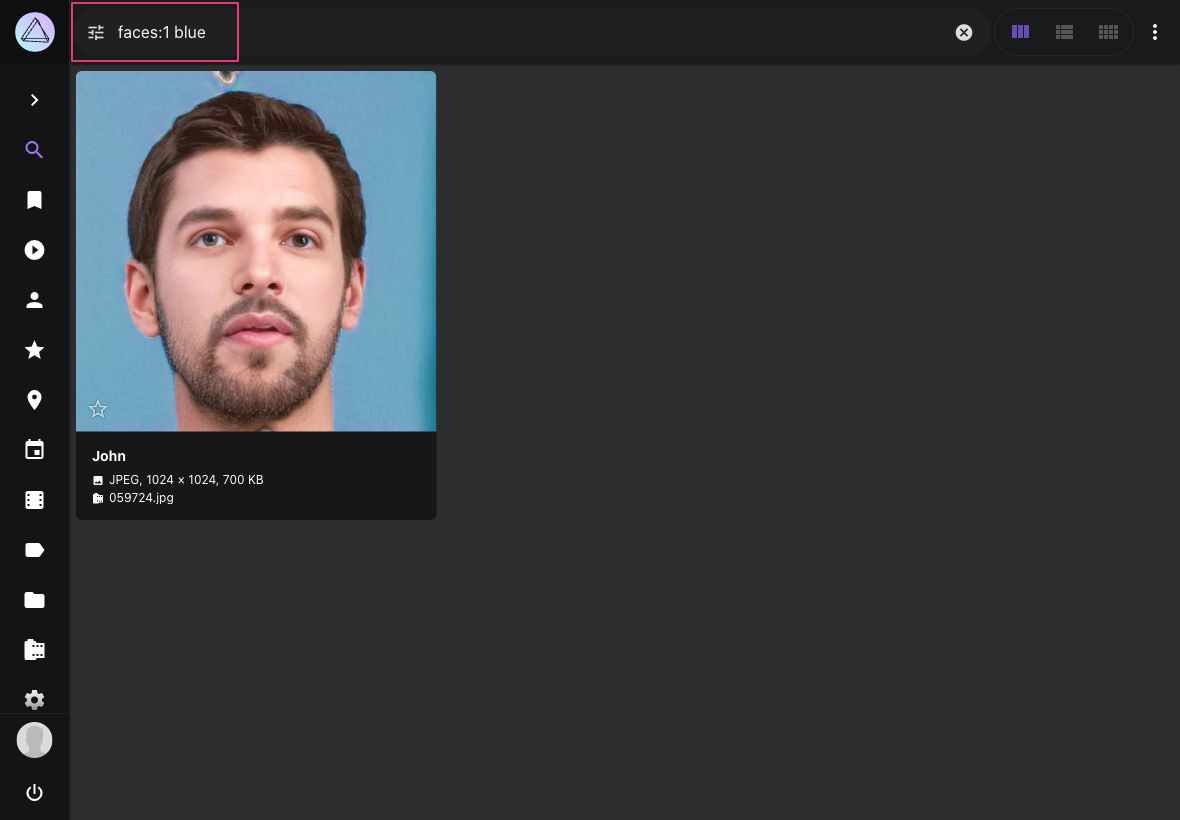
You can find photos with people on it using the following queries:
people,facesorfaces:truewill result in all photos with peoplefaces:falsewill show all photos without peoplefaces:3will show all photos with at least 3 people on itperson:"John Doe"orsubject:"John Doe"will show all photos of the person with the exact name John Doepeople:"John"orsubjects:"John"will show all photos of people with a name like John e.g. John Doe and John Smith
The person/subject and people/subjects filters can be used with & and | (see search for more details). Filters may be combined.
person:"John Doe&Jane Doe" faces:3 will show all photos with John and Jane Doe and one other person.
Known Issues
Automatic recognition has limits: it is less reliable for young children and for pictures of the same person taken many years apart, faces that are not upright are often not detected at all, and older hardware can be slow. See Known Issues > Face Recognition for the full list and the reasons behind it.
If faces are missing, people are grouped incorrectly, names do not stick, or tagging is slow, work through the checklists under Troubleshooting > Face Recognition.
Upcoming Features
- automatic backup of tagged people in YAML files