Using our DigitalOcean 1-Click App
PhotoPrism can be deployed at DigitalOcean with just a few clicks. If you have no DigitalOcean account yet, you may use this sign-up link to receive a $100, 60-day account credit:
Install PhotoPrism
- Sign Up or Log In at DigitalOcean
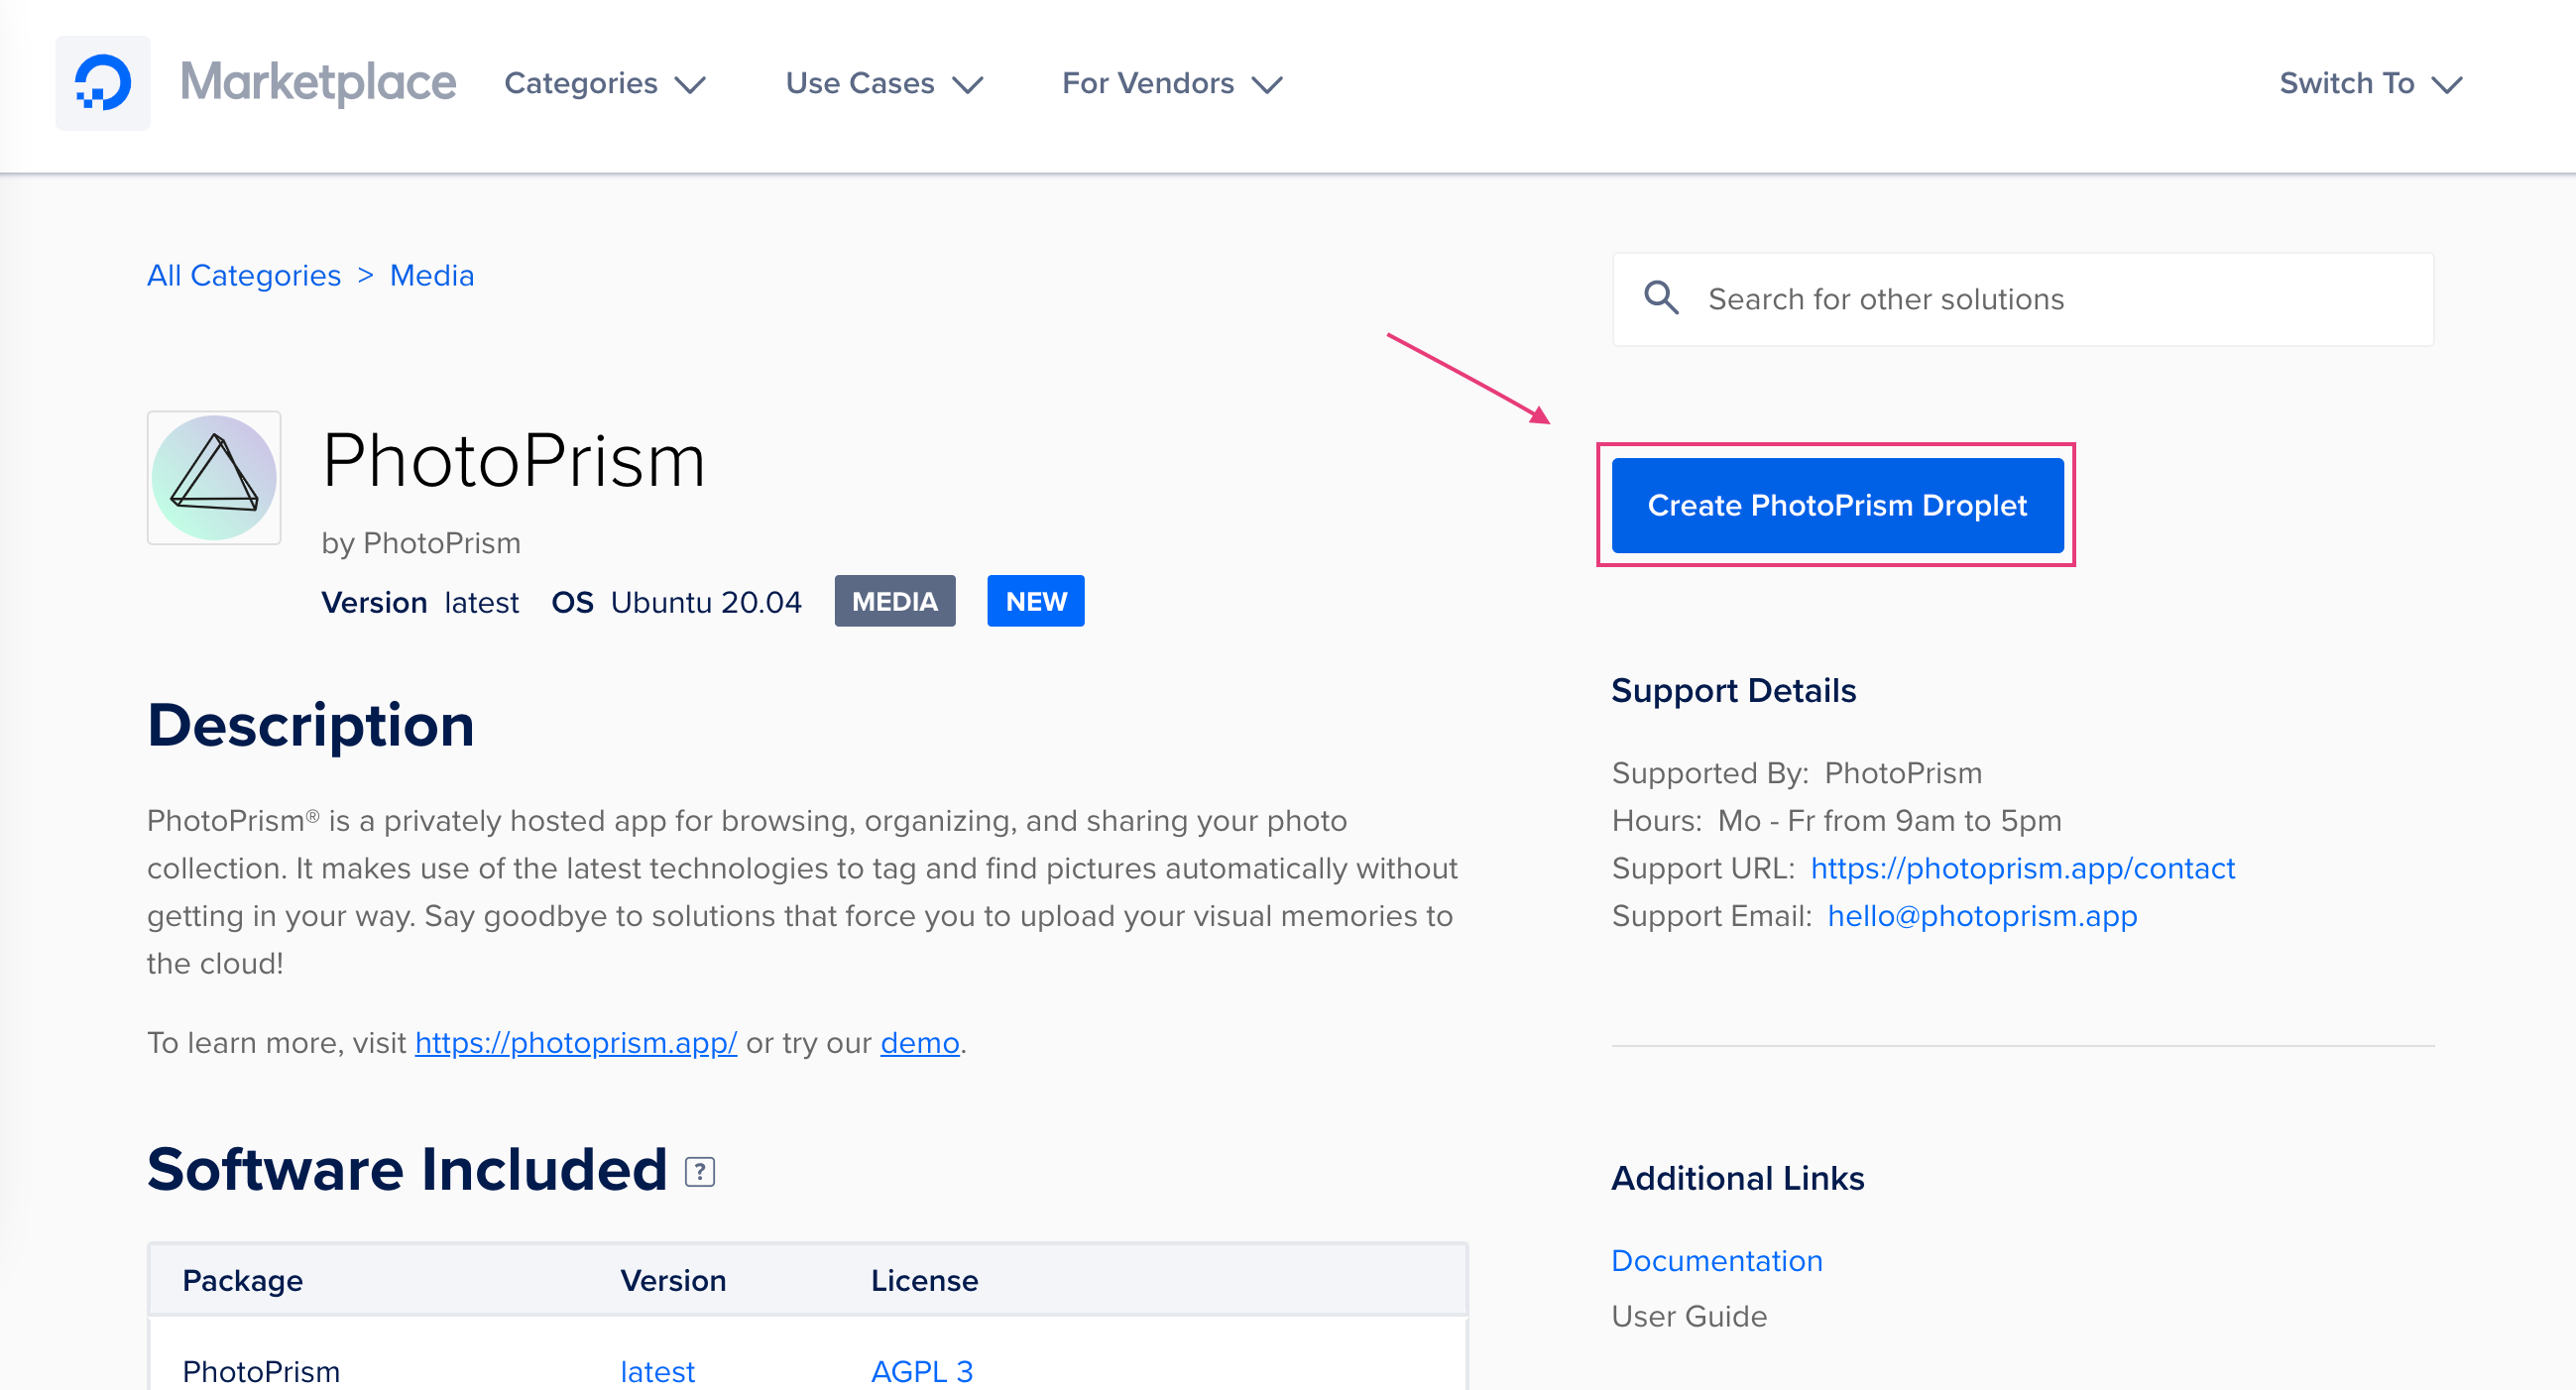
- Open the PhotoPrism listing in the marketplace
- Click Create PhotoPrism Droplet
Configure Your Droplet
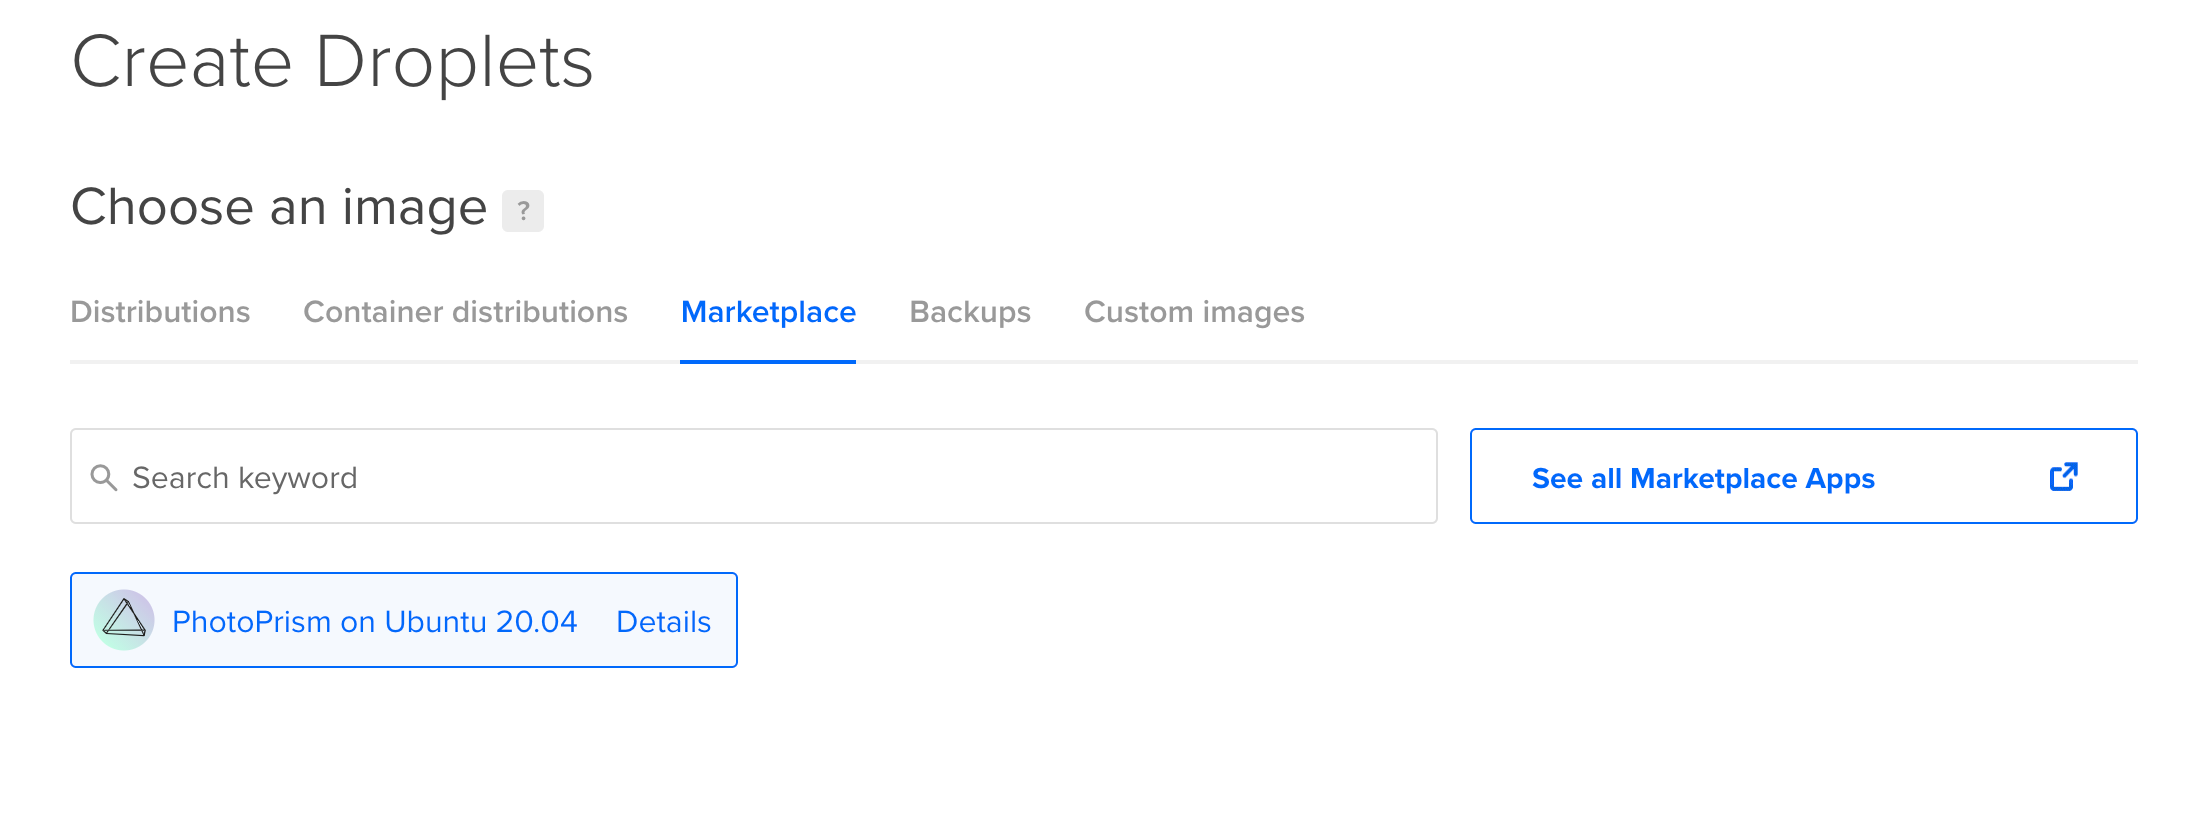
Choose an Image
The PhotoPrism image will be pre-selected
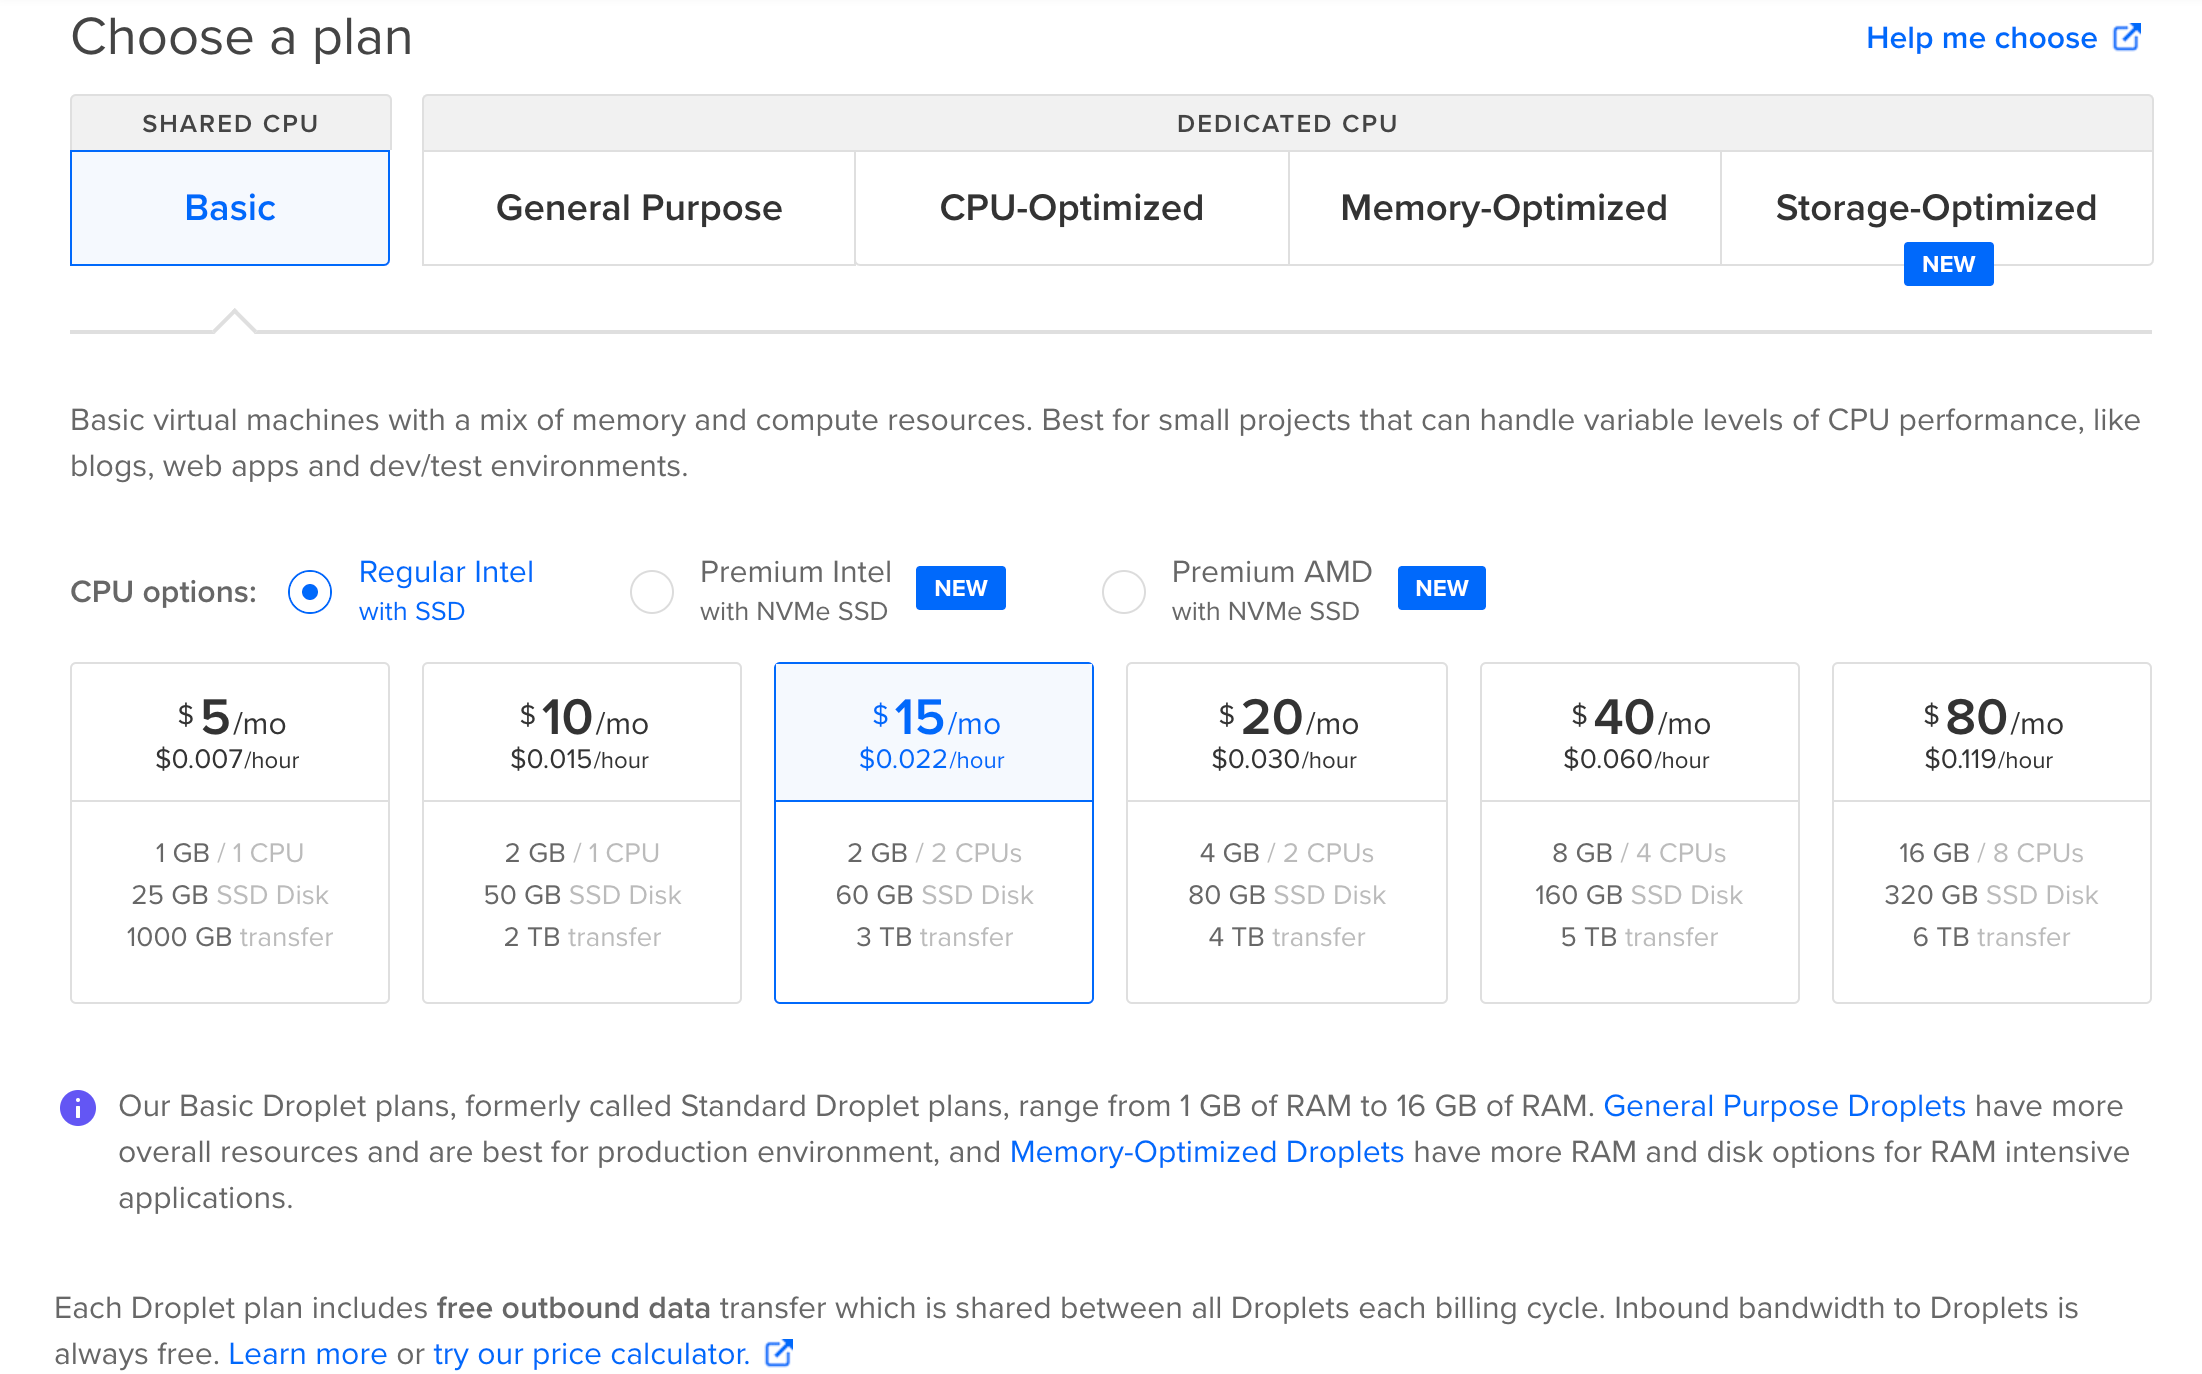
Choose a Plan
We recommend hosting PhotoPrism on a server with at least 2 cores and 3 GB of physical memory. Indexing and searching can be slow on smaller Droplets, depending on how many and what types of files you upload.
While PhotoPrism has been reported to work on Droplets with less memory, we take no responsibility for instability or performance problems. RAW image conversion and TensorFlow are disabled on Droplets with 1 GB or less memory.
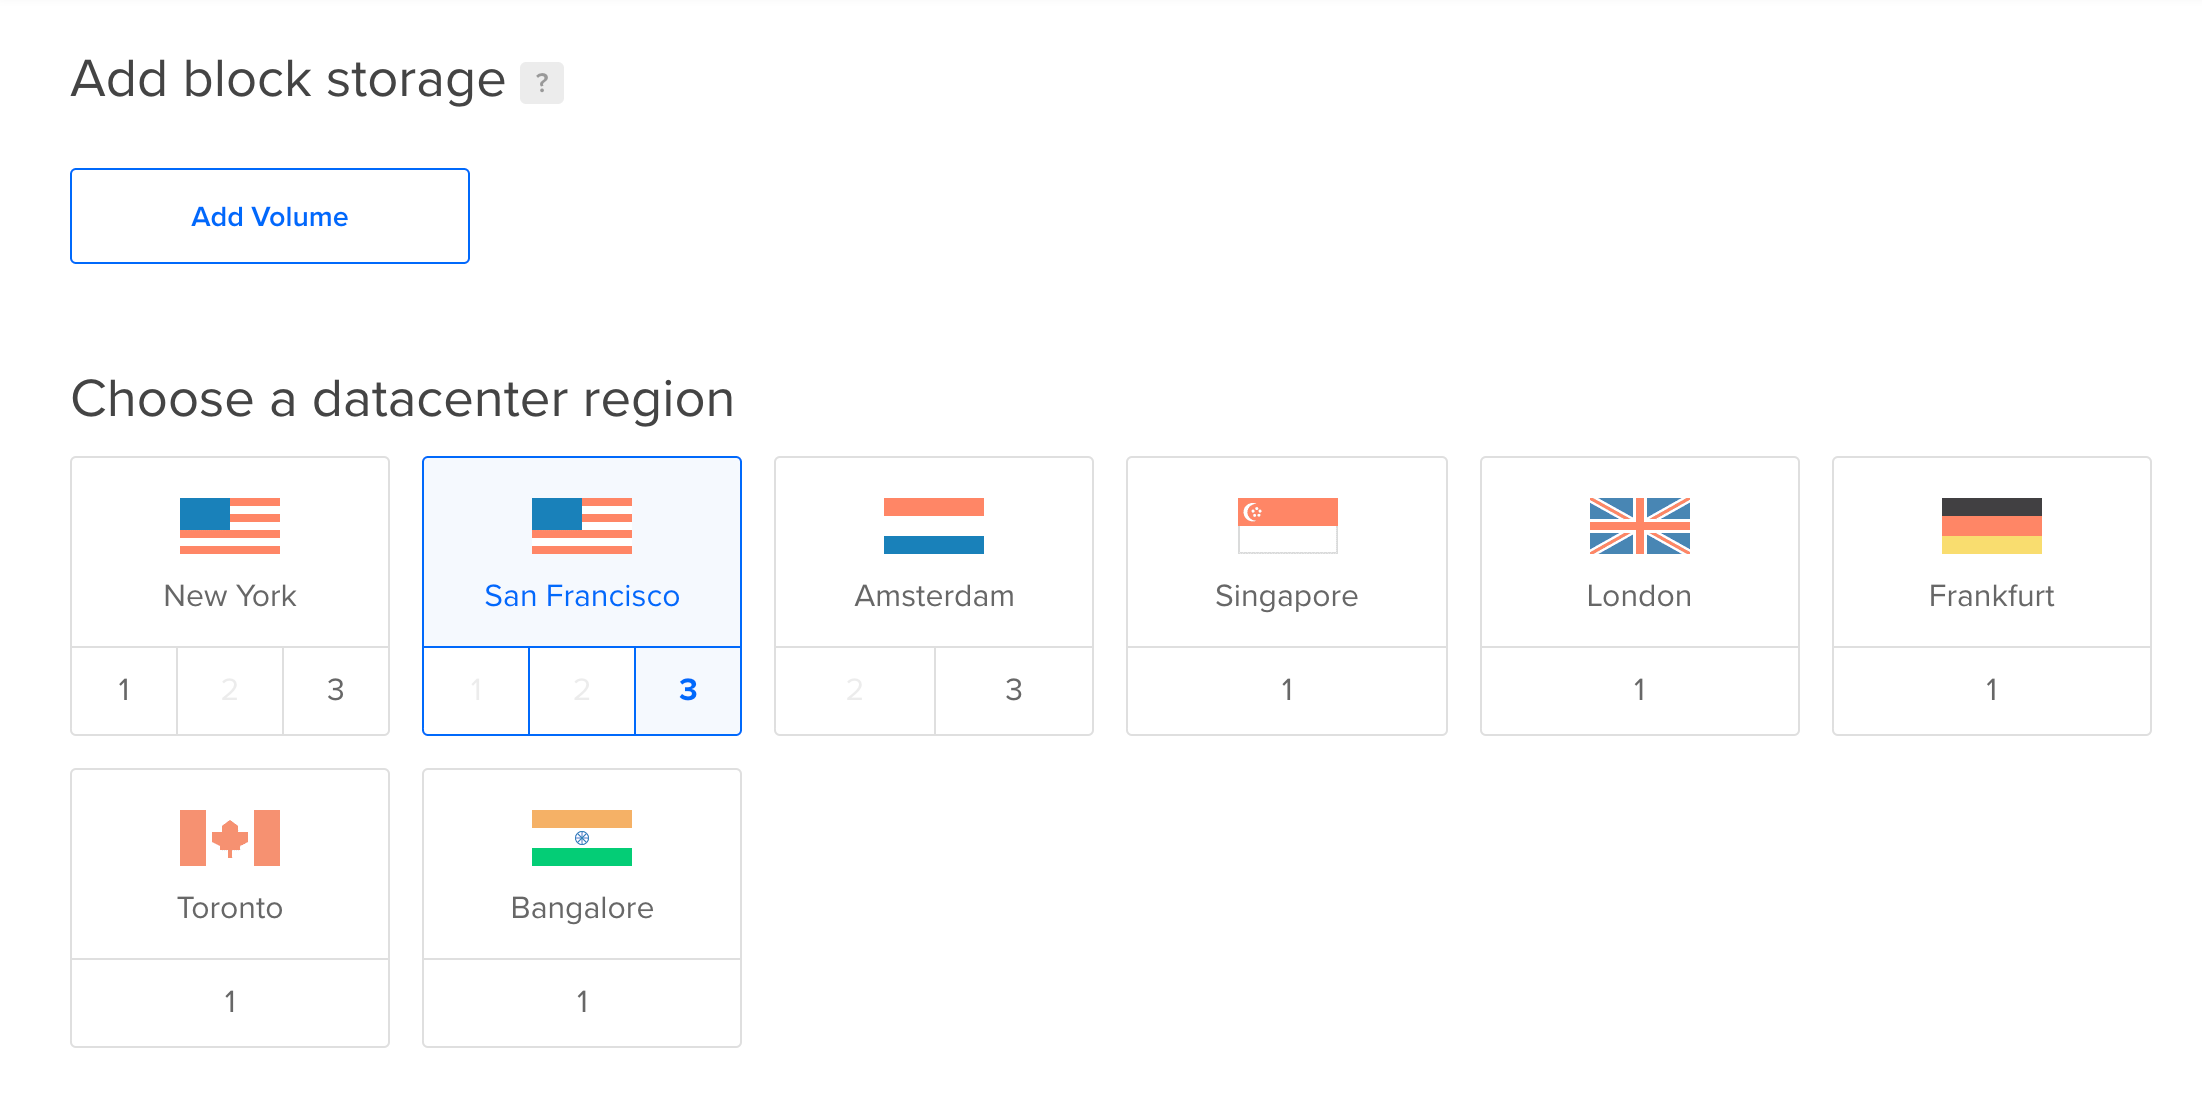
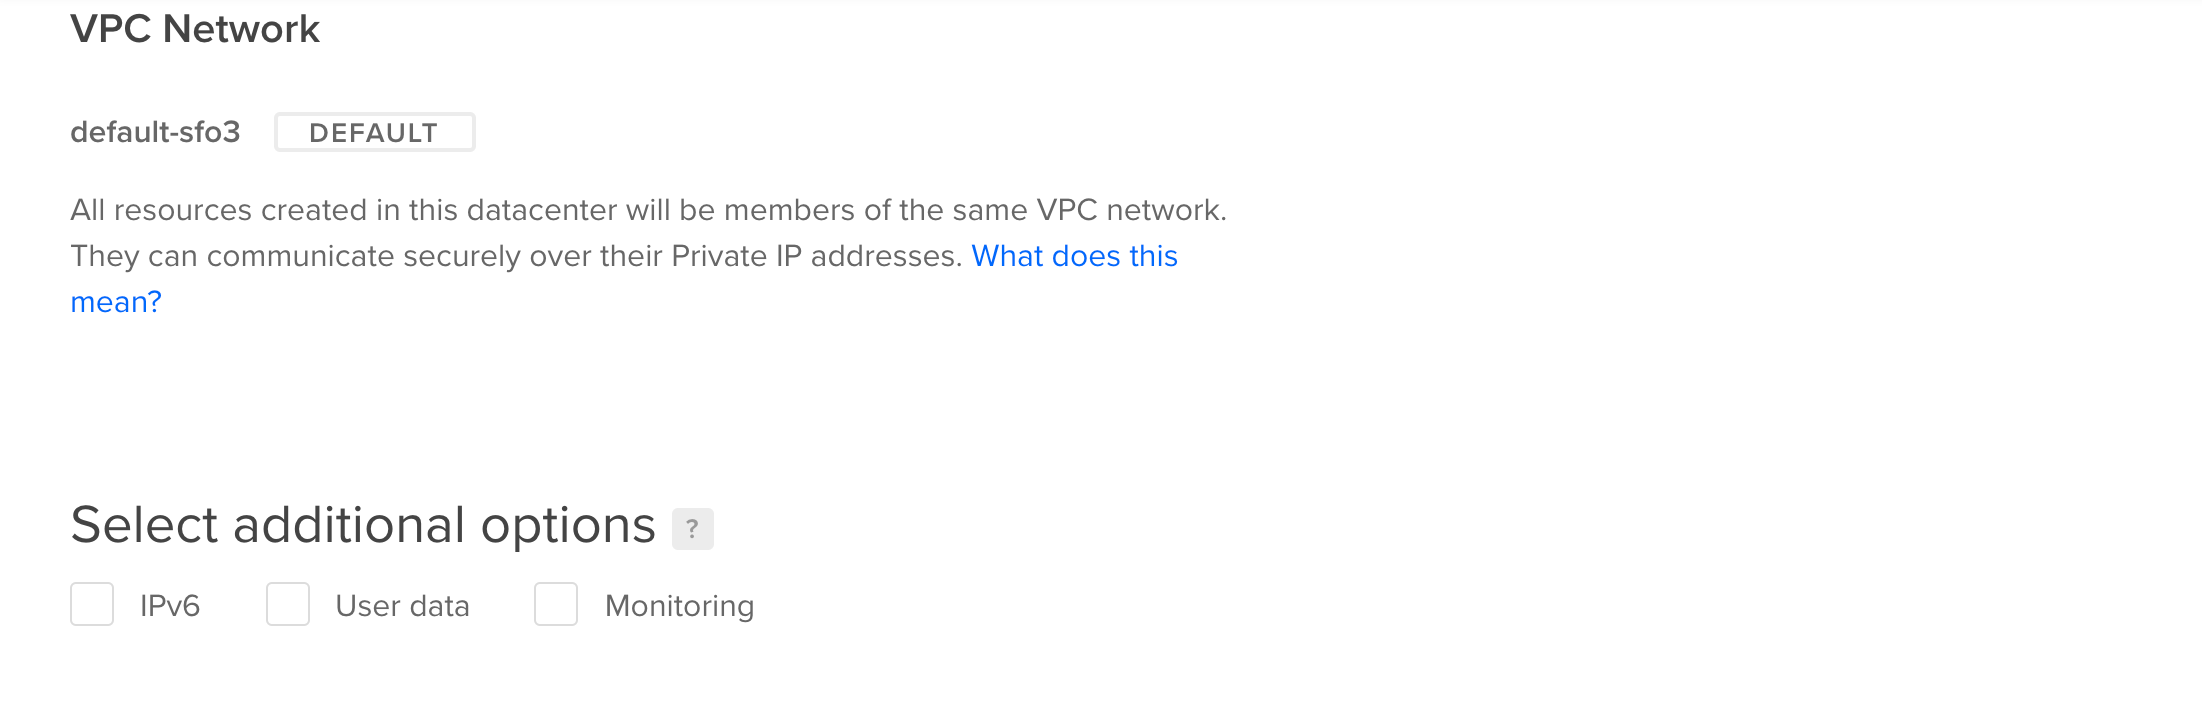
Choose a Datacenter Region
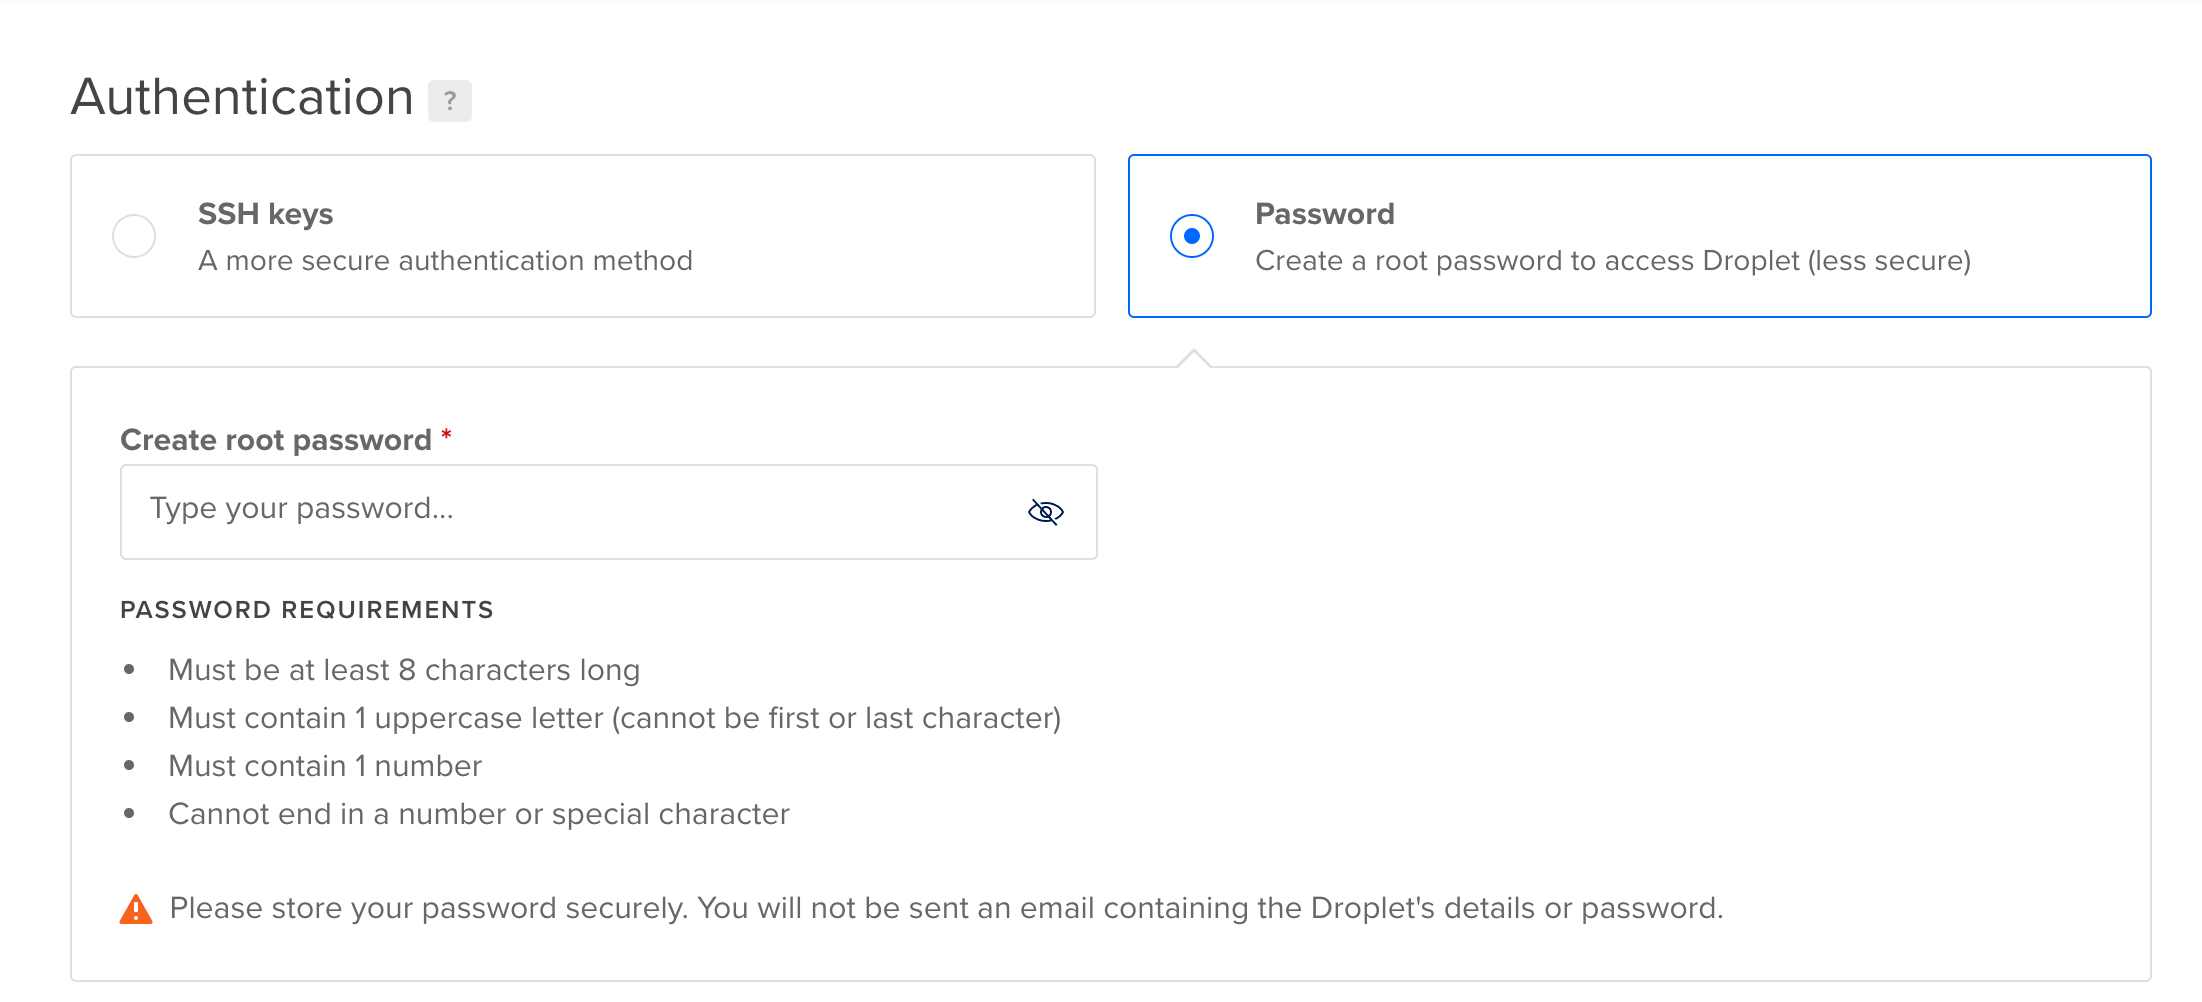
Choose an Authentication Mode
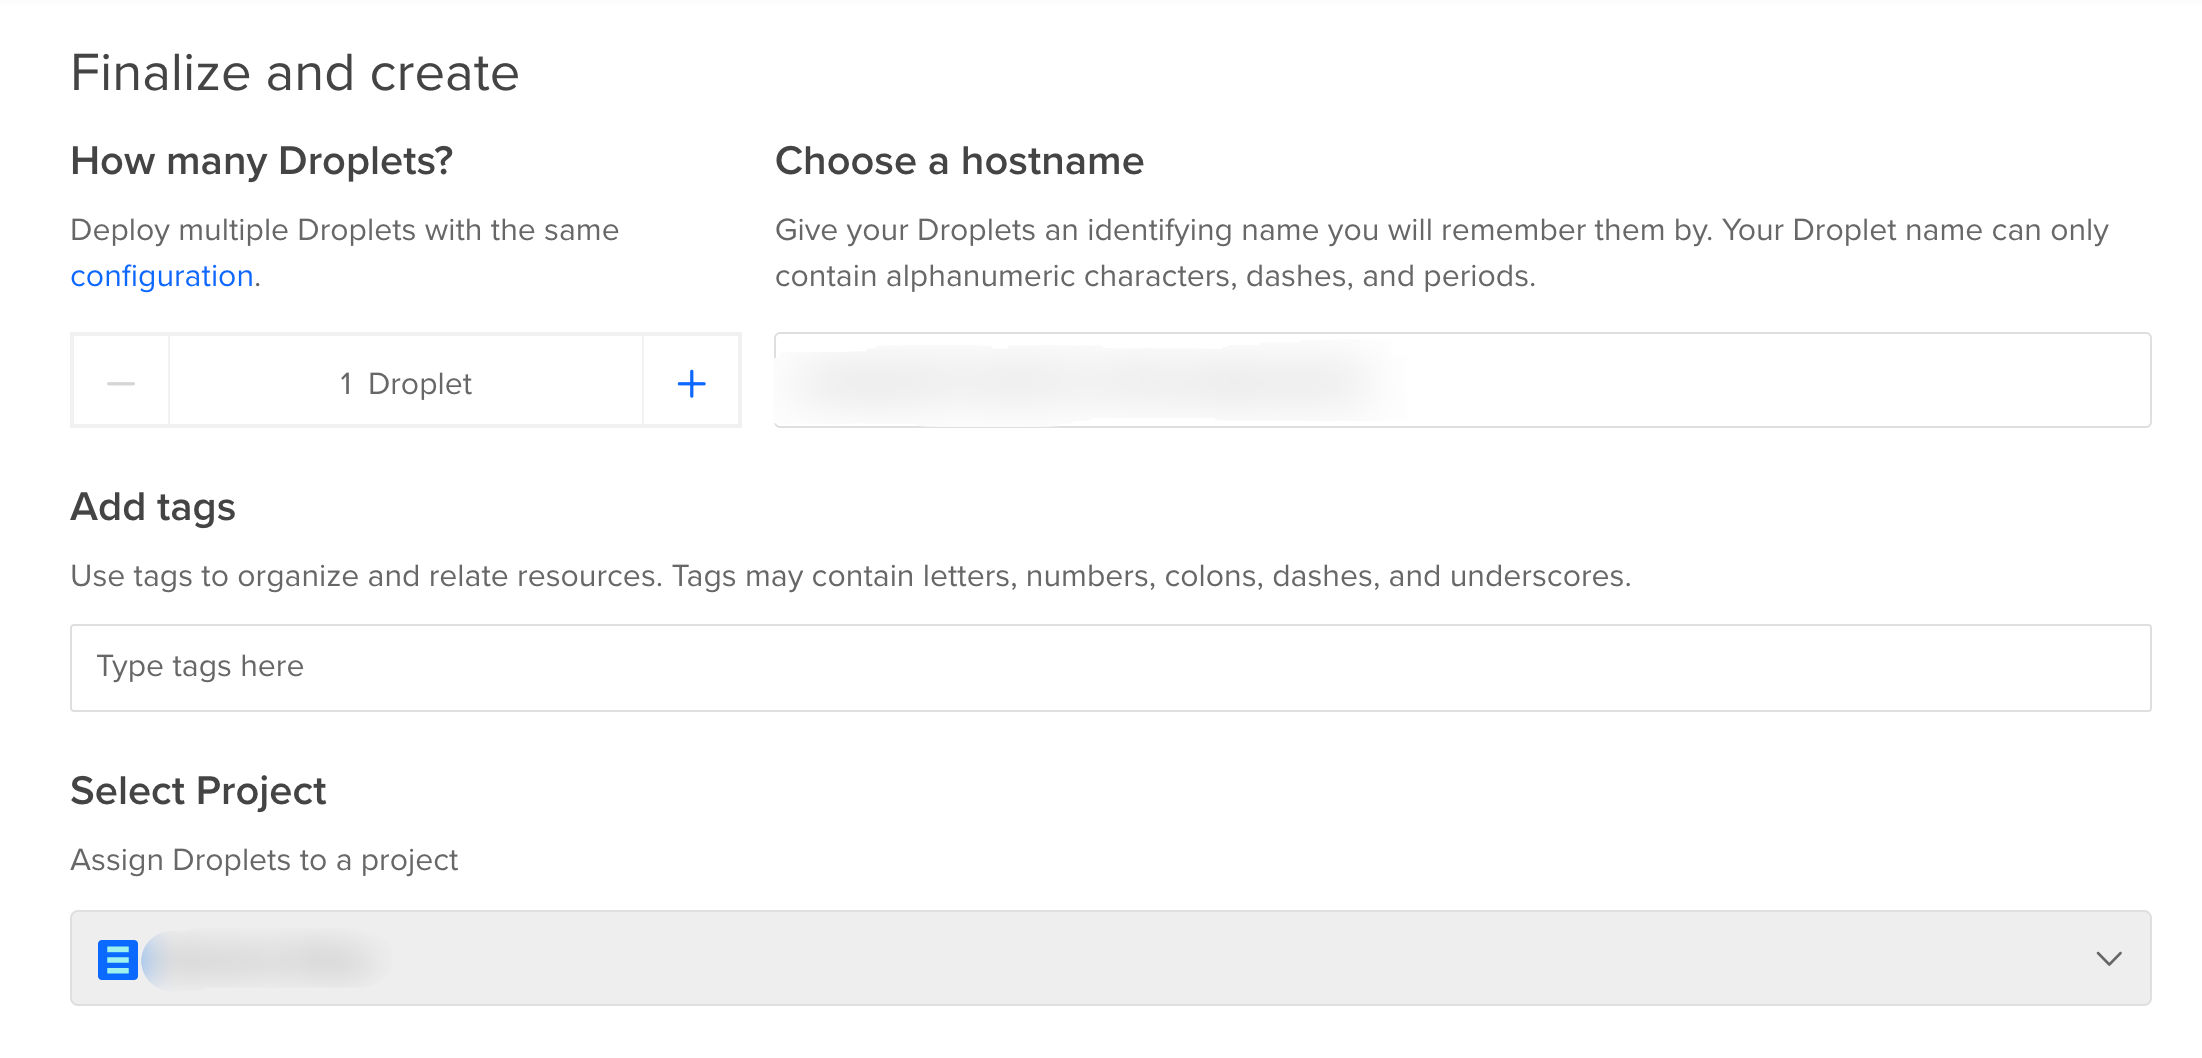
Finalize Your Droplet
Finalize your droplet and click Create Droplet
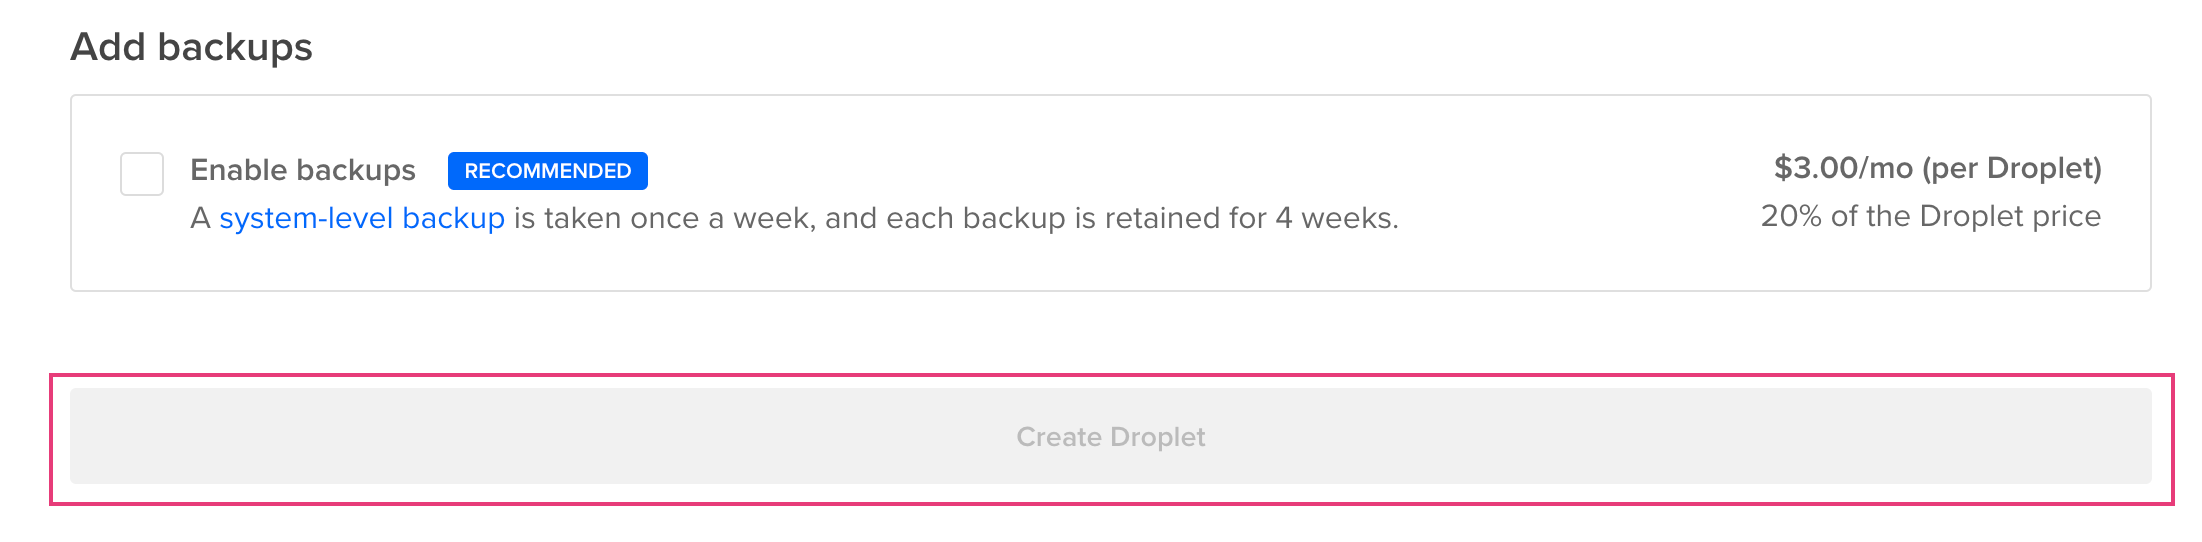
Your droplet is now being created.
Admin Password
- Click More
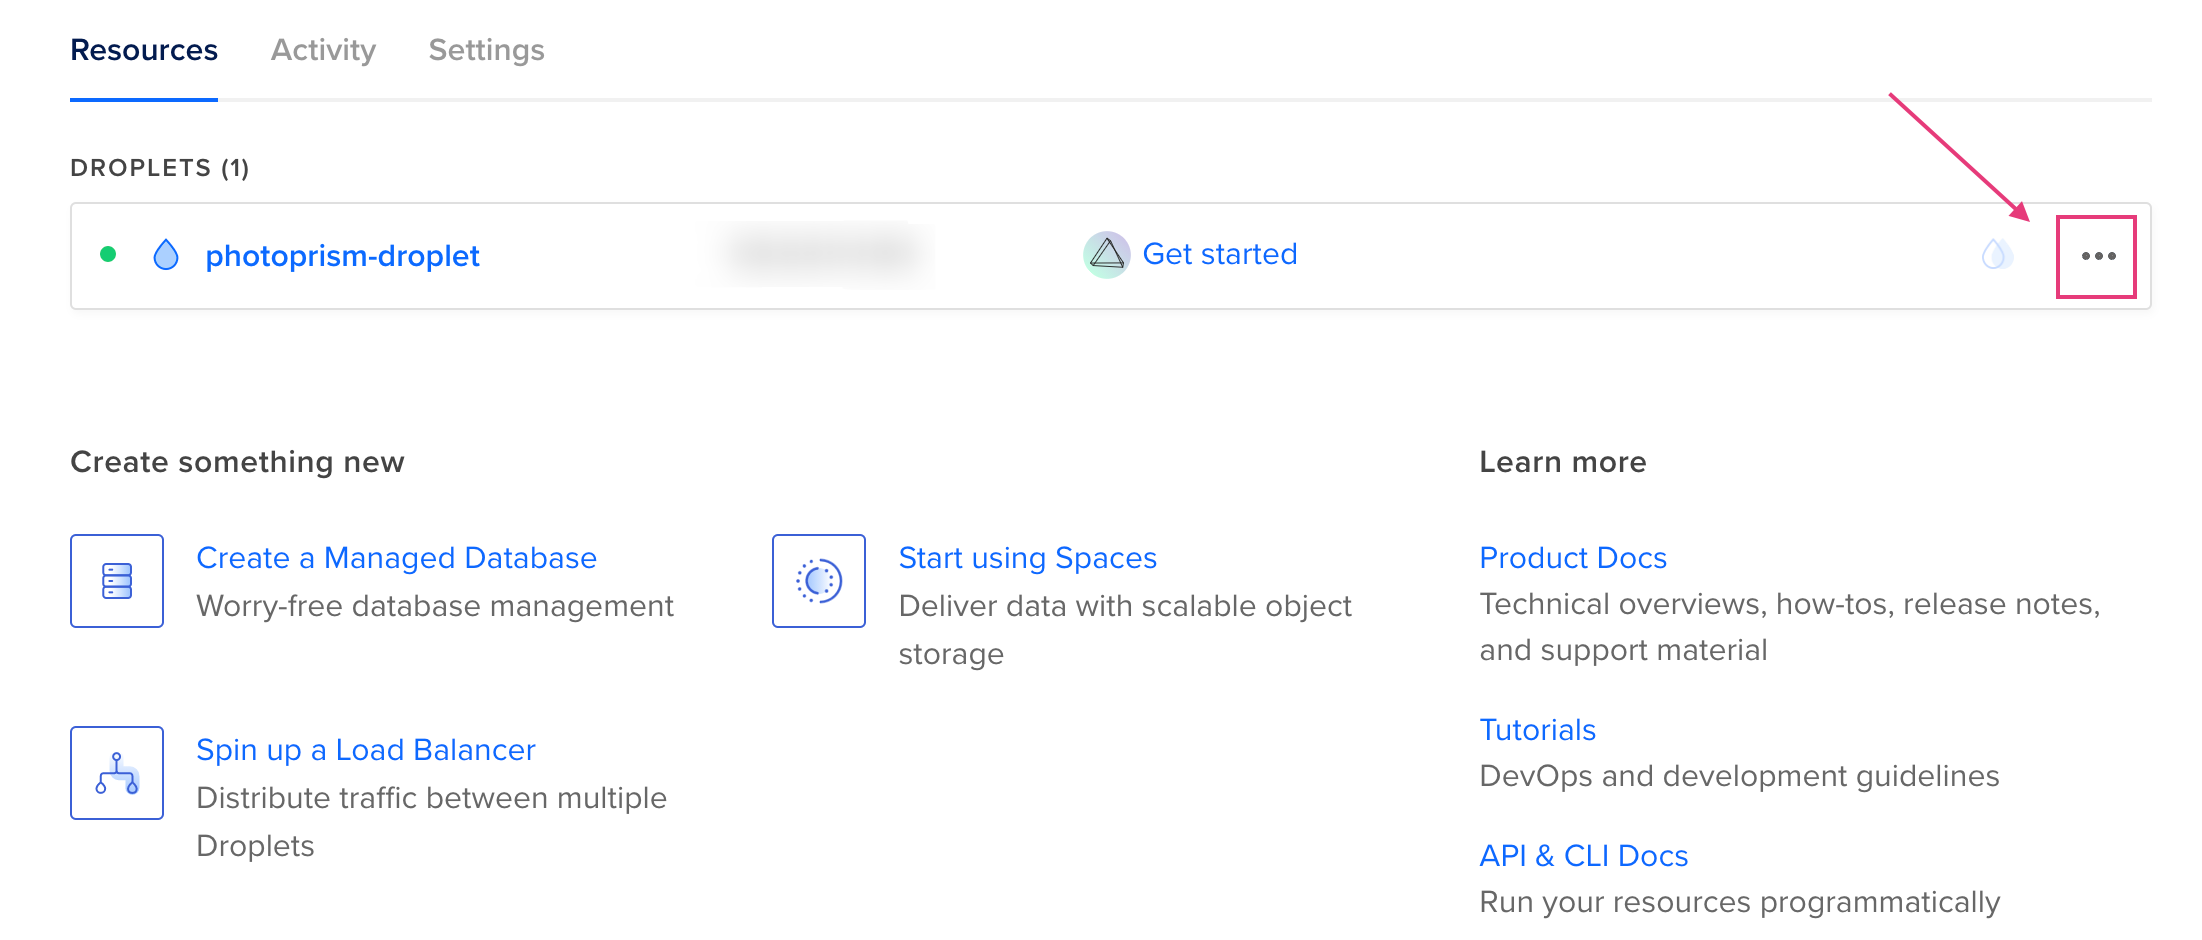
- Click Access console

- Launch the console as root
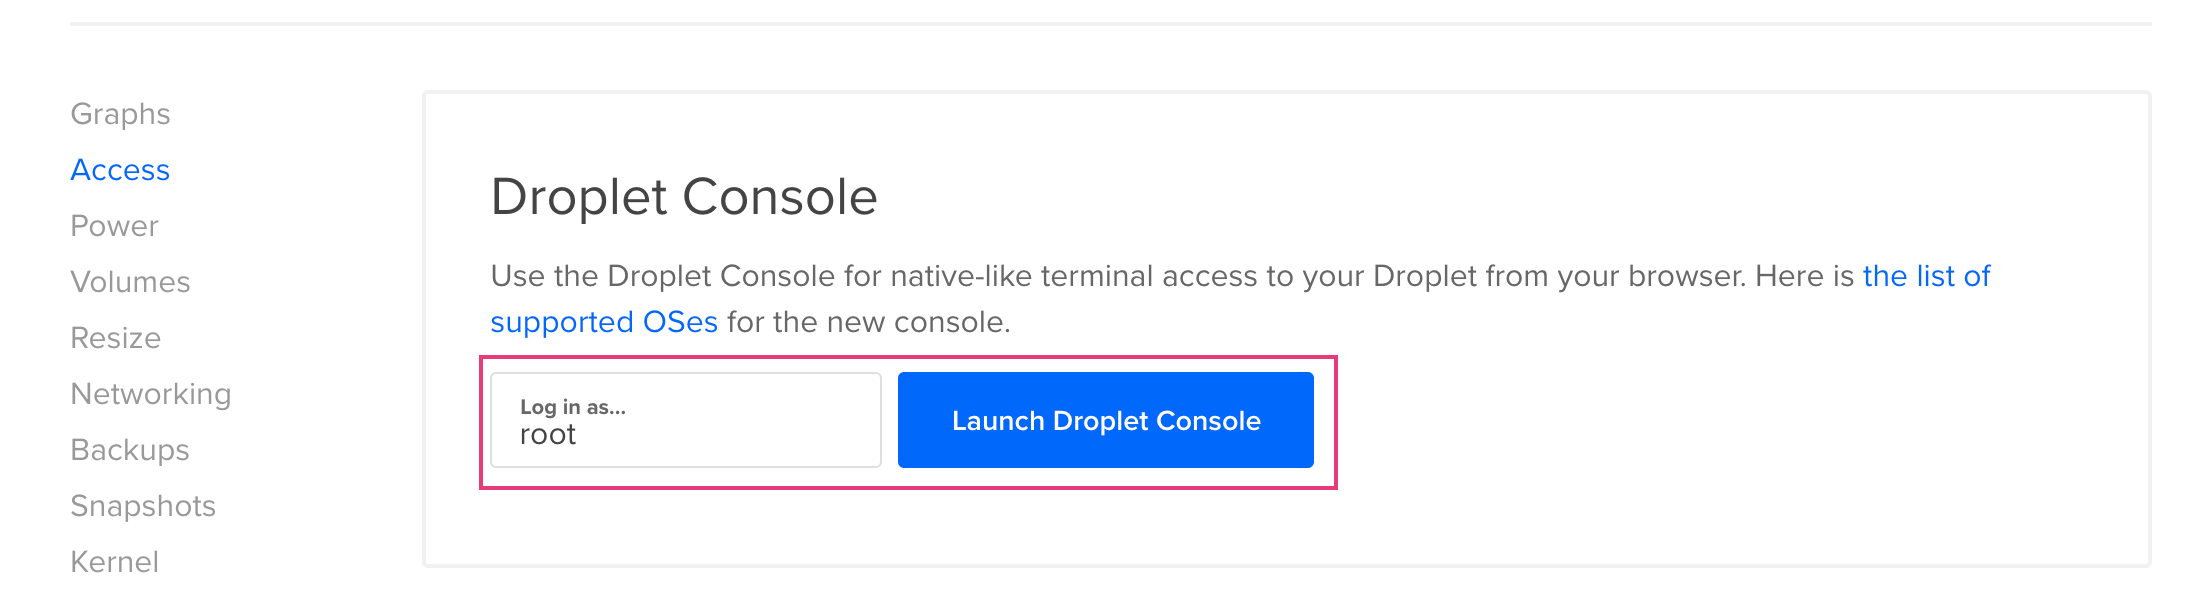
- Within the console type
cat /root/.initial-password.txtand click enter - Copy your initial password
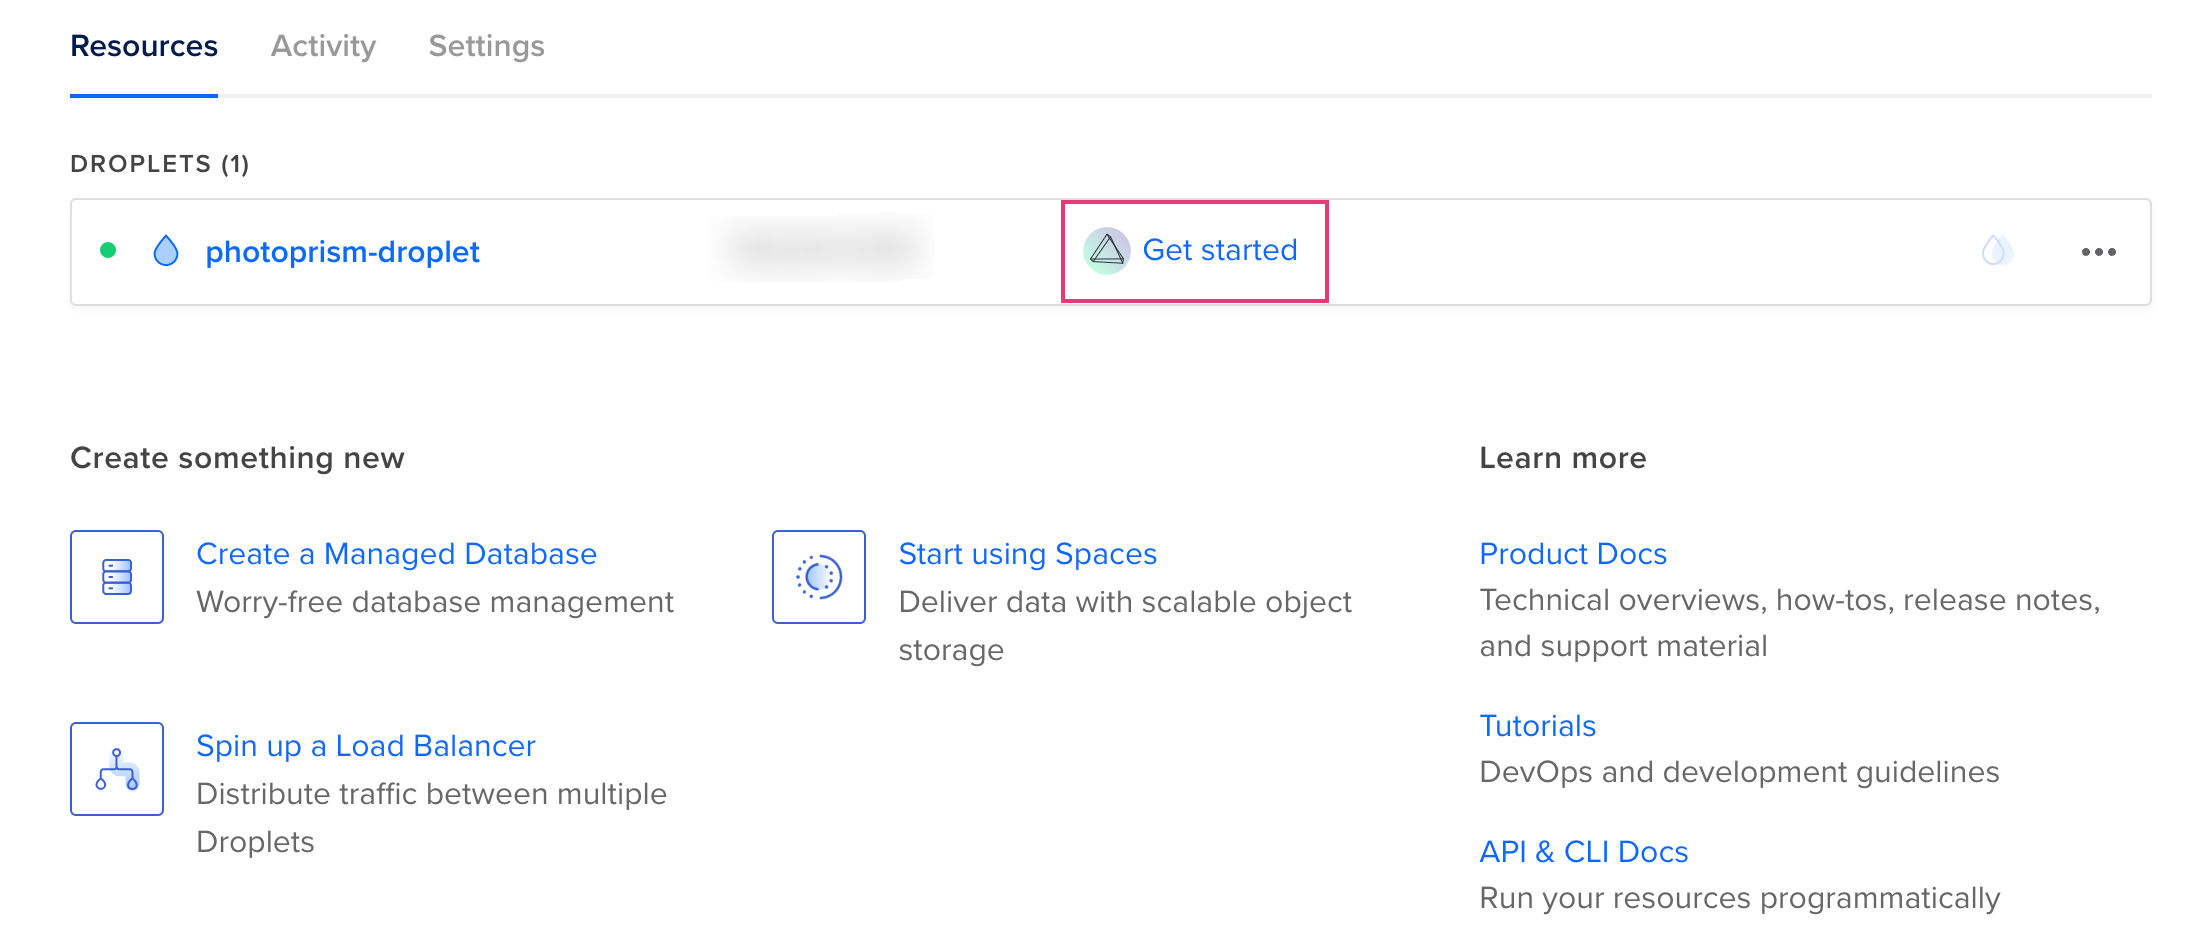
Open PhotoPrism
- Click Get started
- Click Quick access
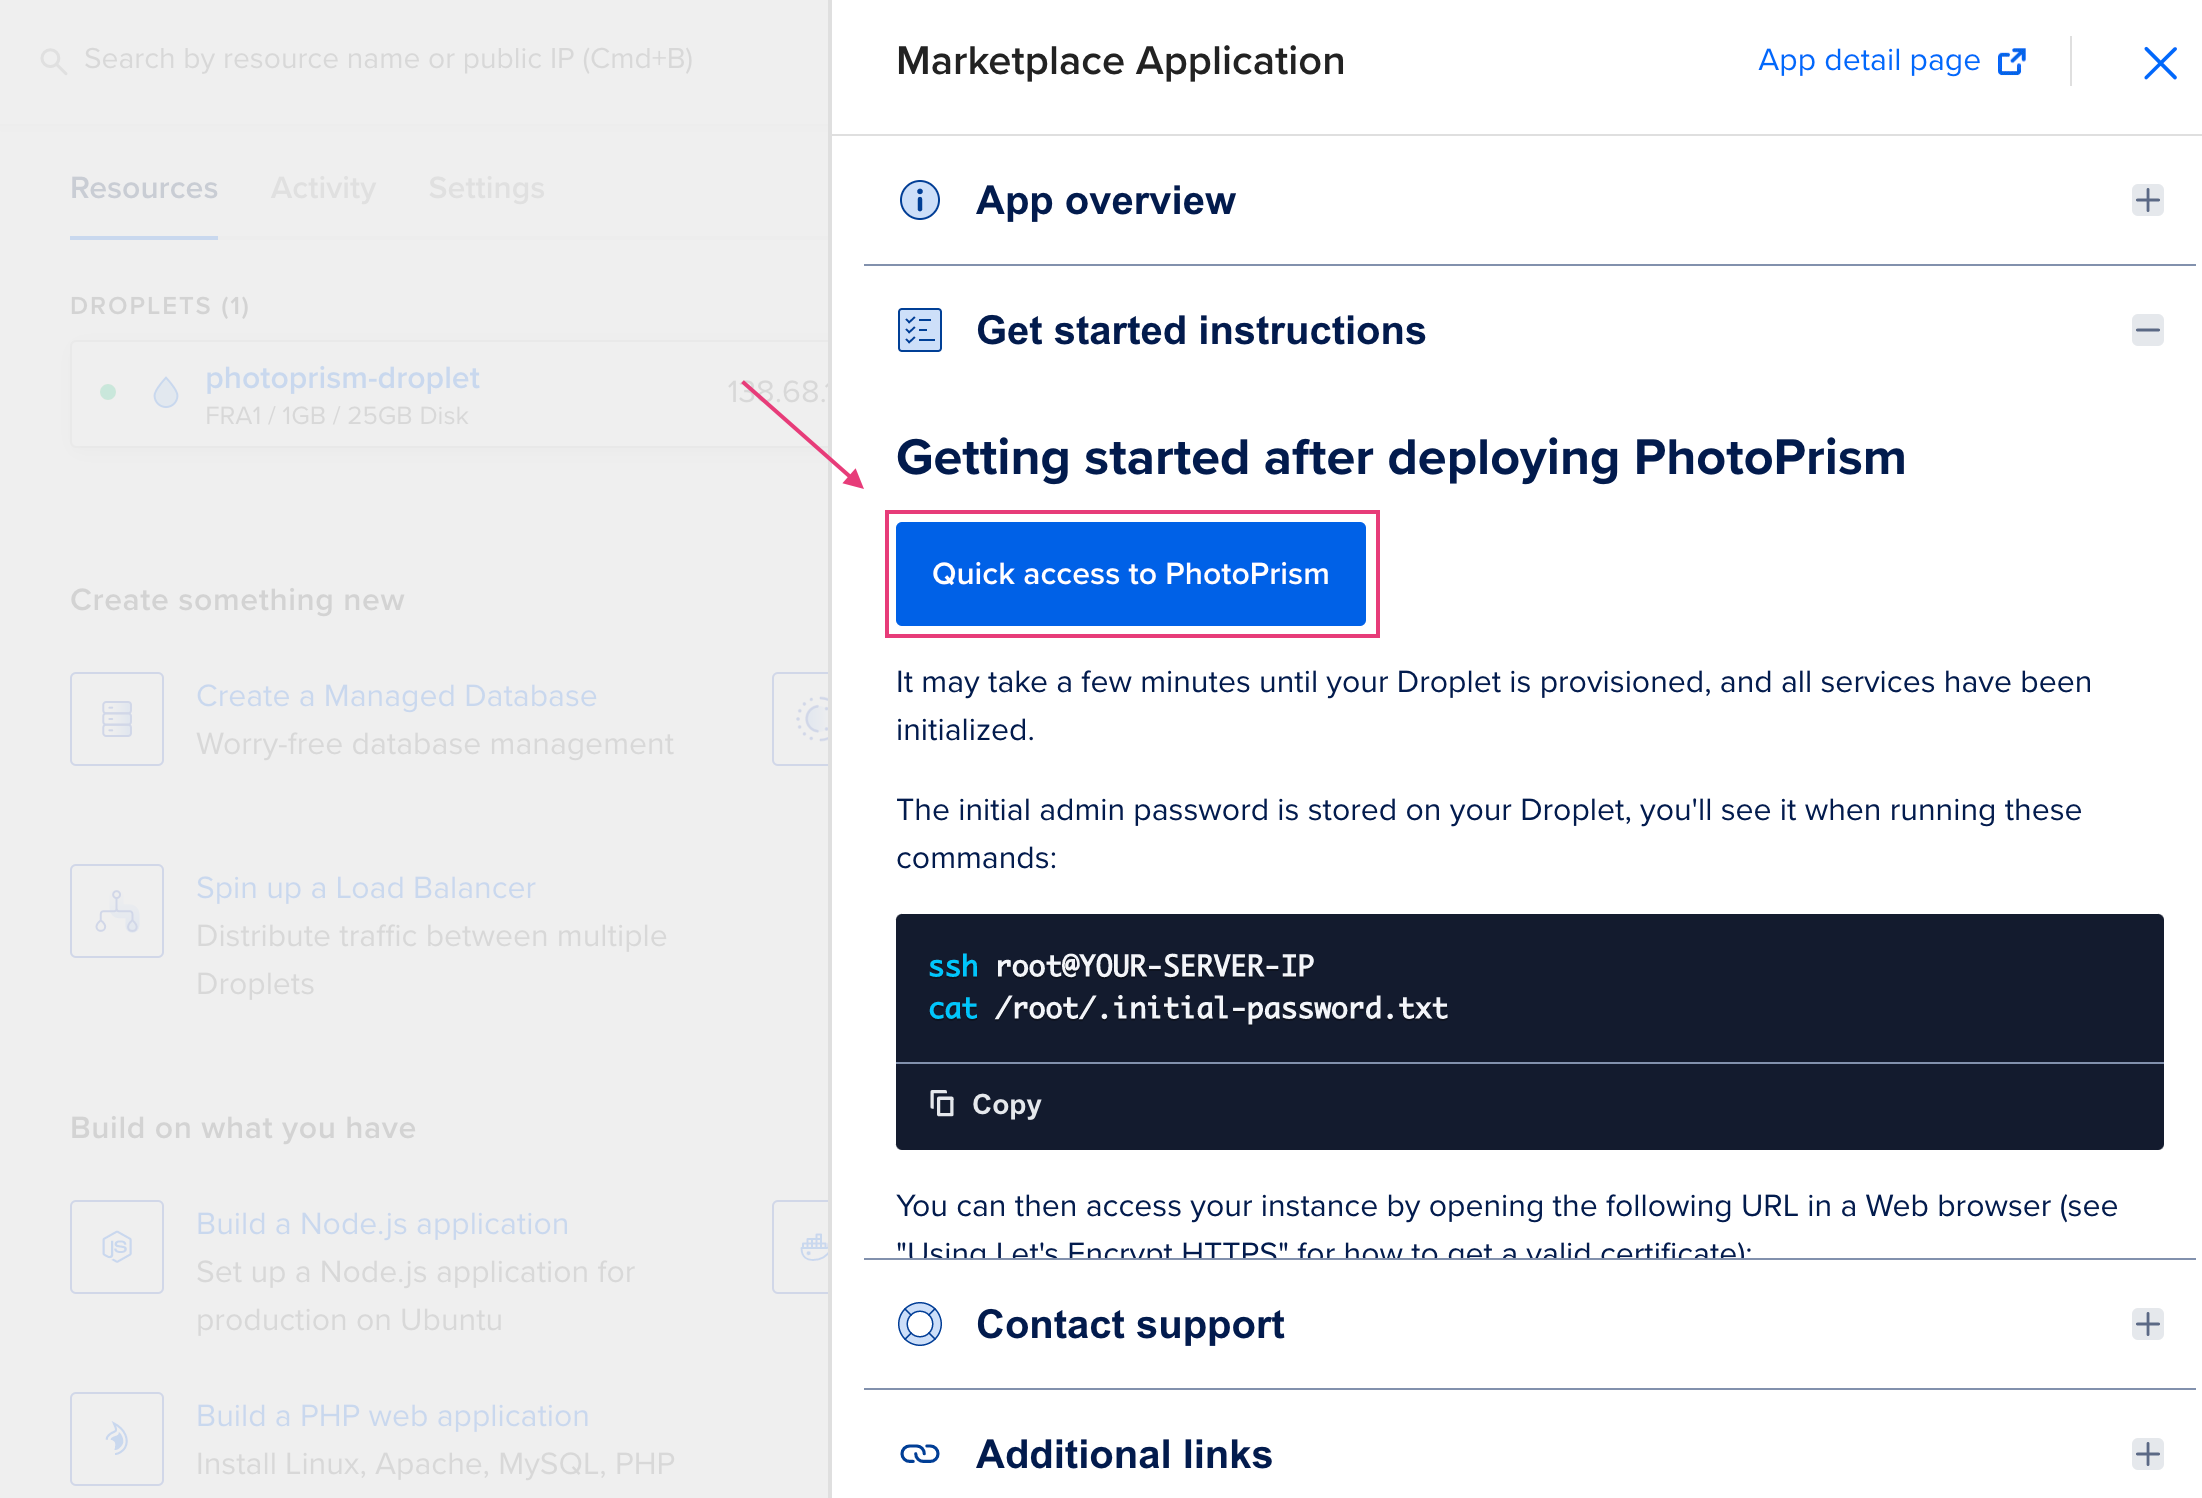
Info
In case you have no domain and let's encrypt set up you will see the notice "Your connection is not private". Click Advanced and click Open page.
- Use username "admin" and your initial password to sign in
- You may change your password using the Web UI
First Steps 👣
Once you're logged in, only two more steps remain before you can start browsing your pictures:
- Configure your content and advanced settings according to your individual preferences.
- Choose whether you want to index your originals directly, leaving all file and folder names unchanged, or use the optional import feature, which automatically removes duplicates, gives files a unique name, and sorts them by year and month.
To add new pictures, you can either copy them to the originals or import folder, for example via WebDAV, or upload them using a browser, which will automatically import them once uploaded.
Traefik Reverse Proxy
Traefik is pre-installed as a reverse proxy and can be configured in your /opt/photoprism/compose.yml file, as well as through the config files located in /opt/photoprism/traefik.
Getting Updates
Make sure to use the latest version tag for Traefik in your compose.yaml file, e.g.:
services:
  traefik:
    image: traefik:v3.6
Then run the following command to pull the latest image and restart the service:
sudo docker compose up -d --pull always
This ensures you receive the latest security updates and prevents errors when upgrading Docker to the latest version.
Certificate Warnings
Web browsers do not recognize the default TLS certificate as valid, so a warning will appear when connecting over HTTPS.
To avoid this issue, use a valid certificate e.g. obtained for free via Let's Encrypt.
If you install PhotoPrism on a public server outside your home network, always run it behind a secure HTTPS reverse proxy. Your files and passwords will otherwise be transmitted in clear text and can be intercepted by anyone, including your provider, hackers, and governments. Backup tools and file sync apps may refuse to connect as well.