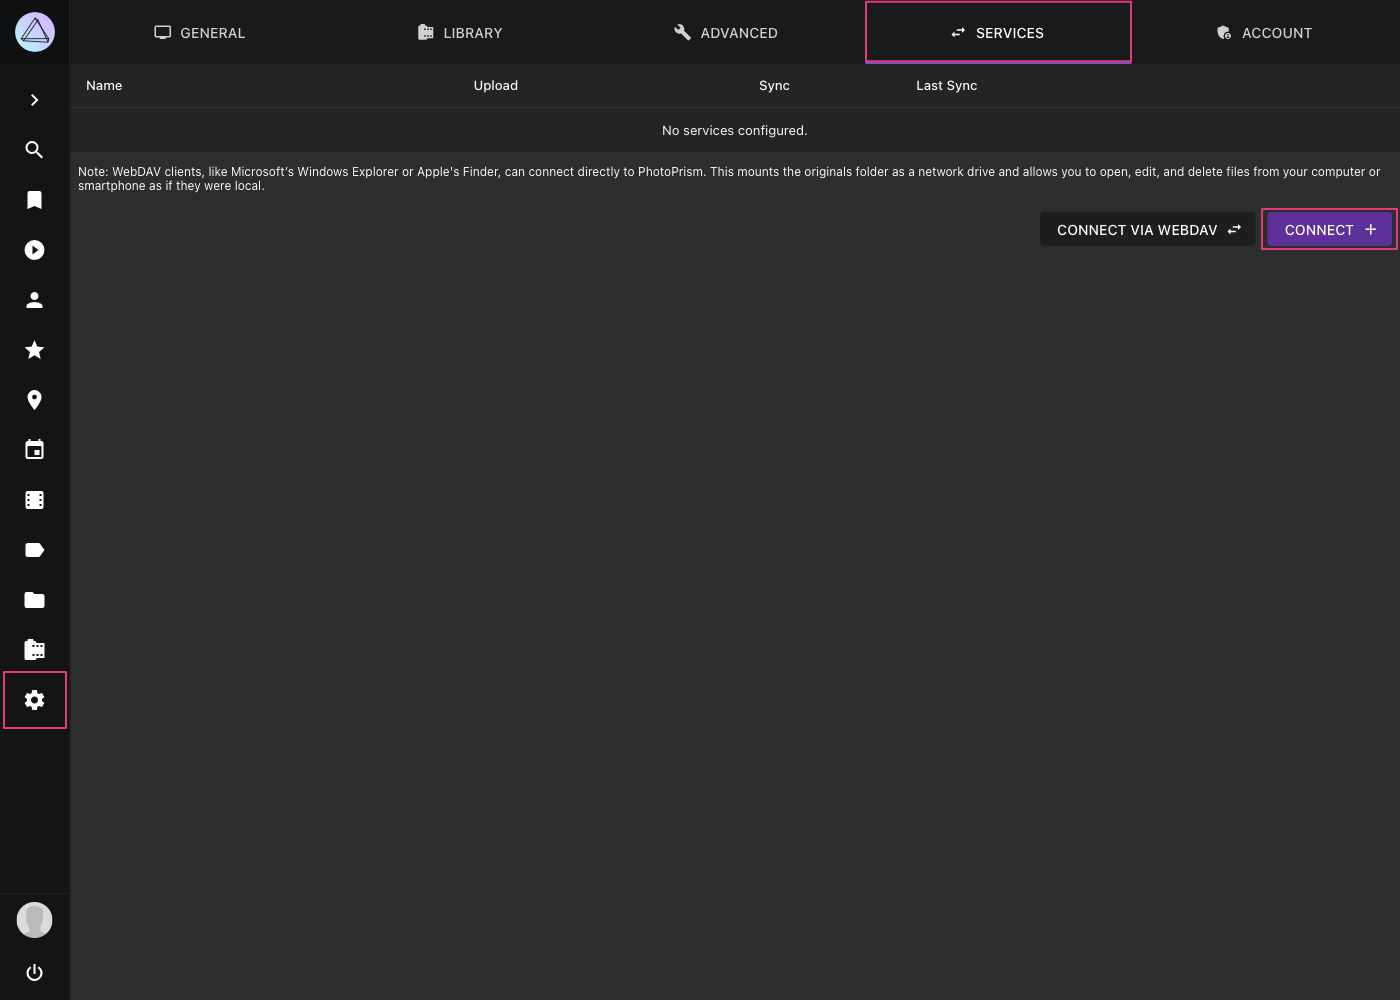
Services
You can connect your PhotoPrism instance to other services with WebDAV support, such as other PhotoPrism instances, Nextcloud or ownCloud. This allows you to share or synchronize files between multiple services.
PhotoPrism can also expose its originals via WebDAV so that compatible clients on macOS, Windows, and mobile devices can connect directly. Learn more ›
These settings are not available when running in public mode because they are not safe to use without authentication.
Add Service
- Go to Settings.
- Open the Services tab.
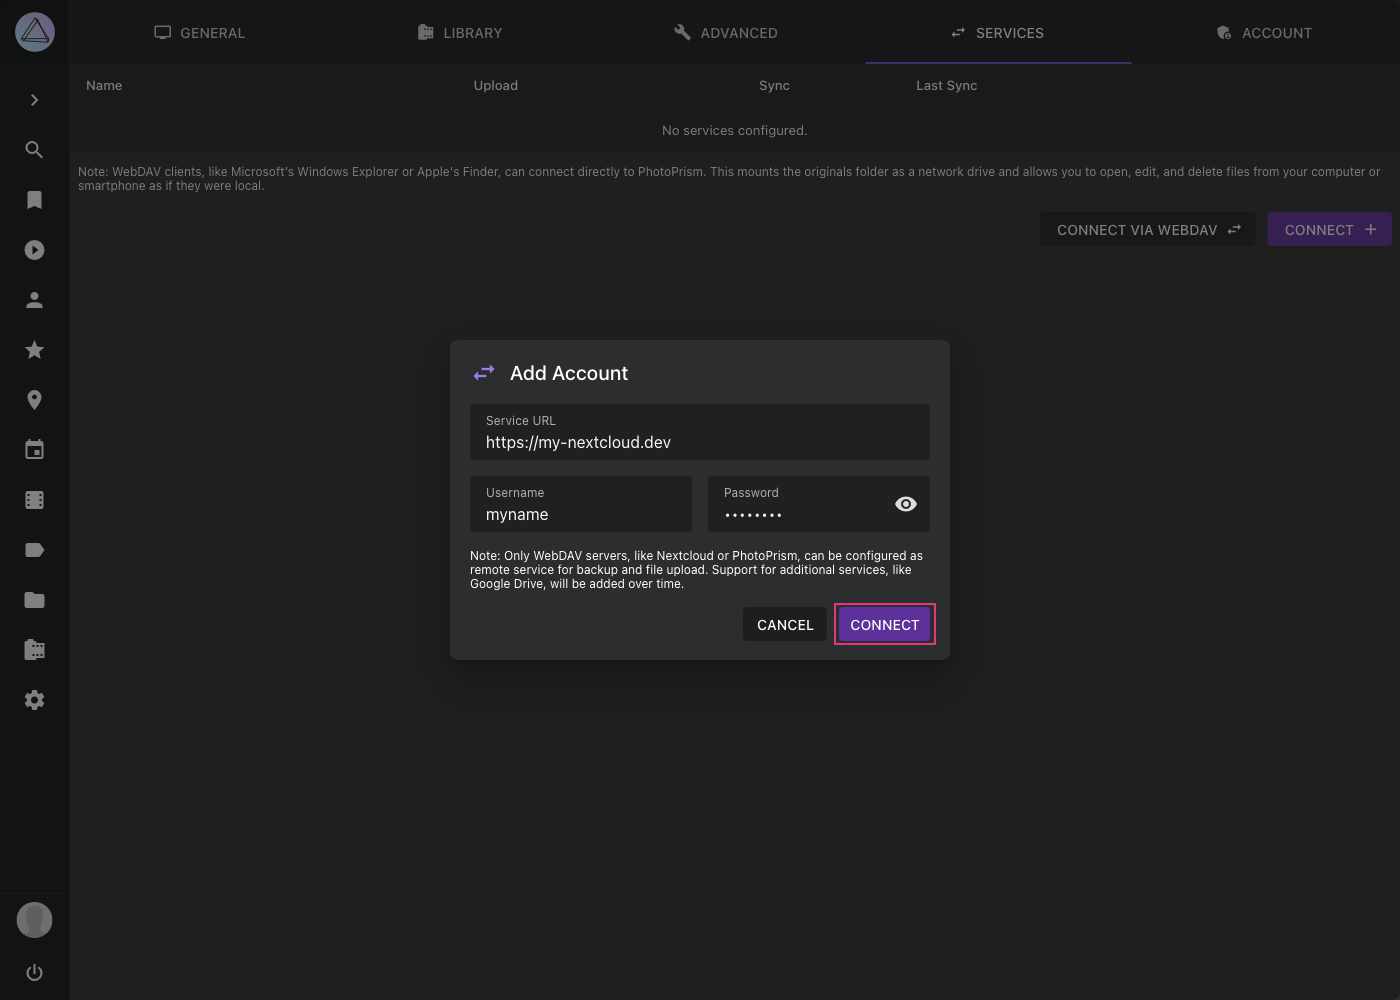
- Click Connect.
- Fill in the service URL, username, and password.
- Click Connect.
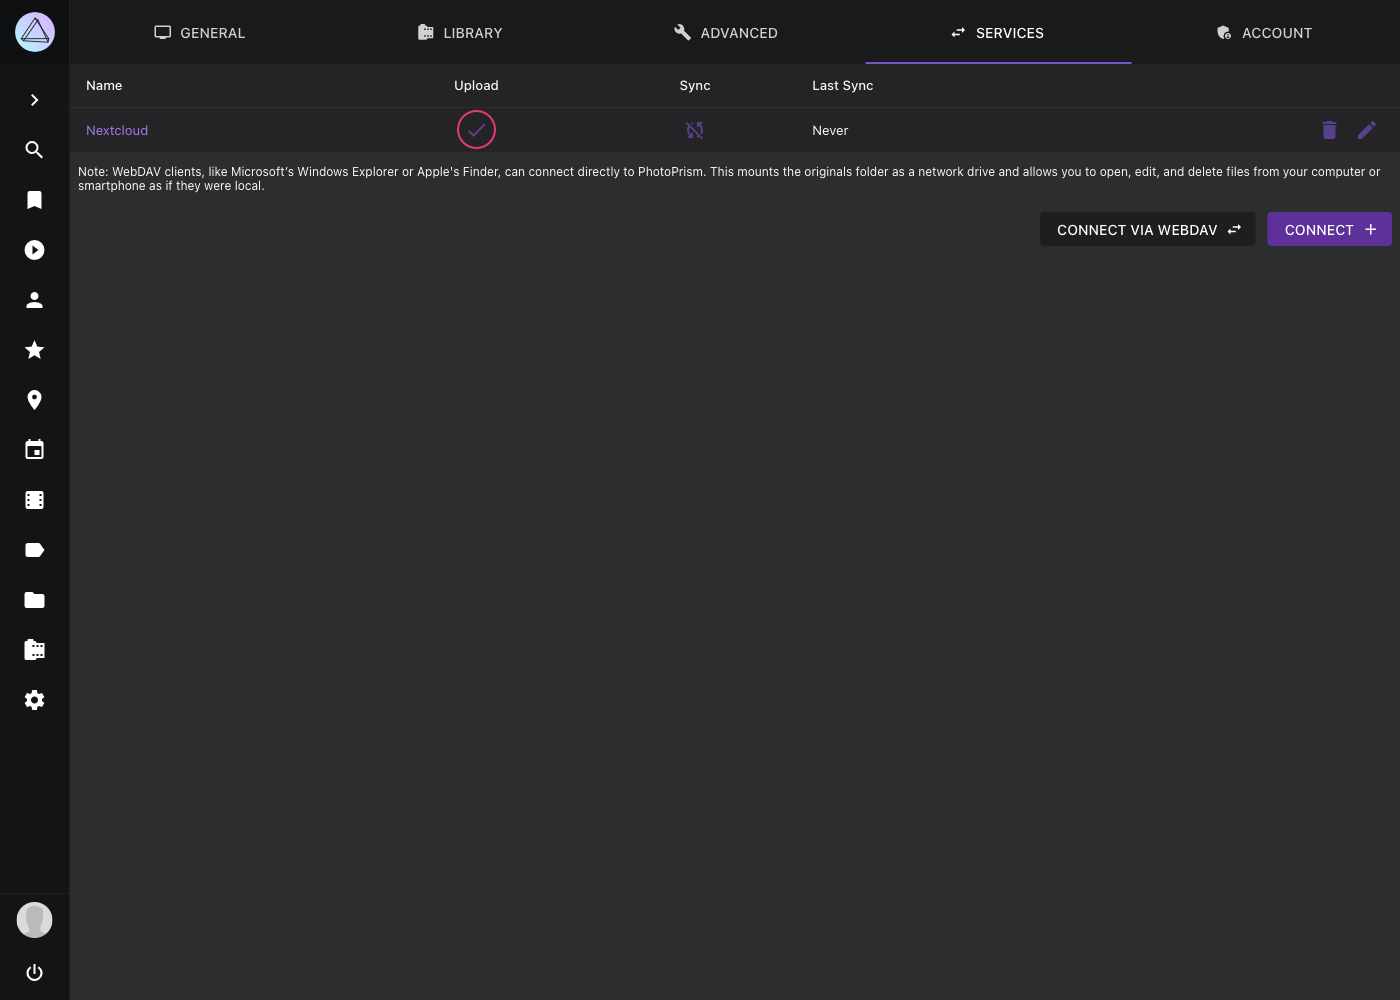
- The service is now connected to PhotoPrism.
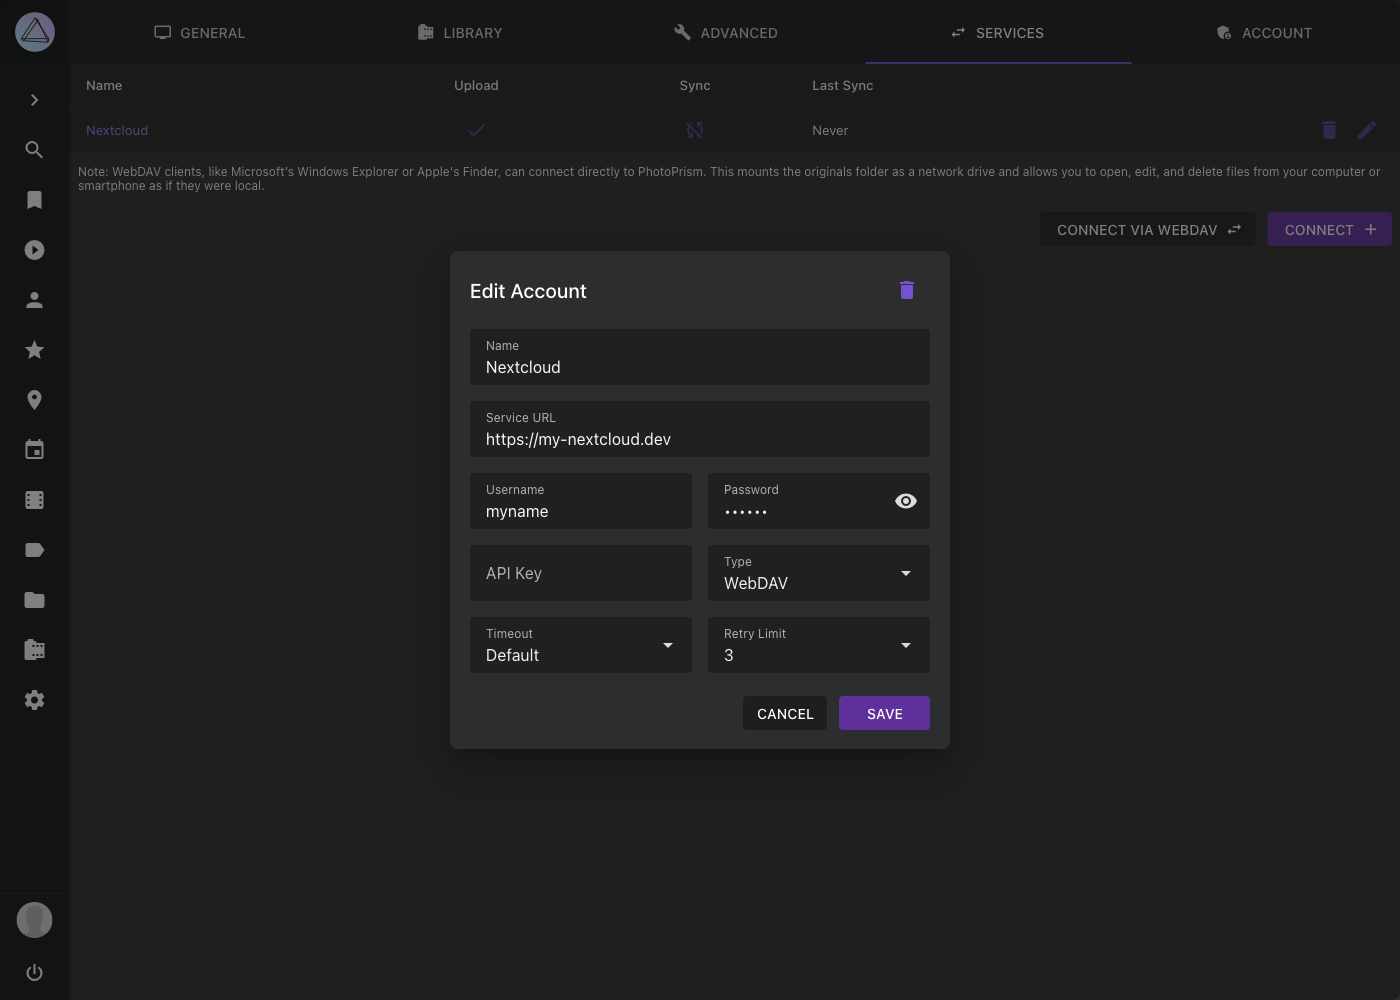
Edit Connection Details
- Go to Settings.
- Open the Services tab.
- Click the pencil icon.
- Edit account details and click Save.
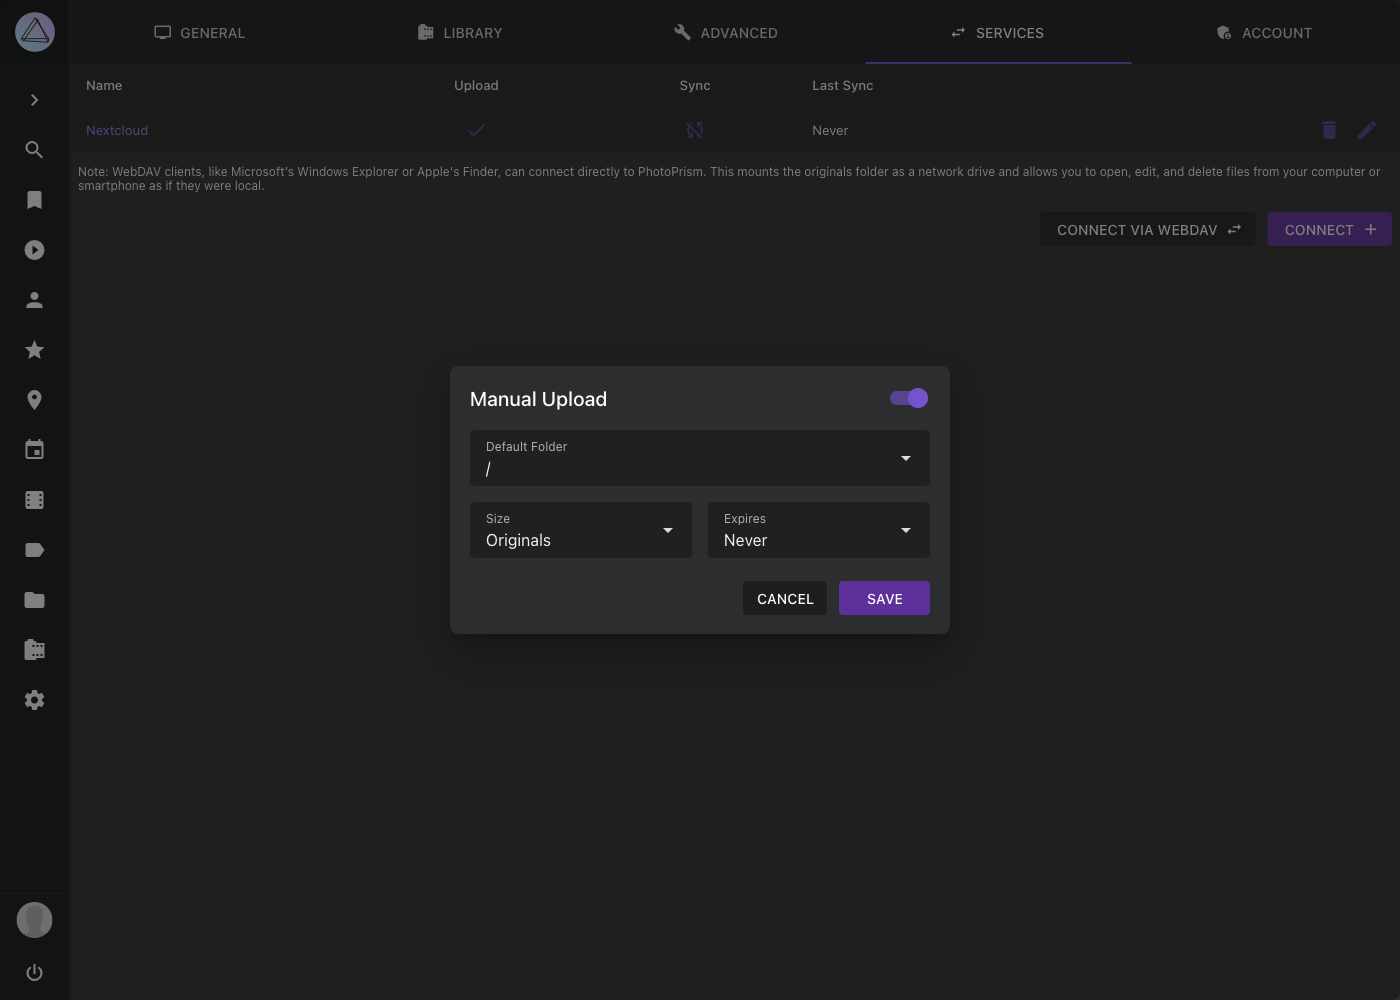
Edit Upload Settings
- Go to Settings.
- Open the Services tab.
- Click into the upload cell of your service.
- Select the folder to which photos should be uploaded and click Save.
You can now share albums or files with this service.
Some Nextcloud configurations can cause uploaded files to appear as 0-byte files. See the known workaround.
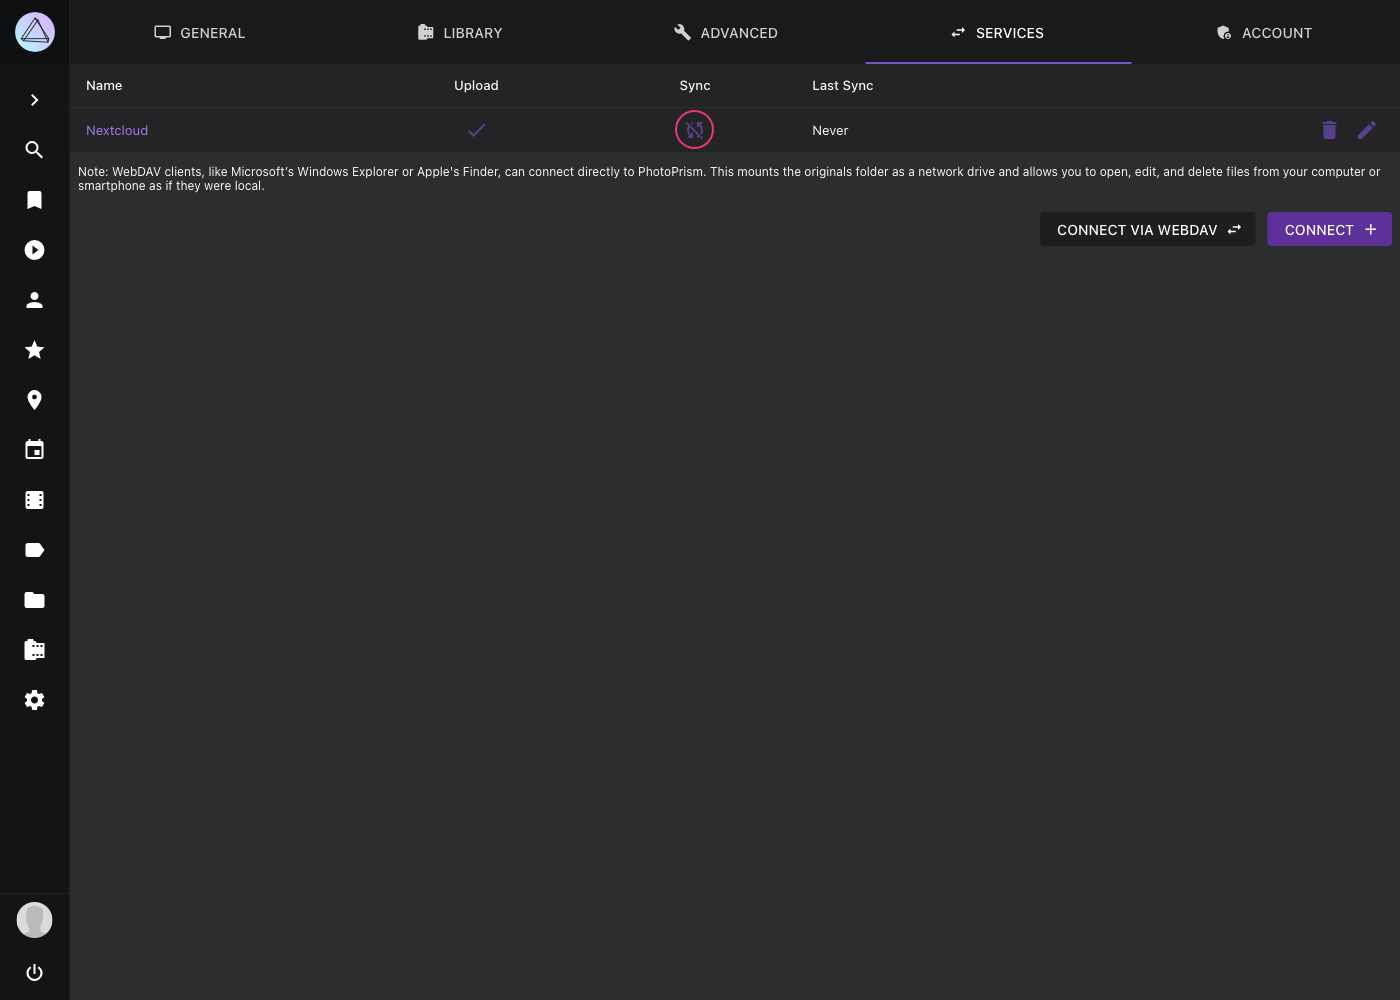
Edit Sync Settings
- Go to Settings.
- Open Services tab.
- Click into the sync cell of your service.
- Enable synchronization in the upper right corner.
- Choose a folder from your service.
- Choose a sync interval.
- Select the options that are suitable for you and click Save.
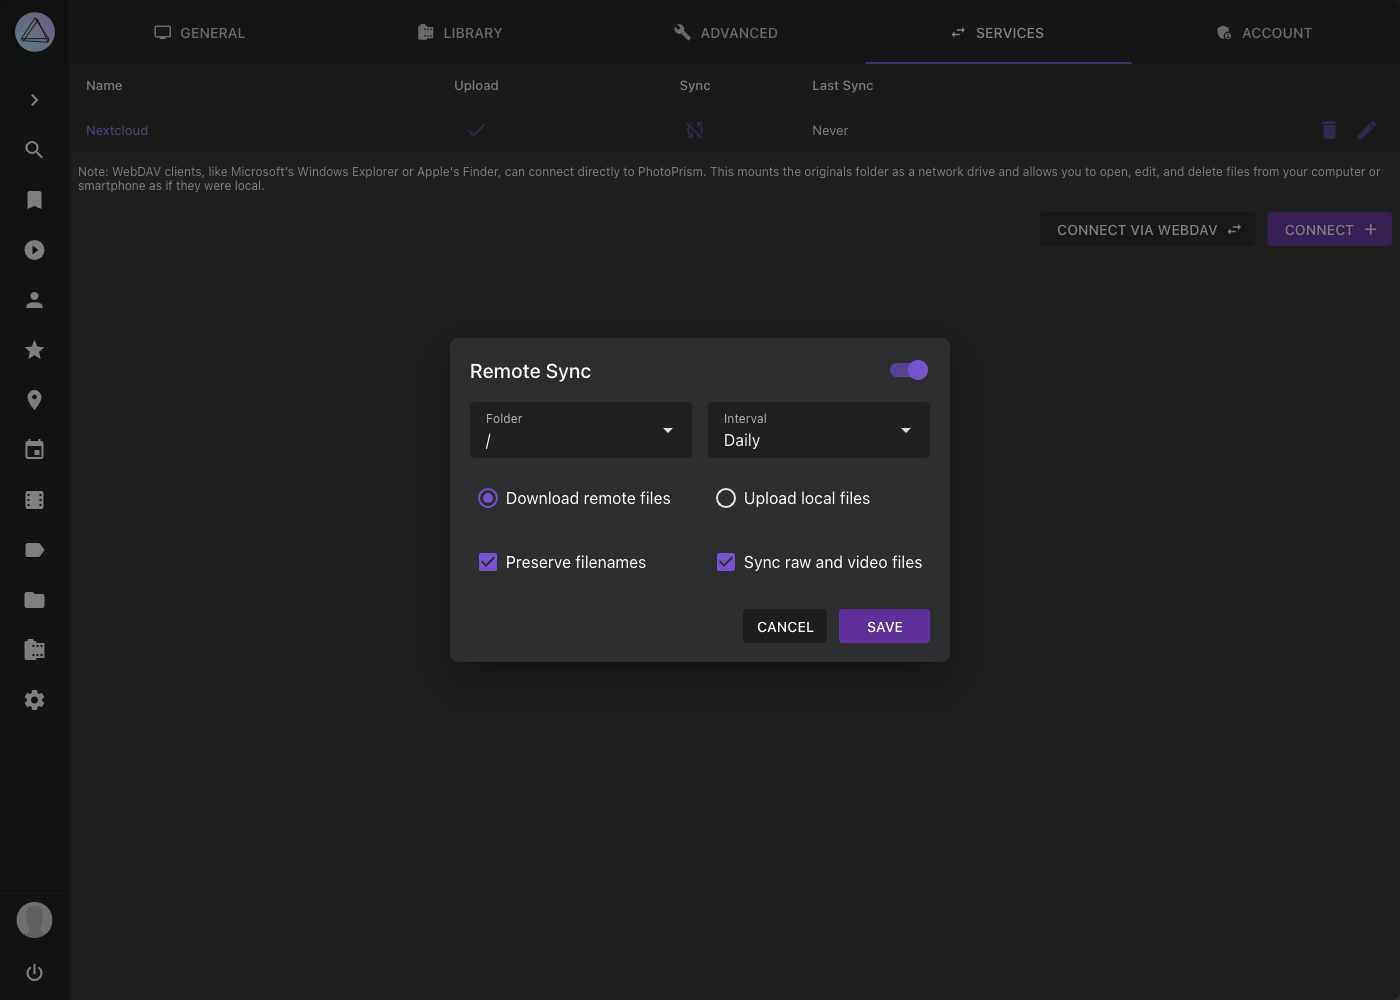
Remote Sync Options
- Download remote files will download all files from the selected folder of the other service that do not yet exist in PhotoPrism.
- Upload local files will upload all files (including private or archived ones) from PhotoPrism to your service that do not yet exist there.
- Preserve filenames will keep filenames without renaming them.
- Sync raw and video files will upload and download RAW and video files together with JPEGs.